




The Liner: Precision vs. A Hard Outline
A common beginner mistake is grabbing a dark liner and drawing a harsh line far outside the natural lip line. This often looks less like fullness and more like a coloring book error. Professionals, on the other hand, treat lip liner as a subtle shaping
tool. They typically choose a liner that is nude or just one shade deeper than the natural lip color. The goal is to create a soft shadow and a seamless base. Instead of drawing one continuous, hard line, a pro uses short, feathery strokes, focusing the 'overline'—just a millimeter or so—on the cupid's bow and the very center of the bottom lip. They always keep the liner true to the natural lip line at the corners to maintain a believable shape.
The Blending: A Sharp Edge vs. A Soft Gradient
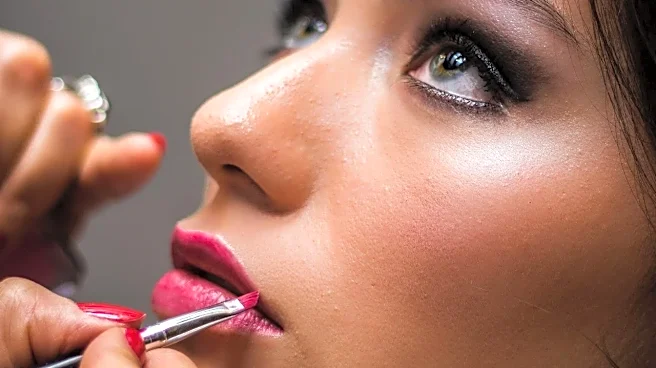
For many beginners, the liner is step one and lipstick is a completely separate step two, often leaving a distinct, visible ring around the mouth. This is a tell-tale sign of an amateur application. A professional's secret weapon is blending. After outlining, they use a finger or a small lip brush to soften and buff the liner inward, creating a gentle gradient of color from the outer edge toward the center. They then fill in the entire lip with the liner pencil. This not only creates a dimensional base for the lipstick but also ensures that as the lipstick wears off, it fades evenly without leaving that dreaded 'ring-around-the-lips' look.
The Color & Finish: Dark & Matte vs. Light & Luminous
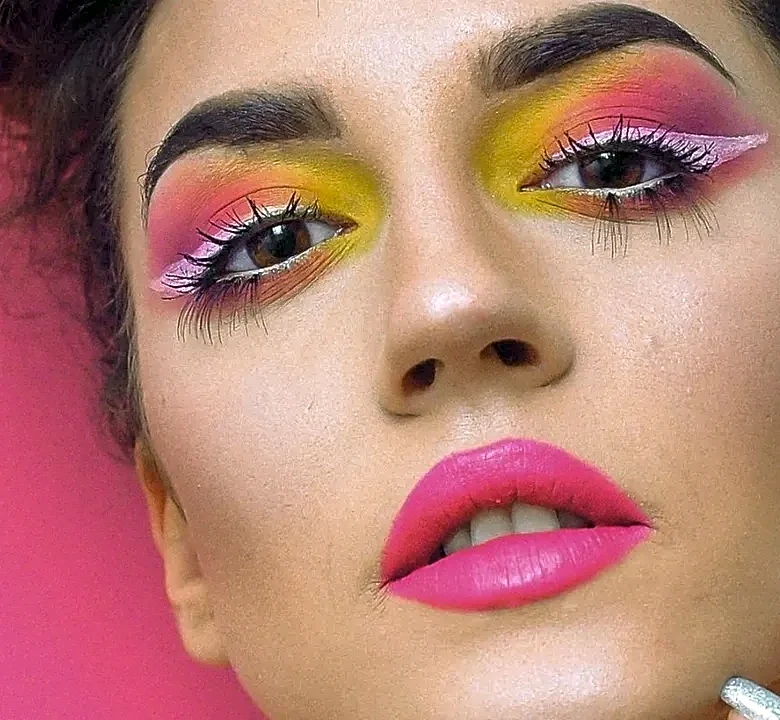
Beginners often reach for trendy, bold colors, but very dark or intensely matte lipsticks can be unforgiving on thin lips. These formulas absorb light and can make lips appear even smaller and flatter. Pros know that light is their best friend. They tend to favor lipsticks in softer, brighter shades like pinks, peaches, and nudes. The real game-changer is the finish. Cream, satin, and glossy textures reflect light, which instantly creates the illusion of more volume and dimension. If a matte look is desired, a pro might use a modern creamy matte formula and will almost always add a strategic dab of gloss or a lighter lipstick shade right in the center of the bottom lip to catch the light and create a plumping effect.
The Finishing Touches: One-Note Color vs. 3D Illusion
A beginner's application often stops at a single, flat layer of lipstick. The professional approach is all about creating a three-dimensional effect through subtle layering and highlighting. After applying the main lipstick color, a makeup artist will often use a second, slightly lighter shade and press it just into the center of the lips to create a focal point of fullness. An optional but powerful final step is adding a touch of clear or shimmering gloss right in the middle of the bottom lip. Another pro trick is to take a small brush with a tiny amount of concealer or highlighter and trace just outside the lip line, especially around the cupid's bow, to make the shape pop and look incredibly crisp and defined.