


Start with a Clean Slate
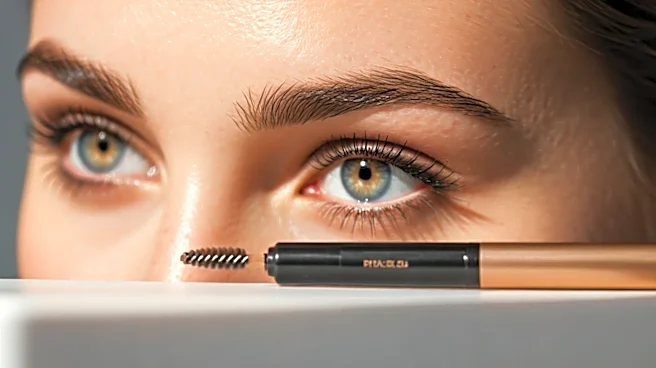
Before you add any product, give your brows a good brush. Using a clean spoolie, comb the hairs upward and outward. This simple motion does two things: it helps you see your natural brow shape and reveals any sparse areas that might need a little attention.
It also detangles the hairs, creating a uniform canvas to work with. Think of it as waking up your brows and getting them ready for the day. If you notice any long, unruly hairs, now is the time for a micro-trim, but be conservative. The goal is to tidy up, not to reshape entirely with scissors. For a truly fresh start, make sure the brow area is free of any lingering foundation or skincare products that could interfere with your brow makeup.
Find Your Shape the Simple Way
You don't need a ruler and a geometry lesson to find your ideal brow shape. A simplified version of brow mapping can be done with just your brow pencil. To find where your brow should start, hold the pencil vertically against the side of your nose; the brow should begin there. Next, to find the arch, angle the pencil from the corner of your nose through the center of your pupil; this is the highest point of your brow. Finally, angle the pencil from the side of your nose to the outer corner of your eye to find where your brow tail should end. These three points create a customized guide that ensures your brows are proportional to your unique facial structure, providing a flattering frame for your eyes.
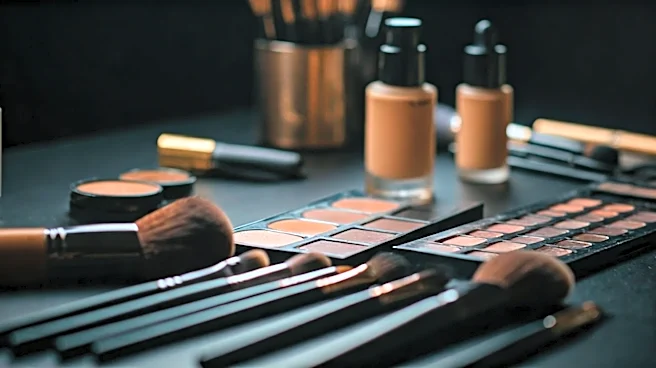
Pick Your Perfect Product
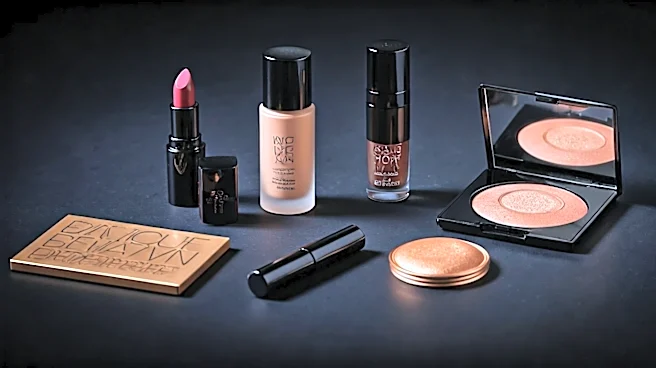
For a minimal routine, the product you choose is key. Your main options are a pencil, a tinted gel, or a powder. A fine-tipped pencil is excellent for creating realistic, hair-like strokes to fill in specific gaps with precision. This is perfect for those who need to add definition or extend the tail of their brow. A tinted brow gel, on the other hand, is the ultimate one-and-done product for those who are short on time. It adds a hint of color, volume, and hold all at once, giving a fuller appearance with a simple swipe. Finally, a brow powder offers the softest, most diffused look, ideal for adding gentle fullness without sharp lines. For beginners, a pencil or gel is often the most straightforward choice.
The Light-Handed Fill-In Technique
The key to natural-looking brows is to mimic the appearance of actual hair, not to draw a solid block of color. Using your pencil or an angled brush with powder, apply with short, light, feathery strokes in the direction of your hair growth. Start at the arch and tail, where brows are often naturally darker or more sparse, and then move toward the front. Use a much lighter hand at the front of the brow, applying vertical strokes to create a soft, upward lift. This prevents the front from looking too heavy or blocky. Remember to blend constantly with your spoolie to soften any harsh lines and distribute the product evenly for the most natural finish.
Set It and Forget It
The final step is to lock your work in place with a brow gel. A clear brow gel is perfect for setting the hairs without adding more color, giving a polished but natural hold. Simply brush the gel through your brows, again following the natural direction of growth—up at the front, and out toward the tail. This not only keeps every hair in place all day but also adds a final touch of texture that enhances the fluffy, natural look. If you used a pencil or powder, this step ensures everything melds together seamlessly. If you opted for a tinted gel earlier, you've already completed this step. This finishing touch ensures your brows look perfectly groomed from morning to night.