
Prep Your Canvas First
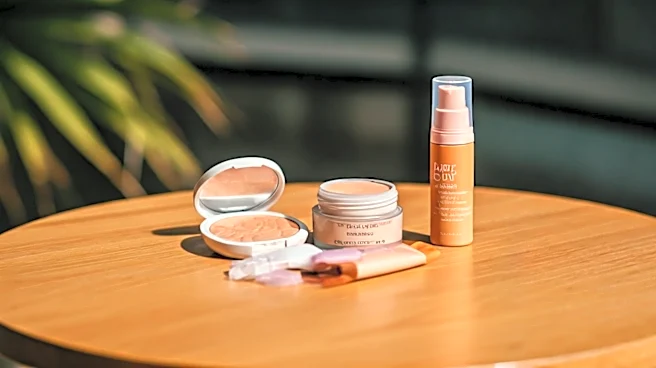
Long-lasting makeup begins with great skincare. A radiant, enduring flush is nearly impossible on dry, flaky skin or an overly oily surface. Before you even think about color, ensure your face is properly hydrated with a moisturizer suited to your skin type.
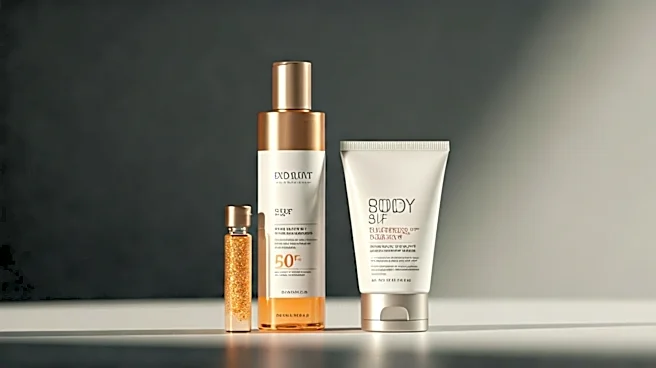
Allow it to fully absorb for a few minutes. Next, apply a primer. While it might feel like an skippable step, a good primer does two critical jobs: it creates a smooth, even surface for makeup to glide over, and more importantly, it gives your blush something to grip onto. For maximum longevity, choose a primer that addresses your main concern—a mattifying one for oily skin or a hydrating, luminous one for dry skin. This foundational step prevents your blush from being absorbed by your skin or sliding off with excess oil throughout the day.
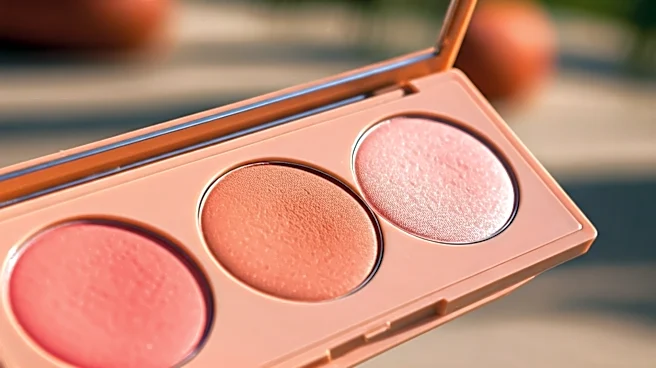
The Power of Layering: Cream Under Powder
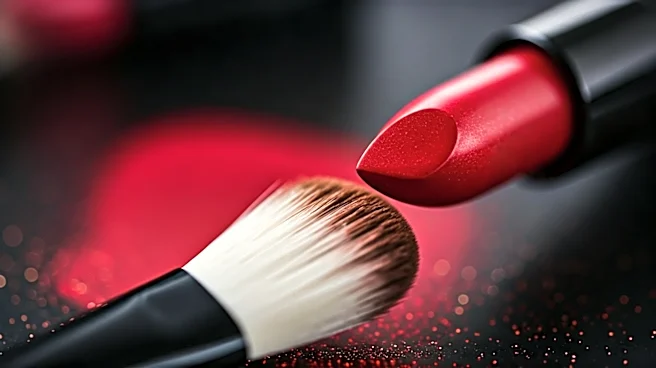
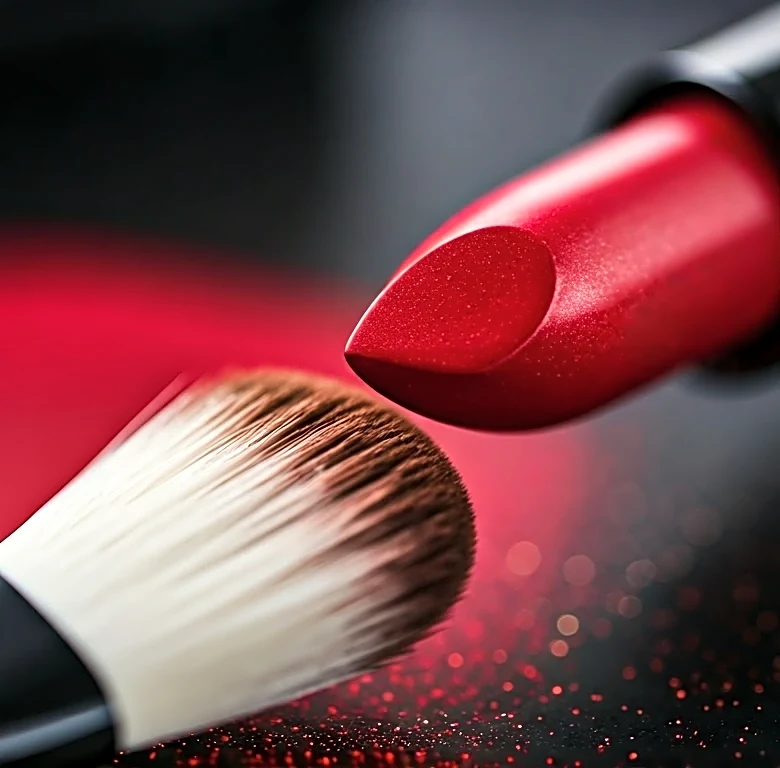
This is the single most important technique used by makeup artists for red carpets and photo shoots. Instead of relying on a single powder blush, the pros build dimension and staying power by layering products. Start with a cream or liquid blush. Using your fingers or a dense brush, tap the cream onto the desired area (we’ll get to placement next). The warmth of your fingers helps melt the product seamlessly into your skin, creating a natural-looking stain. This cream base acts as a durable, pigmented anchor. Don’t worry if it looks a bit intense; the next step will diffuse it perfectly. The goal here is to establish a color foundation that won't budge, even if the top layer wears slightly.
Strategic Placement Defines the Look
Where you put your blush matters just as much as how you apply it. The old “smile and apply to the apples of your cheeks” rule isn't wrong, but modern techniques offer more sophisticated results. For a lifted effect, concentrate the color on the high points of your cheekbones, blending upward and outward toward your temples. This draws the eye up, creating a sculpted, youthful look. For a natural, sun-kissed glow, apply blush not only to the apples but also lightly across the bridge of your nose, mimicking where the sun would naturally hit your face. And for a soft, diffused look, start at the apple and blend back toward your ear. The key is to apply your cream blush in your chosen placement before locking it in.
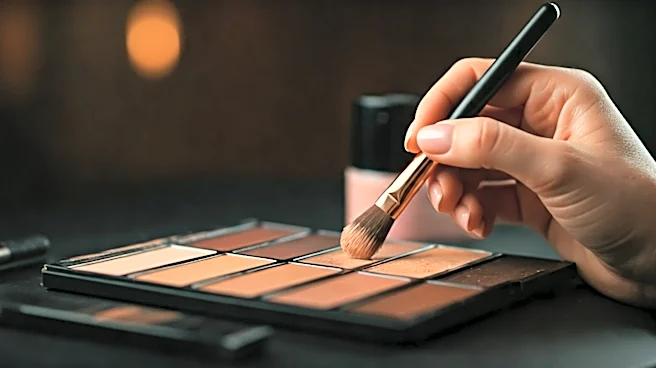
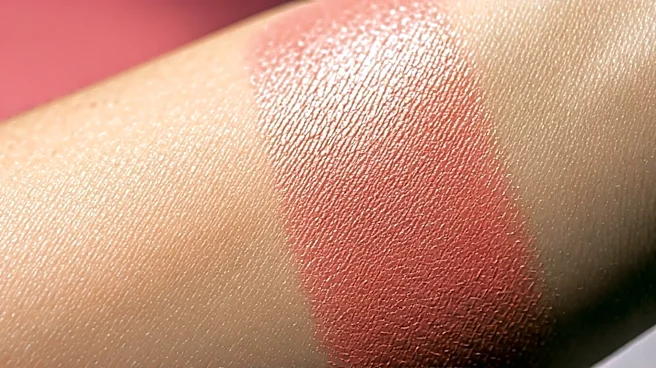
Lock It In With Powder
Once your cream blush is in place, it’s time to set it. Choose a powder blush in a similar shade. Instead of sweeping or dragging the powder across your skin—which can disrupt the cream base—use a stippling or pressing motion. Load a fluffy brush with a small amount of powder blush, tap off the excess, and gently press it over the exact area where you applied the cream. This technique locks in the cream color, adds a soft-focus finish, and doubles the intensity and wear-time of your flush. The powder absorbs any excess oil and creates a protective layer that stands up to sweat and humidity, ensuring your color remains vibrant for hours.
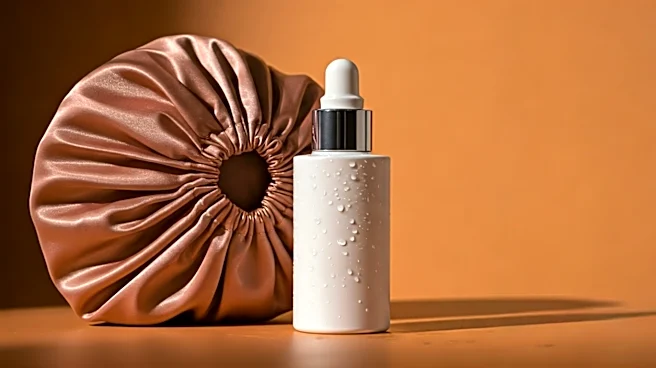
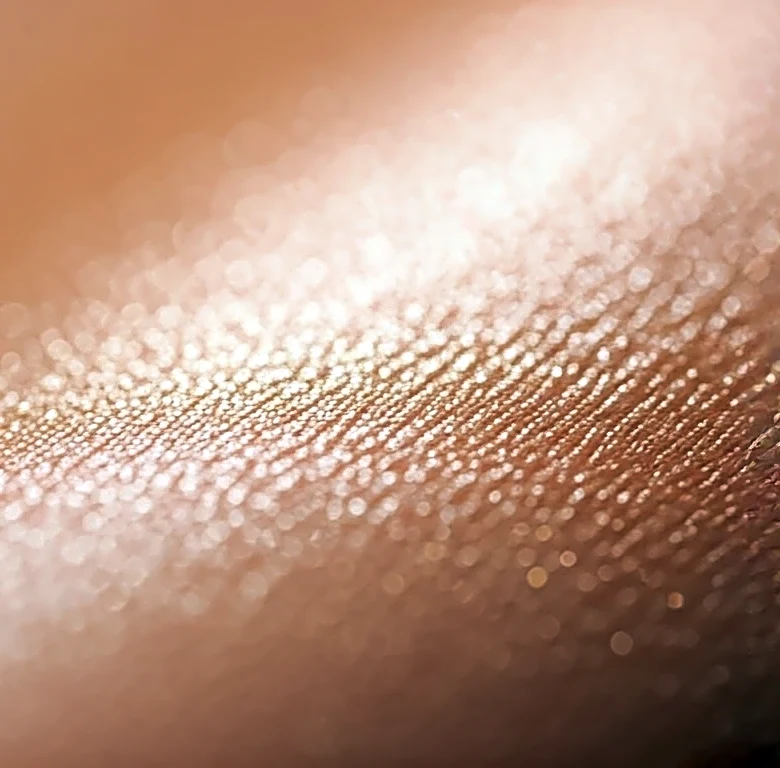
The Final Seal for a Flawless Finish
Your blush is layered and placed, but one final step will make it truly bulletproof. A quality setting spray is non-negotiable for a look that needs to survive flashbulbs and long hours. Hold the bottle about 8-10 inches from your face and mist lightly. Setting spray works by emulsifying the layers of makeup—the primer, foundation, cream blush, and powder blush—and melding them into one cohesive, skin-like finish. This not only eliminates any powdery or cakey appearance but also creates a flexible, water-resistant film over your makeup. For ultimate insurance, you can try the “makeup sandwich” method: spray after your cream products, then again after your powder products are complete. Your blush will look vibrant from the first photo to the last dance.