
The Goal: Feathered and Full, Not Stenciled
When done right, makeup for sparse brows shouldn’t look like makeup at all. The goal is to create the illusion of naturally fuller brows. This means avoiding harsh, solid lines and instead focusing on soft, multi-dimensional texture. A well-filled brow has
variation in color and shows hints of skin, just like real ones do. The key is to add definition and fill gaps while maintaining a soft, feathered appearance that frames your face without overpowering it. The mistake many make is trying to create a single, perfect, solid shape. Instead, think of it as adding individual hairs and subtle volume, which results in a look that is both polished and believable.
Choosing Your Tools: Pencils, Powders, and Pens
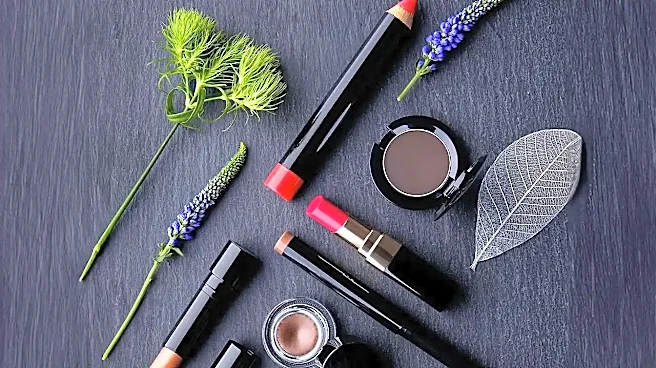
The right product is crucial for a natural finish. For sparse brows, a few options stand out. Ultra-slim pencils are ideal for creating precise, hair-like strokes to fill in specific gaps. Look for a fine-tipped pencil that allows for light, feathery application. Brow powders, applied with a stiff, angled brush, offer a softer, more diffused look, perfect for adding gentle volume without hard edges. For the most realistic effect, many artists turn to brow pens with a super-fine felt tip, which excel at drawing individual hairs that look incredibly real. Many find that using a combination—like a powder for general fullness and a pencil for targeted strokes—gives the best results.
Finding Your Shape: A Quick Guide to Brow Mapping
Before you fill, you need a blueprint. Brow mapping ensures the shape you create is symmetrical and tailored to your unique facial structure. It's a simple process using a pencil or brush handle. First, find your starting point by holding the tool vertically from the edge of your nostril straight up to your brow bone. Next, determine the end point by angling the tool from the edge of your nostril to the outer corner of your eye. Finally, find your natural arch by looking straight ahead and lining up the tool from the nostril through the center of your eye; where it hits the brow bone is the highest point. These three marks give you a guide for a balanced shape.
The Technique: Mastering the Hair-Like Stroke
Application is everything. The secret to natural-looking brows is to mimic the way real brow hairs grow. Always start with a light hand; you can always add more product, but it's hard to take it away. Using a fine-tipped pencil or pen, draw short, upward, flicking strokes at the front of the brow. As you move toward the arch and tail, follow the natural direction of your hair growth, which is typically more angled and sideways. Focus on filling in the sparse areas rather than outlining the entire brow. This technique creates dimension and prevents the blocky, 'sharpie marker' look. If using a pomade or powder, apply with a thin angled brush, starting at the arch and working your way out, then using the leftover product for the front of the brow.
Finishing Touches: Blend and Set for a Lasting Look
The final steps are what lock in that natural appearance. After applying your color product, always use a clean spoolie brush to comb through your brows. This simple action blends the makeup, softens any harsh lines, and distributes the pigment evenly for a seamless finish. Brushing the hairs upward at the front can also create a fluffier, more youthful look. To complete the process and ensure your work lasts all day, set everything with a brow gel. A clear gel will hold the hairs in place, while a tinted gel can add an extra layer of volume and color, further enhancing the illusion of fullness.