


Step 1: Prep the Canvas
The biggest mistake people make with texturizing sprays is applying them to bare, unprotected hair. Many of these sprays, especially salt-based formulas, are designed to absorb moisture to create that matte, gritty finish. On unprotected strands, this
leads directly to the straw-like feeling we all dread. The “hidden” first step is to create a healthy barrier. Before you even think about texture, your hair needs hydration. Start with damp, towel-dried hair. Apply a lightweight leave-in conditioner or a hydrating styling cream from mid-lengths to ends. This does two things: it provides a base layer of moisture for the texturizer to work against, and it helps detangle your hair, making it easier to style. If you plan to use any heat, like a diffuser, a heat protectant is non-negotiable. Think of it like priming a wall before you paint; you're ensuring the final result is smooth and the underlying structure remains undamaged.
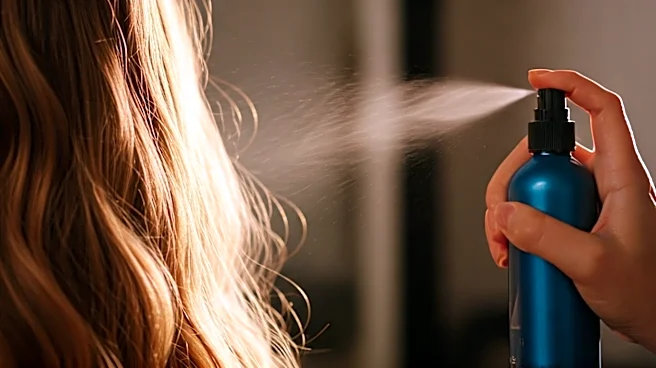
Step 2: Master the Art of the Mist
More is not more. Drenching your hair in texturizing spray is a fast track to stiff, sticky strands. The goal is a fine, even veil of product, not a concentrated blast. Hold the bottle at least 6-10 inches away from your head. This distance allows the mist to disperse widely and settle gently onto the hair. Instead of spraying continuously, use short, deliberate spritzes. Focus the application on the mid-lengths, where you want to build body and movement. A light mist at the roots can add lift, but overdoing it will weigh your hair down and can irritate your scalp. Once you’ve applied the spray, put the bottle down. Use your hands, not a brush. Gently scrunch sections of your hair upwards toward the scalp to encourage wave formation. For more defined pieces, twist small sections of hair around your finger. Then, let it air-dry or use a diffuser on a low-speed, low-heat setting to lock in the style without creating frizz.
Step 3: Don't Neglect the Aftercare
Here’s the part of the routine almost everyone skips: what you do at the end of the day. Sleeping on hair coated in salt and polymers can lead to tangles, breakage, and significant product buildup on your scalp and pillowcase. Just as you wash your face before bed, your hair deserves a reset. You don't necessarily need a full, harsh wash every single time. If your hair feels particularly gritty, a simple rinse with water and conditioner (a technique known as “co-washing”) can be enough to dissolve the product without stripping your hair’s natural oils. If you use texturizing sprays several days in a row, plan on using a clarifying shampoo once a week. These shampoos are formulated to cut through stubborn residue from styling products and minerals in hard water, giving your hair and scalp a true deep clean. This prevents the dullness and limpness that comes from chronic buildup.
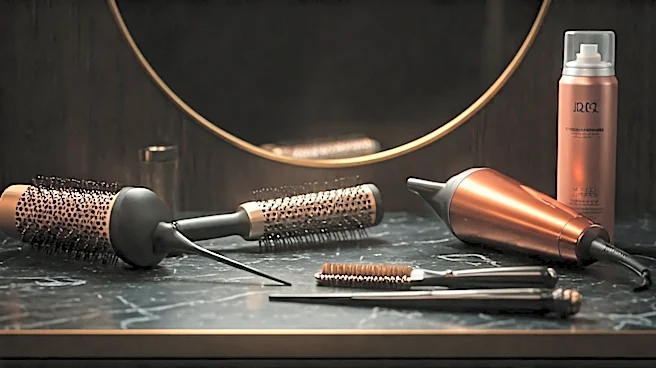
Step 4: Choose Your Formula Wisely
Not all texturizing sprays are created equal. While classic sea salt sprays are effective, they are inherently drying. If you have fine, color-treated, or naturally dry hair, they can be particularly harsh. Thankfully, the market has evolved. Look for formulas that balance texturizing agents with hydrating ingredients. Many modern sprays now contain ingredients like glycerin, aloe vera, or plant oils to counteract the drying effects. Another fantastic alternative is a sugar spray. Sugar-based texturizers work similarly to salt sprays by creating grit and hold, but sugar is a natural humectant, meaning it draws moisture from the air into your hair. This gives you the texture you want with a softer, more touchable finish and less risk of dehydration. Reading the ingredient list can help you make a healthier choice for your specific hair type.