




The Goal for an Oval Face: Enhance, Don't Reshape
Unlike other face shapes where contouring aims to create illusions of length or width, the oval face is already naturally balanced. Because of this, the goal isn't to correct or drastically reshape, but to gently enhance the existing bone structure. Professional
makeup artists know that heavy-handed application on an oval face can backfire, making it look unnaturally narrow or harsh. The standard advice is to apply a cool-toned contour shade lightly under the cheekbones, along the temples, and perhaps a whisper along the jawline to add soft definition. This creates a subtle depth that celebrates your face’s natural symmetry.
Where Most Contouring Routines Stop Short
Most at-home contouring focuses almost exclusively on the placement of the dark, contouring shade. You find the hollows of your cheeks, swipe on some product, blend it out, and call it a day. While this step is essential for creating shadows, it's only half of the equation. Stopping here is what often leads to a look that feels unfinished or even muddy. Without its counterpart, the contour can appear as a standalone stripe rather than an integrated part of your facial dimension. This is the amateur mistake that keeps your makeup from reaching that coveted, red-carpet-ready level of flawlessness.
The Hidden Step: The Art of Strategic Highlighting
The true secret to professional-looking contour is the deliberate and strategic use of highlighter. It's not just about dabbing some shimmer on top of your cheekbones at the end. The hidden step is understanding that contouring is a dance between light and shadow. For an oval face, where you place your lighter shades is just as important, if not more so, than where you place your shadows. Instead of just focusing on creating depth, you need to bring specific areas forward to maximize dimension. This technique involves using a concealer or a matte highlighting cream one to two shades lighter than your skin tone to brighten the center of your face.
How to Master the Highlight-Contour Balance
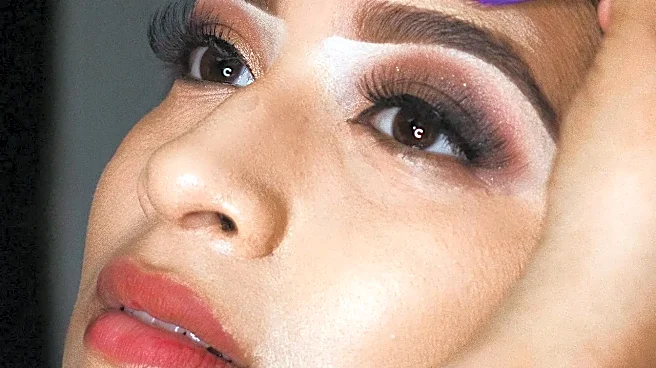
To execute this properly, apply your lighter product in key zones before you blend everything together. The primary areas for an oval face are the center of the forehead, down the bridge of the nose, under the eyes in an inverted triangle shape, and on the center of the chin. Placing light in these areas draws focus to the center of your face, which enhances its balance and makes your contour appear more natural and sculpted by contrast. When you blend, ensure the edges where the highlight and contour meet are seamlessly diffused. Use a damp beauty sponge to press and melt the products into your skin, eliminating any harsh lines.
Choosing the Right Products for a Seamless Finish
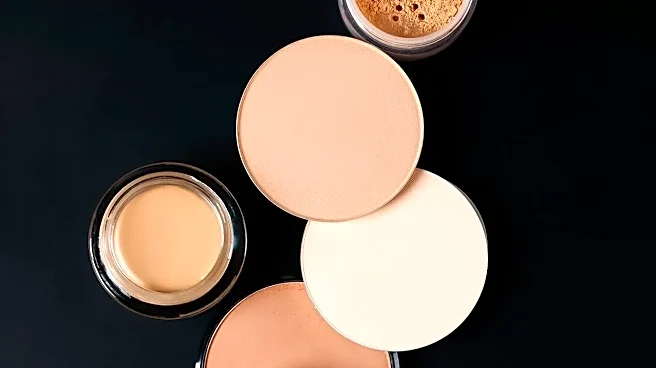
Product choice can make or break this technique. While powders are classic, many professionals prefer cream products for a more natural, skin-like finish. Creams are more forgiving and blend into the skin beautifully, which is crucial for making the highlight and contour look like your real bone structure. When selecting a contour shade, opt for a cool-toned product that mimics a real shadow, not a warm bronzer. For your strategic highlight, choose a concealer or cream that is brightening but not shimmery. The goal is to create a soft, matte lift, saving any shimmer for the very highest points of the cheekbones as a final touch.