





Start with a Perfect Canvas: The Primer
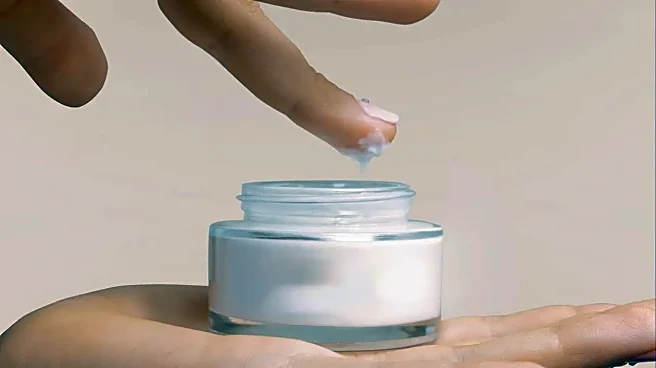
One of the biggest mistakes in eyeshadow application is skipping the first step: primer. Without it, the natural oils on your eyelids can cause shadow to fade, smudge, or settle into creases by midday. An eyeshadow primer creates a smooth, even base that
helps the pigment adhere better, making colors appear more vibrant and ensuring your look lasts all day. Apply a thin layer from your lash line up to your brow bone and let it set for about a minute. If you don’t have a dedicated eye primer, a small amount of concealer can work in a pinch to create a tacky base that grabs onto the shadow.
Lay the Foundation: The Base Shade
Before you add any dramatic color, apply a neutral, matte eyeshadow that is close to your skin tone across the entire lid. This initial layer, often called a base or transition shade, serves a few key purposes. It evens out any discoloration on your eyelid, provides a smooth canvas for other colors to glide onto, and helps make blending later steps much easier. Think of it like painting a wall—you wouldn't apply a deep color without a coat of primer first. This step ensures that the colors you layer on top will appear true to their shade and blend seamlessly.
Create Dimension: Defining the Crease
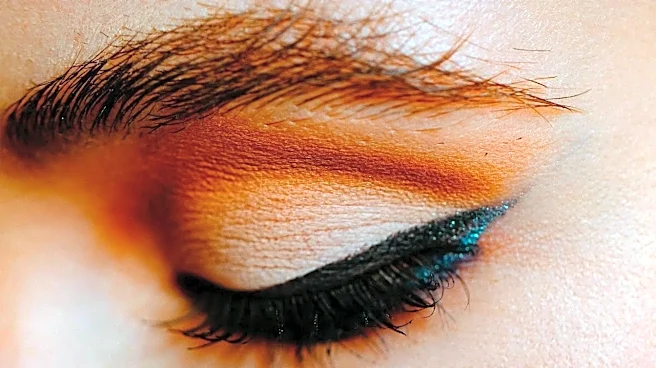
The crease is the area where your eyelid naturally folds. Adding a slightly darker color here creates dimension and makes your eyes appear larger. Using a fluffy blending brush, sweep a matte shade that is a few shades darker than your skin tone into the crease using back-and-forth, windshield-wiper motions. This is often called a transition shade because it helps create a smooth gradient between the lighter lid color and the darker accent colors. Start with a small amount of product and build it up gradually; it's always easier to add more shadow than to take it away.
Deepen the Look: The Outer Corner
To add depth and a subtle contour, apply your darkest shade to the outer corner of the eye. Many makeup artists use a small, precise brush to place the color in a 'V' shape on the outer third of the eyelid, connecting the lash line to the crease. This technique adds intensity without overwhelming the entire eye. The key is to concentrate the darkest pigment on the outside and then blend it inward toward the center of the lid. This draws attention to the eyes and can create a lifting effect.
Brighten and Lift: Strategic Highlighting
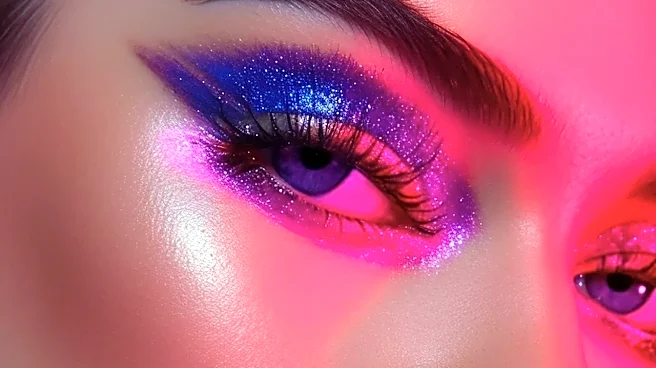
Highlighting is the secret to making your eyes look brighter and more awake. Apply a light, shimmery shade to two key areas: the inner corner of your eye and just below your eyebrow on the brow bone. A pop of light on the inner corner instantly opens up the eyes. The highlight on the brow bone creates a lifted appearance. This small detail frames the eyeshadow look and adds a professional, polished finish. You can use a small, precise brush or even your fingertip to dab on the highlight.
The Final, Crucial Step: Seamless Blending
The most common eyeshadow mistake is not blending enough. Harsh lines between colors can make an otherwise beautiful application look unpolished. The goal is to create a seamless transition where you can't tell where one color ends and another begins. Use a clean, fluffy blending brush to gently sweep over the edges of your eyeshadow in small, circular or windshield-wiper motions. It's important to blend after each step to ensure all the colors meld together beautifully. Remember the rule makeup artists swear by: when you think you're done blending, blend some more.