


The Promise of Primer
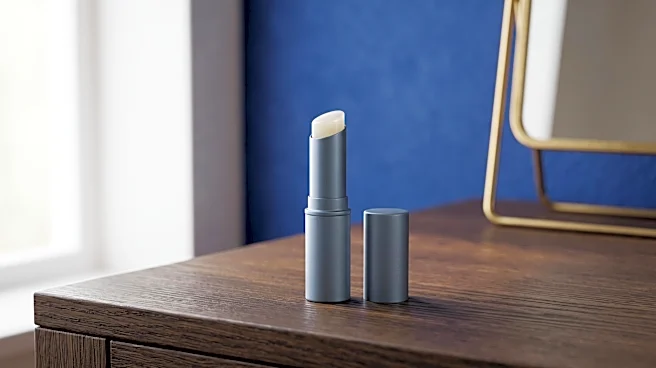
First, let’s revisit why lip primer is a makeup bag essential in the first place. Think of it as the foundation for your lipstick. Its primary job is to create a smooth, even canvas. A good primer fills in fine lines on your lips, neutralizes your natural
lip color for better pigment payoff, and provides a grippy surface for lipstick to adhere to. This helps prevent common frustrations like feathering, where color bleeds into the skin around your mouth, and ensures your lipstick wears longer throughout the day. Many formulas also contain hydrating ingredients to keep lips from drying out, which is especially crucial when wearing long-wear matte lipsticks. But simply swiping it on isn’t enough to unlock these benefits.
The Common Mistake You’re Probably Making
Most of us apply makeup in a hurry. When it comes to lip primer, the typical routine involves swiping on a layer and then immediately following it with lip liner and lipstick. While well-intentioned, this is where things go wrong. Applying lipstick onto a wet or slick primer causes the products to mix together rather than layer properly. Instead of creating a stable base, the primer and lipstick merge into a diluted, slippery concoction that’s more likely to slide around, smudge, and fade quickly. This single misstep negates the entire purpose of the primer, leaving you with a finish that's no better than if you had skipped it entirely.
The Hidden Step: Just Wait a Minute
The secret weapon behind a professional lip look isn't a secret product—it's patience. The single most important step is to wait after applying your lip primer. Give the product time to set, dry, and create the smooth, slightly tacky film it was designed to form. How long should you wait? The consensus among makeup artists and brands is anywhere from a full minute to five minutes. A product tutorial for Look Fabulous Forever's lip primer specifically advises waiting around five minutes for it to dry before applying lipstick. This pause allows the primer's formula to work its magic, creating an unmovable base that will grip your lipstick and hold it in place for hours. Your lipstick will glide on more smoothly, the color will appear richer, and the edges will stay crisp and defined.
Your New Professional Application Routine
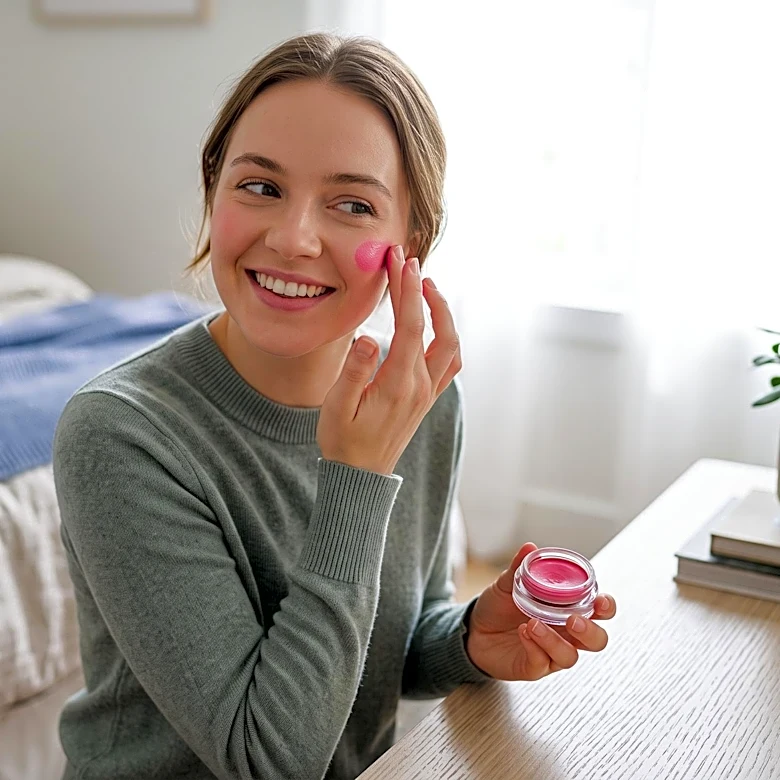
Ready to put it all together? Follow this pro-approved method for a flawless pout every time. Start by prepping your lips. Gently exfoliate with a lip scrub or a soft toothbrush to remove any dry, flaky skin. Next, apply a very light layer of a hydrating, non-greasy lip balm and give it a few minutes to absorb, blotting away any excess. Now, apply a thin, even layer of your lip primer, covering the entire lip surface. And here's the crucial part: wait. Use this time to apply your eye makeup or blush. After at least one minute, your lips should feel set and ready. Now proceed with your lip liner and lipstick, which will now apply over a perfectly prepared canvas.
Extra Tips for an Indestructible Lip
Once your primer is set, consider filling in your entire lip with a liner that matches your lipstick shade. This acts as a second layer of color-locking primer. It ensures that even if your lipstick begins to wear off after a meal, the liner underneath provides a uniform stain of color, preventing a patchy appearance. For even more staying power, especially with creamy bullet lipsticks, try the blot-and-reapply technique. After your first coat of lipstick, gently blot your lips with a tissue to remove excess oils, then apply a second thin coat. Some makeup artists even suggest lightly dusting translucent setting powder over the tissue while it's pressed against your lips to lock in the color before your final coat.