







Gathering Your Magical Materials
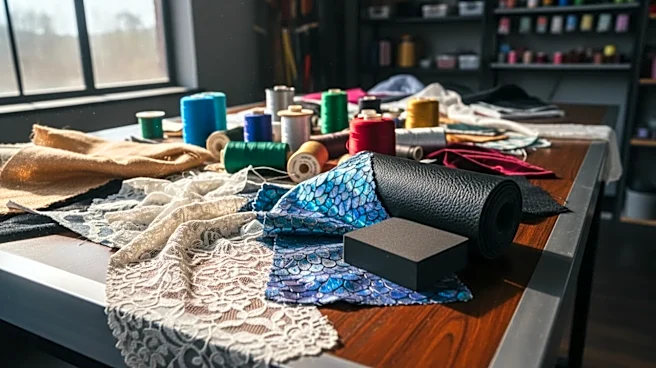
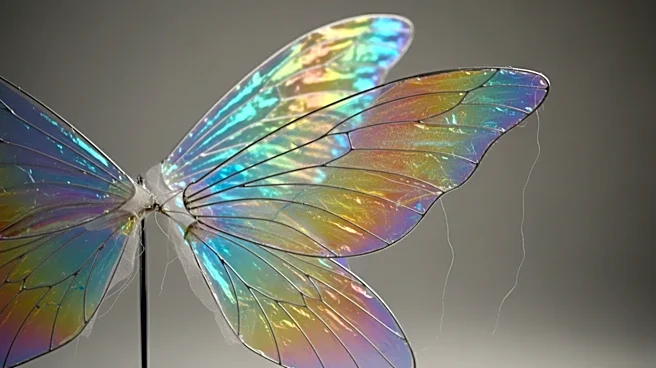
Before you begin, assembling the right supplies is crucial for a successful project. This method combines a structural frame, a fabric base, and an iridescent film to create a durable, light-catching wing. You will need a sturdy but bendable wire for the frame;
12- to 14-gauge steel or galvanized wire is a common choice for its strength. For the wing membrane itself, you'll need sheer organza fabric in your color of choice. The magic ingredient is a roll of heat-fusible iridescent film, often sold as fantasy film or cellophane wrap. To bond these layers, you will need iron-on vinyl adhesive, which comes in rolls. Finally, you'll need tools: pliers and wire cutters for shaping the frame, a heat press or a standard home iron for the fusion process, and parchment paper or a silicone mat to protect your surfaces and the wings themselves.
Step 1: Building the Wing Frame
The foundation of your wings is the wire frame. Start by sketching your desired wing shape onto a large piece of paper to serve as a template. Using your pliers, carefully bend the wire to match this design, ensuring it lies as flat as possible. For larger wings, consider creating smaller, interconnected sections for better stability. Once you are happy with the shape, twist the wire ends together securely or use floral or electrical tape to join them. This frame will serve as the 'veins' of your wings, providing structure for the delicate fabric and film. Laying the frame on a flat surface is essential for the upcoming steps.
Step 2: Fusing the Film and Organza
This is where the iridescence comes to life. First, cut a piece of the iron-on vinyl adhesive slightly larger than your wing frame. Place it on your work surface with the sticky side up. Carefully lay your organza fabric over the adhesive, smoothing it out completely. Now, roll the iridescent film over the organza, again ensuring there are no bubbles or wrinkles. You should now have a three-layer sandwich: adhesive on the bottom, organza in the middle, and iridescent film on top. Place your wire frame on top of this sandwich. Finally, lay a second piece of organza over the entire assembly.
Step 3: Applying Heat to Bond the Layers
With all your layers in place, it’s time to apply heat. If you're using a heat press, set it to a temperature between 250 and 310 degrees Fahrenheit. If using a home iron, use a medium setting with no steam. Place a protective layer, like a silicone mat or a sheet of parchment paper, over the wing panel to prevent the plastic film from melting directly onto your heat source. Press down firmly for about 10-15 seconds, moving the iron across the entire surface to ensure every part is bonded. Allow the panel to cool completely. The heat activates the adhesive, fusing the organza and iridescent film together around the wire frame, creating a single, solid panel.
Step 4: Cutting and Finishing Your Wings
Once the panel is cool and fully bonded, you can cut out your wing. Use sharp scissors or a craft knife to carefully trim around the outside of the wire frame, leaving a small border if desired. Some crafters use a soldering iron or a special heat tool to cut and seal the edges simultaneously, which can create a very clean finish. Be sure to work in a well-ventilated area if using heat-cutting tools. After cutting, you can create a brace to wear the wings. A common method involves shaping a U-shaped piece of sturdy wire that can be attached to the base of both wing panels and then slipped into the back of a corset or harness for support.
Troubleshooting and Embellishments
Don't worry if your first attempt isn't perfect. If you notice air bubbles after heating, you can sometimes gently reheat the area and smooth them out with a gloved hand. If the film doesn't stick, your heat setting may be too low or the pressure insufficient. Once your basic wings are complete, feel free to add personal touches. You can use glitter glue or alcohol inks to add color and detail to the veins, or glue rhinestones along the frame for extra sparkle. This technique is versatile, allowing for endless creativity in bringing your unique fantasy designs to reality.