
The ‘Why’ Behind the Chill
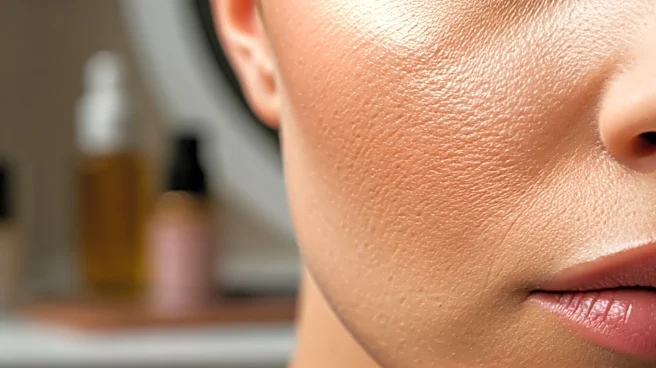
Before we get to timing, let’s understand what an ice roller is actually doing for your skin. The magic is in the cold temperature, which causes vasoconstriction—a fancy word for the temporary narrowing of blood vessels. This simple process has a cascade
of immediate, visible effects. First, it significantly reduces puffiness, especially around the eyes, by helping to drain excess fluid. Second, it calms inflammation and minimizes redness, creating a more even-toned complexion to start with. Finally, the cold can make pores appear smaller and skin feel tighter. Think of it as creating a firm, smooth, and calm canvas. You’re not just applying makeup; you’re applying it to a surface that’s been perfectly prepped to hold it beautifully and evenly.
The Perfect Pre-Makeup Timing Window
Here is the simple, game-changing rule: use your ice roller *after* your skincare has fully absorbed but *before* you apply any makeup primer or foundation. This is the sweet spot that maximizes the benefits for your makeup application. If you roll on a completely bare, dry face, you risk tugging at the skin. If you roll immediately after applying serums or moisturizer, the roller might just glide over the product without the cold penetrating effectively, and you’ll end up with a messy, goopy tool. The key is to let your hydrating serums and creams sink in for a few minutes. Once your skin feels hydrated but no longer wet to the touch, it’s time to roll. This sequence allows the roller to do its de-puffing and smoothing work on hydrated skin, effectively 'locking in' that moisture and creating an ideal base. Waiting until after your skincare is absorbed ensures the cold therapy works on the skin itself, not just the product sitting on top of it.
Your Step-by-Step Rolling Routine
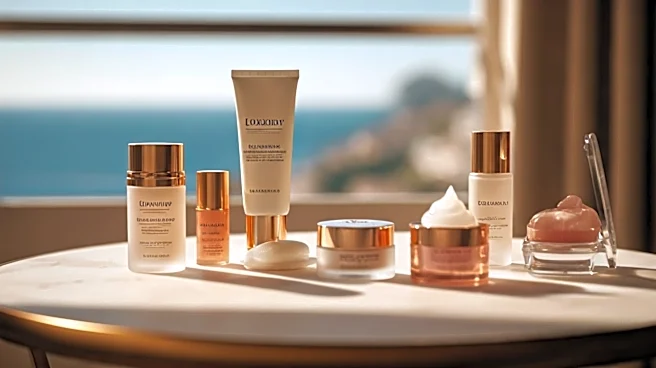
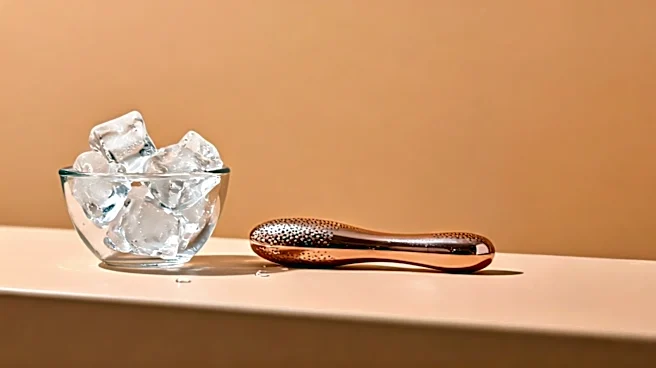
To make this a seamless part of your morning, follow this order. Start with a freshly cleansed face. Apply your usual lineup of skincare—toner, vitamin C serum, hyaluronic acid, moisturizer, and eye cream. Give these products about five to ten minutes to fully absorb. Now, grab your ice roller from the freezer. Begin rolling in gentle, upward and outward motions. Start at the center of your face and work your way out. Roll up your neck to your jawline, from the side of your nose out towards your temples, and across your forehead. Use a light touch; there’s no need to apply firm pressure. The cold is doing the work, not the force. Spend about five to ten minutes total on this step. You’ll feel your skin become cool, taut, and refreshed. Once finished, you can proceed directly to your makeup primer, foundation, and the rest of your look. You’ll likely notice your makeup glides on more smoothly and your skin looks naturally sculpted.
Common Mistakes to Avoid
To get this right every time, steer clear of a few common pitfalls. First, don't roll for too long. More is not better here. Over-exposing your skin to extreme cold can cause irritation or damage capillaries, especially if you have sensitive skin or rosacea. A five-to-ten-minute session is plenty. Second, never use an ice roller on a dirty face or with a dirty tool. You’ll just be pushing bacteria and grime into your pores. Always start with clean skin and wipe your roller down with an alcohol-based cleanser after every use before popping it back in the freezer. Finally, avoid holding the roller stationary on one spot. Keep it moving in fluid, gentle strokes to prevent any risk of an 'ice burn' or excessive redness.