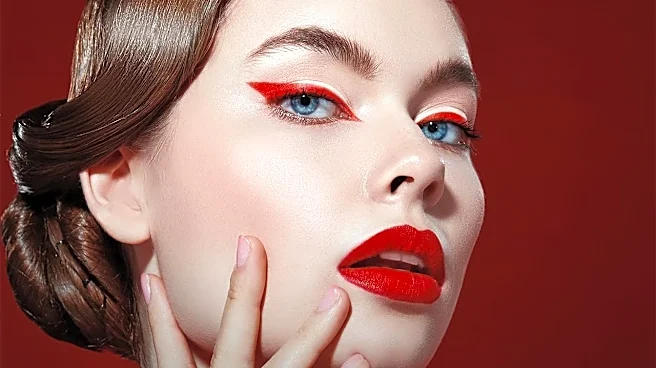







The Common Mistake: Going Straight for Black
Most people grab their favorite black liquid or gel liner and try to draw the perfect wing or floating crease in one confident, sweeping motion. The result? Often a shaky, uneven line that gets thicker and more distorted with every attempt to fix it.
Committing to a dark, permanent liner from the very first stroke leaves no room for error. A single wobble or misjudgment means you’re either starting over completely or entering a frustrating cycle of trying to make the other eye match the mistake. This high-stakes approach is what makes graphic liner so intimidating. Pros know that jumping straight to the boldest part of the look is a recipe for uneven results and wasted time.
The Pro Secret: Sketch Your Design First
The single most transformative step that professionals use is to sketch the entire design before committing to black liner. Instead of a dark liquid, they use a tool that’s easily correctable: a light-colored eyeliner pencil. A nude pencil that matches your skin tone is ideal, as it creates an almost invisible guide. A white or light brown pencil can also work, depending on your skin tone and the boldness of the look. The goal is to create a faint, erasable blueprint on your eyelid. This low-pressure first pass allows you to perfect the shape, angle, and symmetry of your design without fear. If you mess up, a little bit of concealer or a cotton swab is all you need to clean it up and try again.
How to Map Your Perfect Shape
With your light-colored pencil in hand, it’s time to play architect. Look straight into the mirror with your eyes relaxed and open to see how the liner will appear in its final form. Start by placing small dots or dashes to plot out the key points of your design. For a winged look, map the endpoint of the wing first, angling it up toward the tail of your eyebrow. Then, create another dot on your lash line and connect them. For a floating crease, lightly trace the shape just above your natural crease. Continually check for symmetry between both eyes, making small adjustments as needed. This connect-the-dots method gives you incredible control and ensures the final shape will flatter your unique eye structure.
Trace, Fill, and Define
Once you're happy with your faint sketch, the hard part is over. Now, you can take your favorite black or colored liquid liner and simply trace over the guide you’ve created. Your sketch acts as a stencil, taking all the guesswork out of the application. Your hand can be more confident because it has a clear path to follow. Use smooth, deliberate strokes to connect the lines you’ve mapped out. After tracing the outline, fill in the shape completely. The result is a much cleaner, sharper, and more intentional line than you could ever achieve by freehanding it from the start.
The Final Touch: A Razor-Sharp Cleanup
Even with a sketch, small imperfections can happen. The final professional touch is the cleanup. This is what creates that impossibly crisp edge you see in photos. Take a small, flat, or angled brush dipped in a bit of makeup remover or micellar water and gently glide it along the outer edge of your liner to sharpen the line. Alternatively, you can use a fine-tipped brush with a small amount of concealer to carve out the shape and erase any smudges. This not only corrects mistakes but also enhances the definition, making the liner pop and giving it that flawless, polished finish.