






The Beginner's Mistake: Drawing With Eyes Closed
A beginner's first instinct is often to close one eye, pull the skin taut, and draw a straight line from the outer corner. It makes sense in theory—you're creating a smooth canvas. The problem is, this canvas disappears the moment you open your eye. For
hooded eyes, a fold of skin drops down over the outer corner, which means the beautifully straight line you just drew either vanishes completely or becomes a distorted, droopy curve. This is the primary reason why so many attempts end in frustration, with the wing looking thick, uneven, or disconnected.
The Pro's Approach: Working With Your Eyes Open
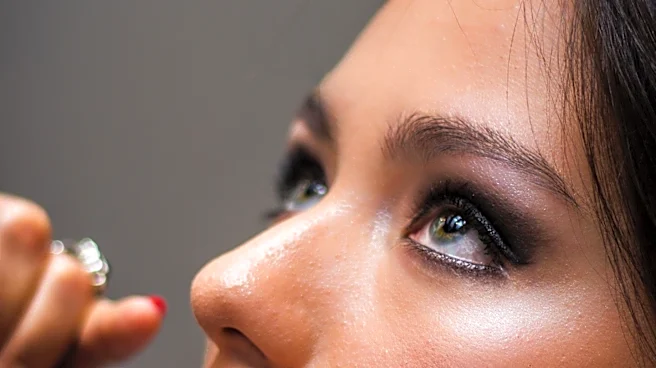
Professionals and seasoned makeup lovers know that for hooded eyes, you must work with the hood, not against it. This means keeping your eyes open and looking straight into the mirror. The goal is to see exactly where the skin folds and to draw the wing's shape where it will remain visible. Instead of one straight line, pros often create the outer wing first, sketching a line from the lower lash line up towards the brow tail, stopping before it hits the deepest part of the crease. This ensures the most important part of the wing—the pointed tip—is always in view.
The Beginner's Mistake: Following the Lash Line Blindly
After drawing a line along the entire upper lash line, a beginner might try to connect their wing to it, resulting in a thick, heavy line that can make the eye appear smaller. Because hooded eyes have limited visible lid space, a thick band of liner can easily overwhelm the eye, covering up what little space is available and creating a dark, crowded look instead of the desired lift.
The Pro's Approach: The 'Bat Wing' or Floating Liner Technique
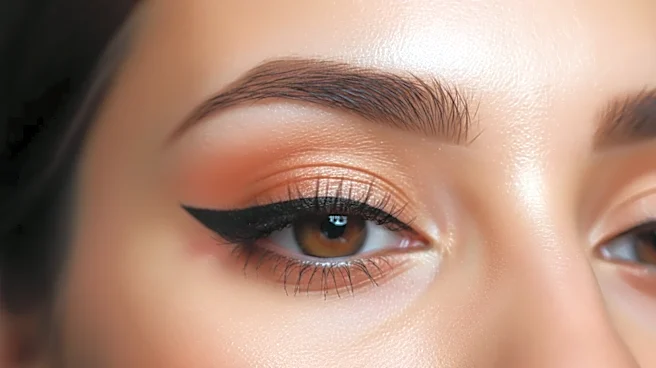
This is the game-changing technique you see on social media. With the eye open, after creating the outer flick, a pro will connect it to the lash line in a way that looks strange when the eye is closed but perfect when it's open. They draw a second line from the tip of the wing that swoops down to meet the lash line, essentially creating a gap or a triangular, bat-wing shape that the hooded skin will cover. When the eye is open, the lines magically connect to form the illusion of a perfect, uninterrupted wing. This method preserves precious lid space while ensuring the wing's shape remains sharp and lifted.
The Beginner's Mistake: Using the Wrong Tools and Products
Many beginners grab the first liquid liner they see, which might have a thick, inflexible felt tip or a formula that's hard to control. Pulling and tugging at the delicate eye skin with a blunt marker can lead to bumpy, uneven application. Likewise, using a formula that isn't waterproof or smudge-proof is a recipe for disaster on hooded eyes, where the liner is in constant contact with the skin of the upper lid, leading to smudging and transfer.
The Pro's Approach: Prioritizing Precision and Longevity
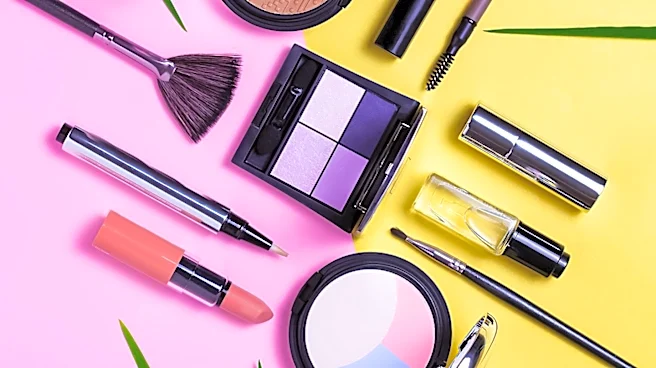
Professionals often prefer gel liner with a very fine, angled brush or a liquid liner with a precise, brush-like tip. These tools offer maximum control for creating thin, hair-like strokes. Many start by sketching the shape with a softer pencil or a dark eyeshadow, which is easier to correct before committing with a bold liquid or gel. An eyeshadow primer is also considered non-negotiable to create a smooth, oil-free base that prevents smudging throughout the day. Finally, pros are masters of the cleanup, using a flat brush with a tiny bit of concealer to sharpen the wing's edge for an impossibly crisp finish.