

The Undertone Misunderstanding
The number one reason bronzer fails on deep skin is choosing the wrong undertone. Beginners often pick a shade that's simply labeled "deep," but professionals know that undertone is king. Deep skin isn't monolithic; it can have rich golden, red, or neutral
undertones. A pro will select a bronzer that complements these nuances—like a warm terracotta for golden-brown skin or a muted red-brown to bring out the warmth in cooler, deeper complexions. A beginner, however, might grab a bronzer with a cool or ashy base, which can look grey or muddy against melanin-rich skin. Similarly, a shade that's too orange can look artificial. The goal is to mimic how your skin naturally tans, so the warmth should look like it belongs to you.
Formulation and Finish Matter
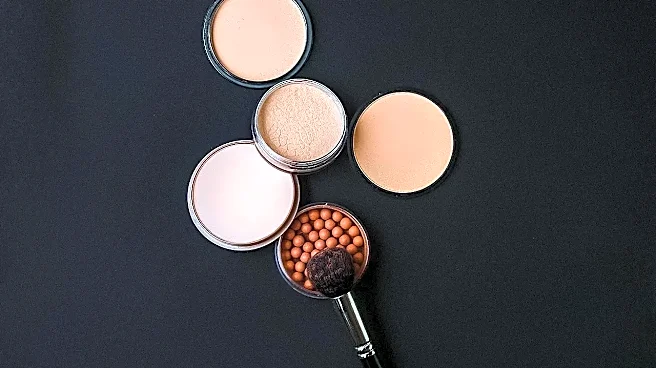
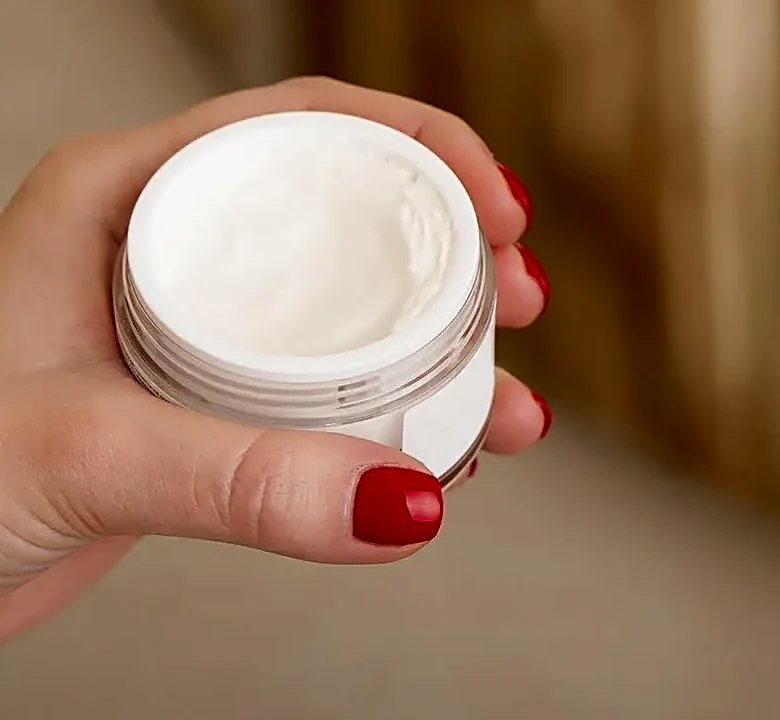
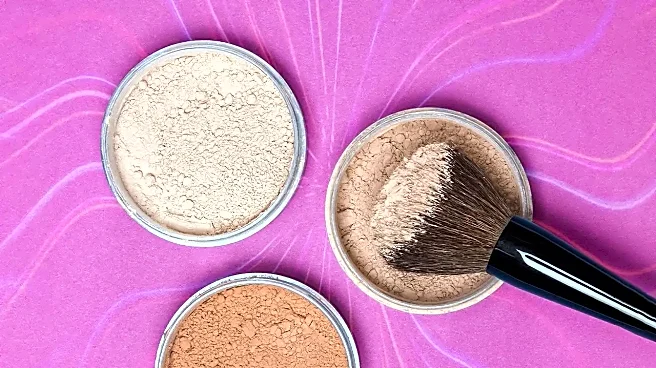
Professionals are masters of texture, often opting for cream or liquid bronzers on their clients. These formulas tend to melt into the skin, creating a seamless, second-skin finish that's harder to spot. They provide a controllable, buildable warmth that looks like a natural glow from within. Beginners, on the other hand, frequently start with powder bronzers. While powders are great, using one that isn't finely milled or is applied with a heavy hand can result in a patchy or streaky application. Another pro secret is understanding finish. While some shimmer can be beautiful, bronzers with large, visible glitter particles can look unnatural. Professionals often prefer matte or satin finishes to create believable warmth, using a separate highlighter for a targeted glow.
Strategic Placement vs. The Contour Stripe
A tell-tale sign of a beginner is confusing bronzing with contouring. Many beginners apply bronzer in a harsh line in the hollows of their cheeks, which is a contouring technique meant to create shadow. Bronzer's purpose is different: it's meant to add warmth where the sun would naturally hit your face. A makeup artist will use a light hand to sweep bronzer across the high points of the face—the top of the forehead, along the cheekbones (above the contour area), across the bridge of the nose, and a touch on the chin. This creates a diffused, all-over warmth that looks dimensional and healthy. They also remember to blend the product down the neck and onto the décolletage to ensure a cohesive, natural-looking glow.
The Right Tools and Blending
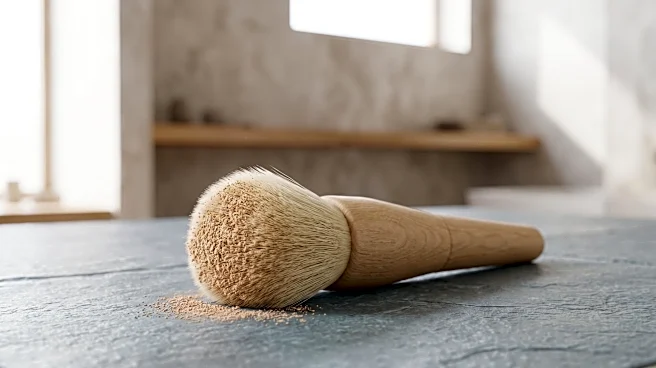
The tools you use can make or break your bronzer application. Professionals almost always reach for a large, fluffy brush with a flexible wrist to apply powder bronzer. This type of brush deposits a soft, diffused veil of color that's easy to build up without creating harsh lines. Beginners often make the mistake of using a brush that is too small or densely packed, which concentrates the product in one spot and makes blending a challenge. For cream products, pros might use a synthetic brush, a sponge, or even their fingers to press and melt the product into the skin. The ultimate pro technique, however, is blending. They blend until there are no visible edges, ensuring the bronzer becomes one with the skin for that truly believable, sun-kissed effect that beginners strive for.