



The Common Sunkissed Mistake
For years, the standard advice has been to sweep bronzer in a “3” shape along the temples, under the cheekbones, and along the jaw. While this method adds warmth, it often fails to create convincing dimension. Applying a single, warm-toned powder over
the entire face or in these broad strokes can flatten your features, making the color look artificial rather than like a genuine tan. The sun doesn't tan our faces in a perfect, uniform pattern. A real tan has depth, with some areas appearing more deeply bronzed and others just lightly kissed by the sun. When bronzer looks unnatural, it's often because it’s applied too heavily or in the wrong places, creating a muddy or ashy appearance instead of a healthy glow.
Rethinking Where the Sun Naturally Hits
To create a professional-looking glow, you need to think less about adding color and more about mimicking the sun. A natural tan is created by light hitting the highest points of the face most directly. These areas include the top of the forehead, the bridge of the nose, and the tops of the cheeks. However, a true tan also creates subtle shadows. The secret to a believable faux glow lies in understanding and recreating this interplay of light and shadow, which is something a single shade of shimmery bronzer can't do on its own. This requires a multi-dimensional approach that separates the act of warming the skin from the act of sculpting it.
The Hidden Step: Strategic 'Undersculpting'
Here is the hidden step many pros rely on: using two different tones. Before you even touch a traditional warm bronzer, the key is to “undersculpt” with a cooler-toned, matte product. This isn't a harsh contour, but a soft placement of a neutral or taupe shade to create a subtle, natural-looking shadow. This step is about adding dimension, not color. By applying a cooler tone just under the cheekbone, you create the illusion of depth that a real tan provides. This prevents the warm bronzer you'll apply later from looking like a flat layer of makeup sitting on top of your skin. This technique works because it separates the two jobs: the cool tone sculpts, and the warm tone provides that sunny glow.
How to Master the Two-Tone Technique
Start by choosing a matte cream or powder that is just one or two shades darker than your skin with a neutral or slightly cool undertone. Apply this sparingly right in the hollows of your cheeks, blending upward toward your temples, but keeping the placement tight and focused. You can also add a touch to the outer edges of your forehead near the hairline. Now, take your traditional warm or golden bronzer. Using a fluffy brush, apply this to the high points where the sun would naturally hit: the tops of your cheekbones (just above where you placed the cooler tone), the bridge of your nose, and the center of your forehead. The key is to use a light hand and build the color gradually. The two tones should blend seamlessly, creating a gradient effect that looks like a real, dimensional tan.
Finishing Touches for a Seamless Glow
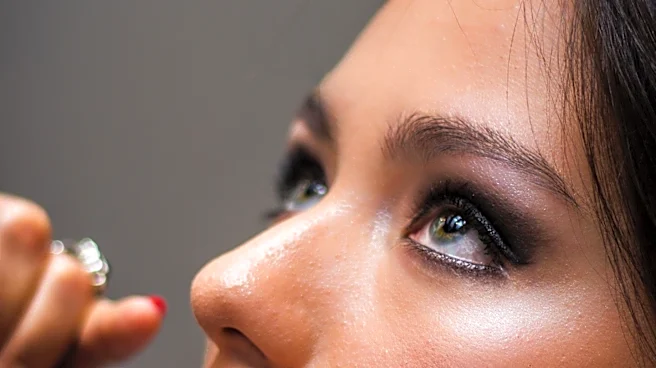
To complete the look and ensure it looks effortlessly real, blend everything thoroughly. There should be no harsh lines between the cooler sculpting shade and the warmer bronzing shade. Follow up with a pop of blush. A peachy or reddish-toned blush applied to the apples of the cheeks can mimic a natural flush from the sun, making the whole look more believable. You can even dust a tiny bit of blush over the bridge of your nose. Finally, a touch of cream or liquid highlighter on the very highest points of the face—like the top of the cheekbones and the brow bone—will add a dewy finish that brings the entire sunkissed look to life.