




The Ghostly Glow: Unpacking Makeup Flashback
You’ve seen it before: a stunning red carpet photo marred by a ghostly white cast under the eyes or across the T-zone. This is makeup flashback, and it’s one of the most common pitfalls of flash photography. It occurs when certain ingredients in makeup,
particularly those found in SPF products (like zinc oxide and titanium dioxide) and some setting powders (like silica), reflect the camera's flash. While these ingredients are great for sun protection or creating a smooth finish in person, they can create a glaring white patch in photos. To avoid it, opt for foundations and powders specifically labeled as having no flashback. When in doubt, do a pre-check: take a selfie with the flash on before you head out the door to ensure your complexion looks even and luminous, not ghostly.
The Creasing Conundrum: Why Makeup Settles into Lines
Another frequent issue magnified by HD cameras is creasing, where concealer and foundation settle into fine lines around the eyes and mouth. This often happens for a few key reasons: skin dehydration, over-applying product, or using a formula that’s too thick or dry for your skin type. Dehydrated skin can pull moisture from your makeup, causing it to crack and settle. To combat this, always start with well-hydrated skin, using a good moisturizer and a dedicated eye cream. When applying concealer, less is more. Use a thin layer and blend it out with a damp sponge or your ring finger for a seamless finish. Setting the under-eye area with a very fine, lightweight powder can also help lock everything in place without adding bulk. This technique, often called "baking," can prevent the product from moving as you make expressions.
The Texture Trap: Achieving a Smooth, Even Canvas
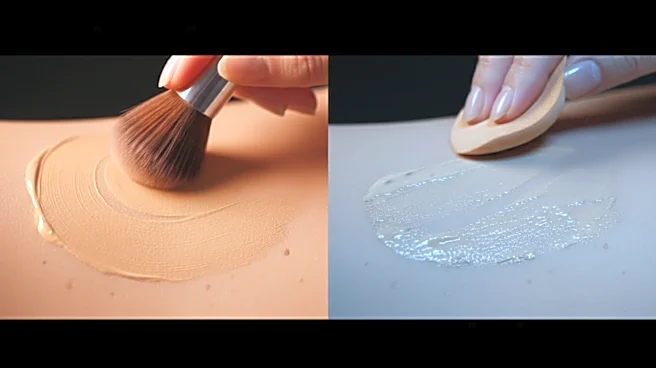
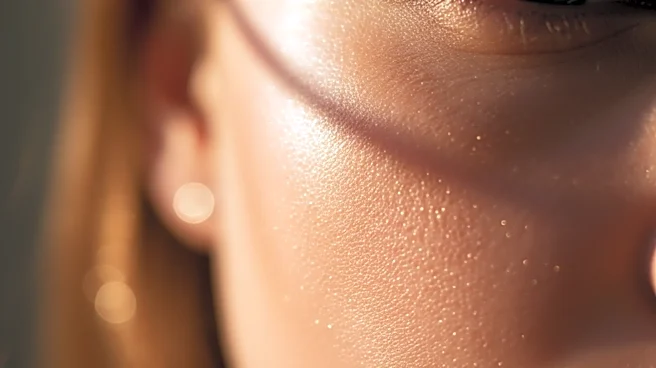
High-definition cameras are designed to pick up every detail, which means uneven skin texture, cakey foundation, and visible pores can become the unintended stars of the show. A flawless finish begins long before makeup application. Proper skin preparation is non-negotiable. Start by exfoliating to remove dead skin cells, which creates a smoother surface for your products. Next, apply a primer suited to your skin type; a mattifying primer helps control oil and a hydrating one can plump the skin. The way you apply your foundation also matters immensely. Heavy-handed application often leads to a mask-like effect. For a natural, skin-like finish, use a damp beauty sponge to press and melt the product into your skin, rather than painting it on top. This helps the makeup look like a part of your skin, not a layer sitting on it.
Red-Carpet-Ready: Pro Tips for a Flawless Finish
Beyond addressing these specific problems, makeup artists rely on a few key strategies for camera-ready glamour. They often use multiple shades of foundation to create natural dimension, matching the forehead to the paler skin on the neck for a seamless blend. Strategic highlighting, using a soft, finely milled powder or liquid, is preferred over all-over shimmer, which can look sweaty under bright lights. A cream blush can also provide a more natural, dewy flush on camera than powder formulas. Finally, never underestimate the power of a good setting spray. A final mist can meld all the layers of makeup together, remove any powdery finish, and lock your look in place for hours, ensuring you're ready for any photo opportunity.