





The Foundation of Flawless: Prep Your Canvas
Before a single drop of gloss touches your lips, the real work begins. Professional makeup artists know that a smooth canvas is non-negotiable. Applying gloss over dry, flaky lips will only highlight imperfections. The first step is to gently exfoliate.
You can use a dedicated lip scrub or simply a soft toothbrush to lightly buff your lips in a circular motion, sloughing away any dead skin. Follow up with a hydrating, but not greasy, lip balm. Allow it to absorb for a few minutes, then blot away any excess with a tissue. Starting with a surface that is both smooth and hydrated, but not slippery, is crucial for helping the gloss adhere properly and last longer.
The Blueprint: Define and Prime for Longevity
Here's where the application diverges from a simple swipe-and-go. To prevent the dreaded feathering, where gloss migrates into the fine lines around your mouth, a barrier is essential. Use a lip liner that closely matches your natural lip color or the shade of your gloss. Carefully outline your lips, paying attention to the Cupid's bow and outer corners to create structure. But don't stop there. For a truly professional finish, lightly fill in your entire lip with the liner. This technique acts as a primer, creating a grippy, waxy base that gives your gloss something to cling to, dramatically increasing its staying power.
The (First) Hidden Step: Lock the Edges
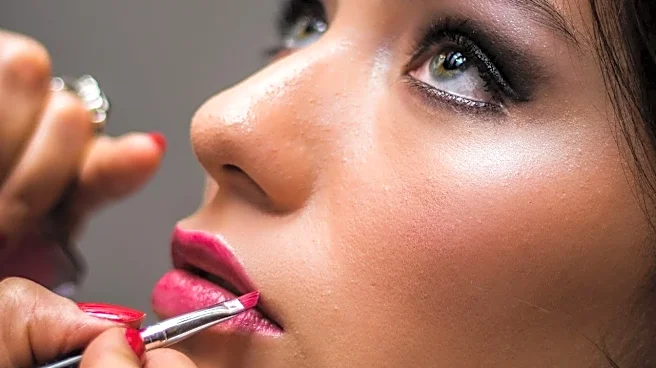
This is a technique often employed by the pros to create an invisible wall against bleeding. Before applying any color, some artists use a tiny amount of concealer on a fine brush to trace just outside the natural lip line. Then, to take it a step further, lightly dust a translucent setting powder over the concealer and around the perimeter of your lips. This combination absorbs excess oil and creates a matte, dry barrier that makes it nearly impossible for the slick oils in your gloss to travel. It defines your lip shape and locks in the liner before you’ve even added the shine.
Application with Intention: Less is More
When it's finally time for the gloss, resist the urge to slather it on from corner to corner. Over-applying is a common mistake that leads to a goopy feel and makes the product more likely to slide around. Instead, focus the application on the center of your lips. Apply a small amount to the middle of your bottom lip, then press your lips together gently. This distributes the perfect amount of product, leaving a high-shine finish in the center that makes lips appear fuller, while keeping the edges cleaner and less prone to smudging. For more intensity, you can add another thin layer, but avoid building up too much product near the borders.
The Final Edit: The True Hidden Step
You've prepped, lined, and applied with care. Here is the final, crucial step that truly elevates the look to professional status: the clean-up. Much like creating a sharp winged eyeliner, a perfect glossy lip benefits from a final edit. Take that same small, clean brush and a minuscule amount of concealer. Carefully trace around the outside of your lip line one last time. This erases any tiny smudges, corrects any imperfections in your liner, and creates an incredibly crisp, sharp edge. This step makes the lip shape pop and delivers that flawless, photo-ready finish you see in magazines. It's the small detail that makes the biggest difference.