


The Real 'Hidden Step': It’s Not a Product
The most common highlighter mistake is following a generic map—a swipe on the cheekbones, a line down the nose—without considering your own face. The true hidden step used by professionals is analyzing your unique bone structure first. Makeup is about
using light and shadow to create dimension. Where light naturally hits your face is where highlighter will look most believable. A one-size-all approach is why highlighter can sometimes look awkward or misplaced. Before you even pick up a brush, stand in front of a window or use a single light source. Tilt your head and notice where the light naturally kisses your skin. Those are your personal high points, and that's your custom-made guide.
Master the Cheekbone Lift
The cheekbone is the most common place to apply highlighter, but it's also the easiest to get wrong. Instead of a single, harsh stripe, the goal is to create a lifted and sculpted effect. For most face shapes, applying highlighter in a C-shape from the top of your cheekbone up toward your temple will create a soft, lifted look. The key is to blend the product upwards. If you have a rounder face, placing the highlight slightly higher on the cheekbones can help create an elongated appearance. For square faces, a softer, more curved application can help soften angles. The idea is to enhance your structure, not just paint on a shimmer.
Strategic Placement Beyond the Cheeks
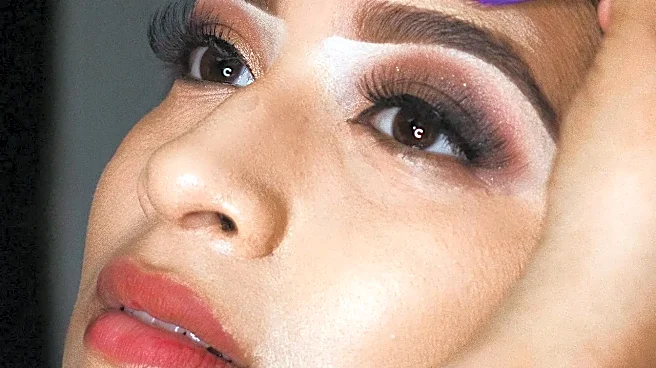
Professional-looking highlighter is all about subtle, strategic placement that enhances your entire face. Each spot has a specific purpose. A touch on the brow bone, just under the arch, makes your eyes look more open and awake. A small dab on the inner corners of the eyes has a similar brightening effect, making you look more refreshed. Applying a tiny amount to the cupid's bow—the small dip above your top lip—can create the illusion of a fuller pout. And a delicate line down the bridge of the nose can give a softly sculpted look, but be careful not to overdo it, as too much can look oily instead of glowy. Less is always more with these smaller areas.
Choose the Right Tools and Texture
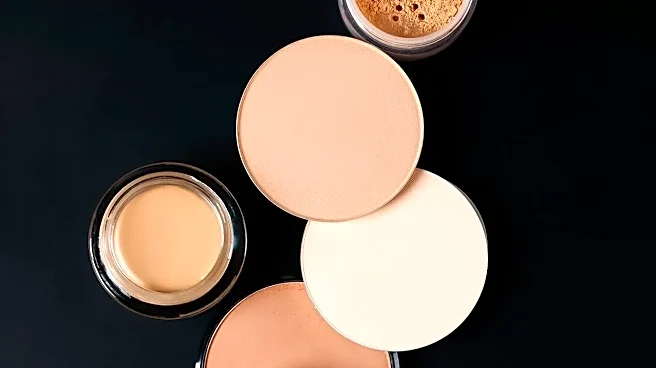
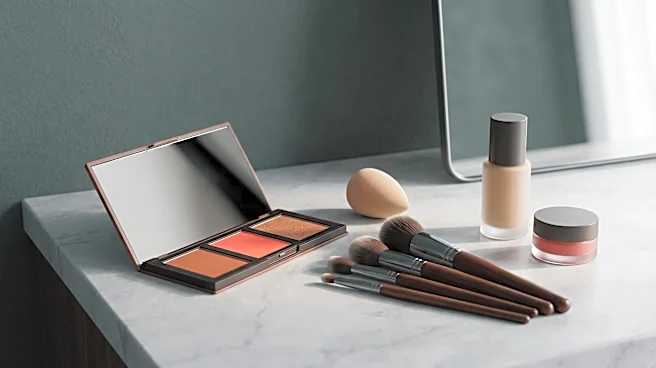
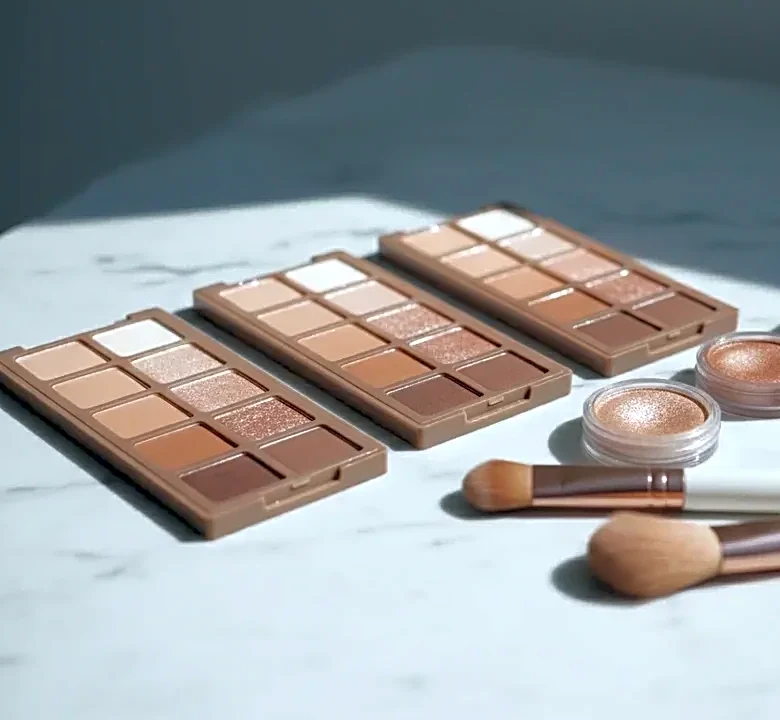
The secret step of personalization extends to your formulas and tools. The texture of your highlighter can dramatically change the finish. Cream and liquid highlighters are excellent for dry or mature skin, as they melt into the skin for a seamless, dewy finish and are less likely to emphasize texture. Powder highlighters work well for oily skin types as they can help absorb excess oil and offer a more controlled shimmer. For powder, a fan brush or a small, fluffy brush will give a diffused, natural look. For creams and liquids, your fingertips or a damp makeup sponge are perfect for pressing the product into the skin, creating that believable, lit-from-within radiance.
Avoid These Common Glow-Killing Mistakes
Even with perfect placement, a few common errors can sabotage your glow. First, ensure your highlighter shade complements your skin tone; a color that is too light or dark can look unnatural. Generally, golds and bronzes flatter warm undertones, while pearly or champagne shades suit cool undertones. Second, don't apply highlighter over a shimmery foundation, as it can result in an overly shiny look. Finally, the most important rule is to blend thoroughly. The goal is to diffuse the edges so there are no harsh lines, just a seamless glow that appears to come from your skin itself.