


Forget the 'Smile and Swipe'
Let’s start by unlearning a classic piece of makeup advice: “Smile, and apply blush to the apples of your cheeks.” While well-intentioned, this method has a major flaw. When you stop smiling, your cheeks drop back to their resting position, and that perfectly
placed circle of blush can suddenly sag, pulling your features downward and sometimes creating a doll-like, dated effect. The goal of modern blush application isn't just to add color, but to enhance and lift your facial structure. Placing color on the fleshy part of the cheek can make the face appear rounder and fuller, which is the opposite of the sculpted, fresh look most of us are after.
The New Rule: Go High or Go Home
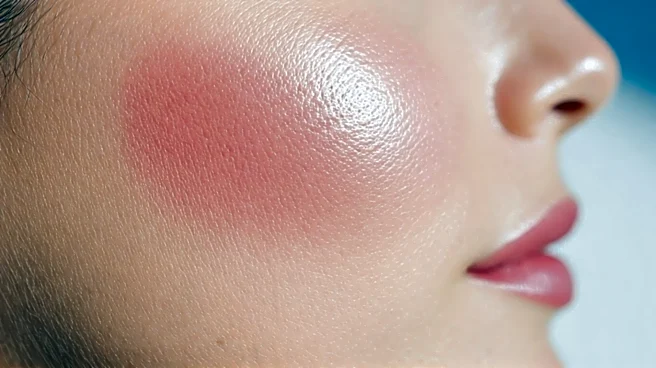
The secret to that fresh, lifted, and naturally flushed look is placing your blush higher and further back than you think. Instead of the apples, you want to focus on the high points of your cheekbones. A good way to find this spot is to feel for the top of your cheekbone with your finger. The blush should start roughly in line with the center of your eye but stay on that upper plane of the bone, sweeping up and back toward your hairline, almost where you would place your highlighter.
Imagine a soft, upward Nike-style swoosh of color. This placement visually pulls everything upward, creating an immediate lifting effect that defines your bone structure and opens up the face. It mimics the natural flush you’d get from a brisk walk in the cold, where the color is concentrated on the highest planes of your face.
Blend Up, Not Out
Application technique is just as crucial as placement. The key to avoiding a heavy, obvious stripe of color is the blend. Whether you're using a brush, a sponge, or your fingers, the motion should always be upward and outward. After placing your initial dots or swipe of color on the high point of the cheekbone, gently buff the product up toward your temples. This creates a seamless gradient that melts into your skin and hairline.
Think of it as diffusing the color, rather than moving it around. You want the most intense pigment to remain on the highest point of the bone, with the edges fading away to nothing. If you feel you've applied too much, don't try to wipe it off. Instead, take your foundation brush or sponge (with a tiny bit of leftover foundation on it) and gently tap over the edges to soften the look. This creates a beautiful, believable “glow from within” effect.
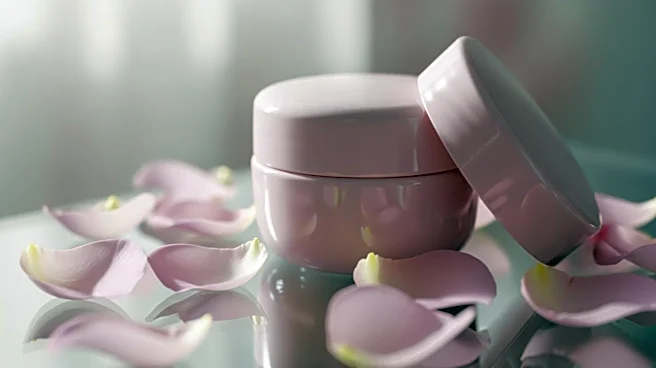
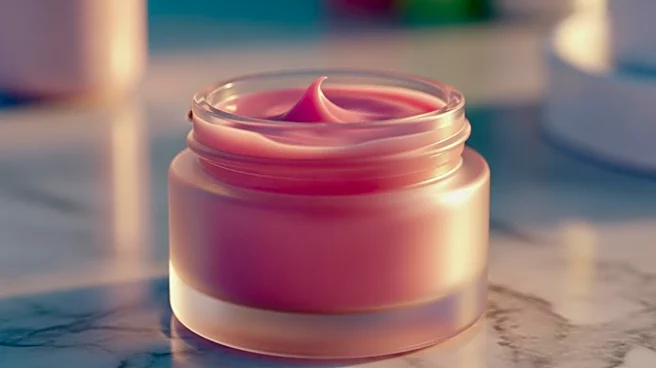
Choose Your Formula Wisely
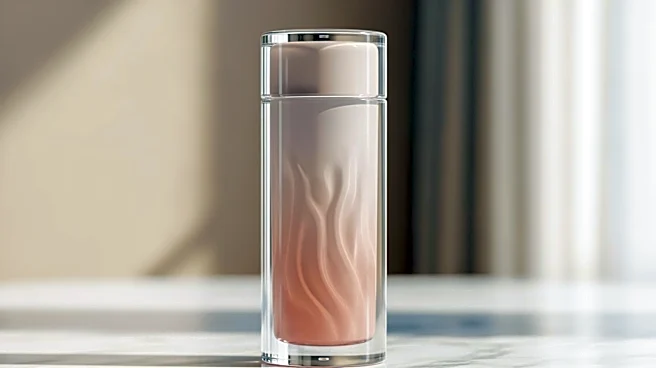
This high-placement technique works with any blush formula, but cream and liquid blushes are particularly fantastic for achieving that fresh, skin-like finish. Their dewy, emollient texture sinks into the skin rather than sitting on top of it, which is essential for a “not heavy” look. They are incredibly forgiving and easy to blend with just your fingertips, warming the product into the skin for a seamless finish.
Powder blushes work beautifully as well, especially for oilier skin types or for setting a cream blush for longevity. If you're using powder, be sure to tap off the excess from your brush before it touches your face. Use a light hand and build the color gradually. The goal is a whisper of color that enhances, not a block of pigment that announces its presence.