

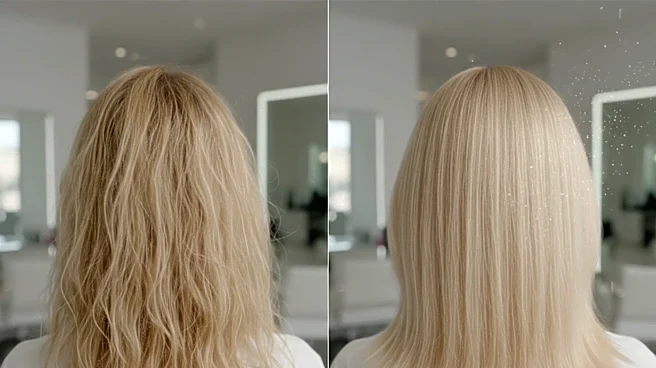


Beyond the Tool: The 'Healthy Wave' Philosophy
Before you even think about adding a new heat tool to your cart, it's crucial to understand a core principle: healthy styling is a habit, not a purchase. A high-quality wave wand is essential, but it can't do all the work. The true path to glossy, resilient
waves involves a conscious routine that prioritizes hair health at every step. This means starting with hair that is 100% dry, never skipping heat protection, using the correct temperature, and knowing when to give your hair a break. The goal is to enhance your hair's natural beauty with heat, not fight against it. Think of it as a partnership between smart preparation, the right tool, and a gentle finishing touch.
Your Buyer's Guide: Finding the Perfect Wand
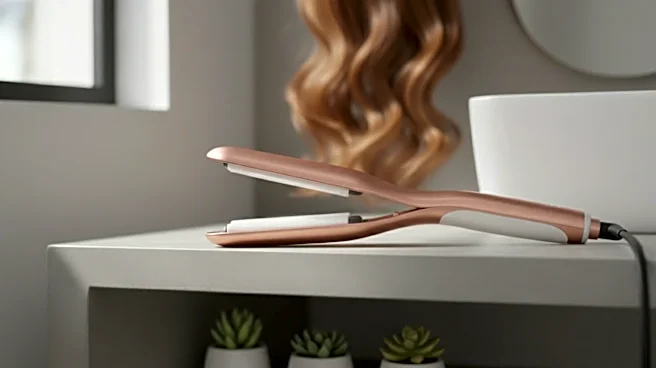
Navigating the world of wave wands can be overwhelming, but it boils down to three key factors: barrel material, barrel size, and temperature control. Material Matters: Ceramic is the go-to for most hair types, especially fine or damaged hair, because it provides even, gentle heat. Titanium heats up faster and holds a higher temperature, making it ideal for thick, coarse, or stubborn hair, but it requires a careful hand. Tourmaline is often combined with ceramic; it emits negative ions to fight frizz and lock in moisture, making it a great choice for a smooth, shiny finish. Size Defines the Wave: The size of the barrel determines the look. A traditional 1-inch to 1.25-inch curling wand will give you classic, defined beach waves. For a looser, more undone look on longer hair, you can go even larger. For the distinct, S-shaped pattern, a three-barrel waver (also called a crimper) is your best bet. These tools press a wave pattern into the hair rather than requiring you to wrap it. Control is Key: Adjustable heat settings are non-negotiable. Fine, thin, or color-treated hair should stay in the 250-350°F range, while thicker hair might need 350-400°F. Starting with a lower temperature is always the safest bet.
The Pre-Wave Ritual: Setting the Stage for Success
What you do before the heat touches your hair is just as important as the styling itself. First, ensure your hair is completely dry. Using a hot tool on even slightly damp hair can literally boil the water within the hair shaft, causing irreversible steam damage. Next, and most critically, apply a heat protectant. Think of it like sunscreen for your hair; it creates a protective barrier that seals in moisture, reduces the damage from high temperatures, and helps prevent frizz. Mist it evenly from mid-lengths to ends and comb it through to ensure every strand is coated.
The Main Event: Creating Effortless Waves
With your prep work done, it's time to style. Section your hair; working with manageable 1-to-2-inch sections at a time is far more effective than grabbing large, thick chunks. For a Wand: Hold the wand with the tip pointing downward. Take a section of hair and wrap it around the barrel, leaving the last inch or two of the ends out. This creates that modern, beachy look instead of a formal ringlet. Hold for a few seconds, then release. For a natural, less uniform look, alternate the direction you wrap the hair around the barrel. For a 3-Barrel Waver: Clamp the tool near the roots on your first section and hold for 4-5 seconds. Release, then move the waver down the hair shaft, lining up the top barrel with the last indent you made to create a continuous pattern.
The Finishing Touch: Lock in the Look
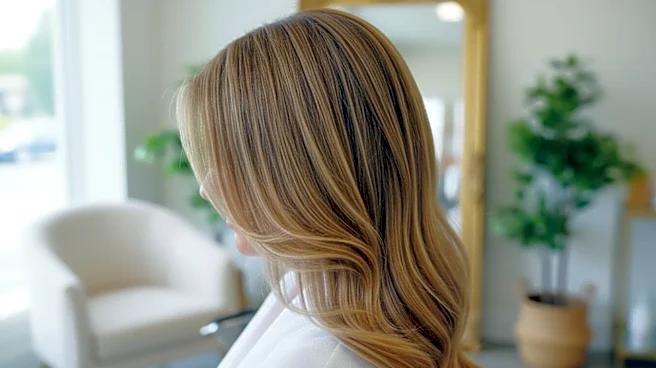
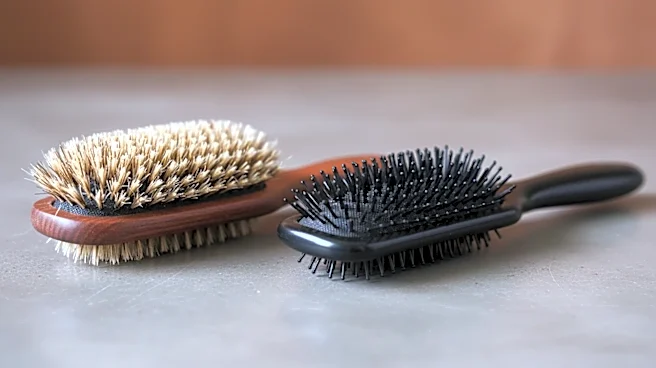
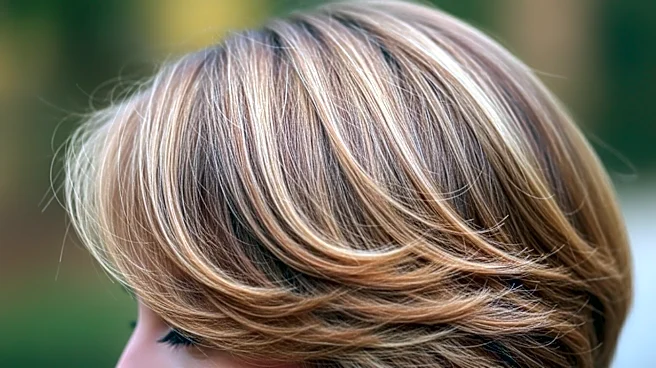
Resist the urge to touch your hair immediately. Letting the waves cool down completely is the most important step for making them last. Once cool, gently run your fingers through your hair to break up the waves and soften them into a more cohesive style. Avoid using a brush, which can pull out the wave and create frizz. If you want more texture and volume, you can spritz a texturizing spray or sea salt spray, focusing on the roots and mid-lengths. A light-hold hairspray can offer some final hold, but the goal is touchable, moveable hair, not a crunchy, stiff helmet.