




The Non-Negotiable Ingredient: Textile Medium
The secret to transforming standard acrylic paint into a professional-grade fabric paint lies in one key additive: textile medium. This is a liquid binder designed to be mixed with acrylics. Its purpose is to make the paint more pliable and help it adhere
properly to fabric fibers. When you're working with a stretch knit, the paint needs to move and flex with the garment. Simply adding water to thin your acrylics won't work; this breaks down the acrylic binder and can lead to a faded, cracking, or peeling design once washed. Textile medium ensures the paint remains soft and flexible after it dries, preventing it from turning your soft fabric into a stiff, uncomfortable board.
Gathering Your Simple Toolkit
Before you begin mixing, gather your materials. Having everything on hand makes the process smooth and clean. You will need standard artist's acrylic paint in your desired colors (soft-body acrylics are often easier to mix), a bottle of textile medium (brands like Liquitex, Golden, or Folk Art are widely available), a small airtight container for mixing, and stir sticks (like popsicle sticks). For an extra boost of flexibility, you can also add a few drops of vegetable glycerin, an ingredient which helps extend the paint's drying time and increases its viscosity. Finally, have a scrap of the same fabric you plan to paint on for testing your mixture.
The Perfect Ratio for Flexibility
The mixing ratio is crucial for success. While you should always check the instructions on your specific brand of textile medium, a common and effective starting point is a 2:1 ratio of acrylic paint to textile medium. Some brands may call for a 1:1 ratio. In your mixing container, measure out two parts of your chosen acrylic paint. If you're combining colors, mix them together thoroughly before adding the medium. Next, add one part textile medium. Stir the mixture slowly and carefully for a couple of minutes until it is completely smooth, with no clumps or streaks. You are aiming for a consistency similar to yogurt. If you are using glycerin for extra flexibility, add just a few drops to your mixture and stir it in completely.
Preparing the Fabric Surface
Proper preparation ensures the paint has the best possible surface to bond with. Always pre-wash your fabric without using any fabric softener, as softeners can leave behind a residue that repels the paint. Let the fabric dry completely. When you're ready to paint, place a barrier like a piece of cardboard or wax paper between the layers of the garment to prevent the paint from bleeding through. For stretch knits, it’s beneficial to slightly stretch the fabric before you begin painting. You can do this by pinning it to a cardboard insert or a frame. This ensures the paint gets into the fibers while they are extended, preventing cracks when the garment is worn and stretched later.
Application and Heat Setting for Permanence
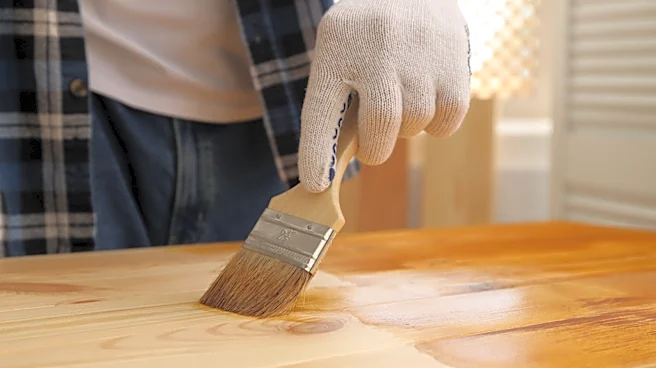
Apply your paint mixture in thin, even coats using a soft brush. Thick layers are more prone to cracking and can feel stiff, even with the medium. Allow each coat to dry completely before applying the next; waiting at least 24 hours is recommended for the paint to fully cure before the final step. Once your design is bone dry, you must heat set it to make it permanent and washable. Place a pressing cloth, like a clean piece of cotton fabric or parchment paper, over your painted design. Using a dry iron on a medium-high setting (no steam), press over the design for 3-5 minutes, keeping the iron in constant motion to avoid scorching. After heat setting, wait at least four days before washing the item.