


The Problem with the Standard Knot
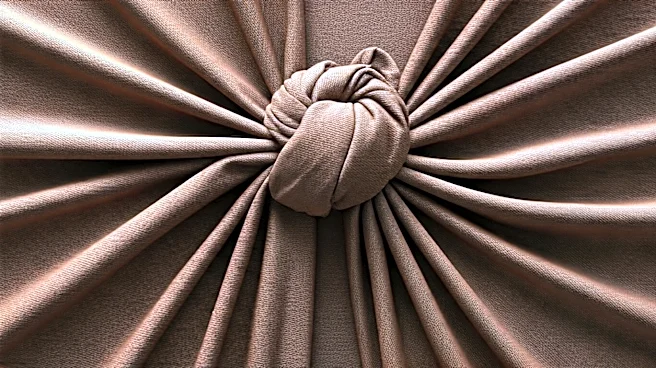
Most of us tie a sarong the same way we tie our shoelaces before the bow: a simple overhand knot, pulled tight, and then maybe a second one for security. While intuitive, this method is the source of the problem. It creates a thick, round bunch of fabric
right at your hip or waist. This bulky knot not only disrupts the clean, flowing line of the sarong but also tends to slip and loosen as you walk. The weight of the fabric pulls against the simple friction of the knot, leading to constant tugging and re-tying. It’s the fashion equivalent of a slow leak, gradually deflating your polished beach-to-bar ensemble.
The Stylist's Secret: The Flat Twist Knot
Enter the game-changing technique professional stylists and swimwear designers swear by. Instead of creating a chunky ball of fabric, this method creates a flat, wide, and incredibly secure fastening that lies flush against your body. Often called a 'flat knot' or 'twist knot,' its genius lies in distributing the tension across a wider surface area. It doesn't rely on brute-force friction like a standard knot. Instead, it uses a simple twist and tuck to lock the fabric in place, resulting in a cleaner silhouette that looks intentional and elegant, not accidental and clumsy. This is the trick that makes a simple piece of fabric look like a thoughtfully designed garment.
How to Tie It: A Step-by-Step Guide
Mastering this knot takes less than a minute. Grab your favorite sarong and follow along: 1. **Wrap and Gather:** Wrap the sarong around your waist or hips to your desired coverage. Instead of bunching the two ends into fists, hold each end flat, gathering the fabric so you have two flat panels, each a few inches wide. 2. **The First Cross:** Cross the two flat ends over each other, just like you would for a standard knot. The end that started in your right hand should now be on the left, and vice versa. 3. **The Twist (The Secret Step):** Here’s the magic. Instead of immediately tying another knot, take the two ends and twist them around each other one full time—or even twice if your sarong is long. This creates a neat, rope-like section. 4. **Tuck and Secure:** Now, take the two ends of your new 'rope' and simply tie a single, basic knot (one end over and through the other). Pull it horizontally to tighten, not vertically. The twist you created prevents the fabric from bunching up. For extra security, you can tuck the loose ends flat into the top of the waistband you’ve just created. The result is a secure, low-profile fastening that won’t budge.
Why This Knot Works So Well
The effectiveness of the flat twist knot comes down to physics. The initial twist creates a 'lock' that distributes the fabric's weight and tension evenly. When you tie the final, simple knot, it's merely securing the twisted section, not bearing the full load of keeping the sarong up. This makes it far less likely to slip or come undone. Aesthetically, because the fabric is twisted flat before being knotted, it can't form that dreaded round ball. It’s forced to lie flat against your body, creating the seamless, clean line you see in fashion magazines and resort lookbooks. It’s a small detail that elevates the entire look, making it appear more polished and deliberate.
More Tips for a Perfect Finish
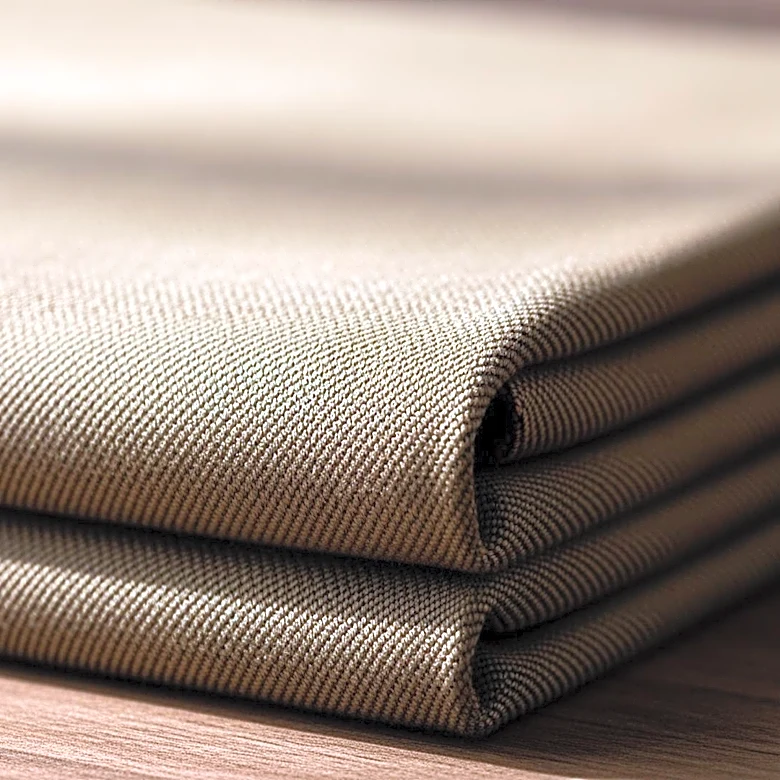
Once you’ve mastered the knot, a few other details can perfect your sarong style. First, consider the fabric. Lighter materials like cotton voile, rayon, or silk blends will knot more cleanly than heavy, thick cottons. Second, play with placement. Tying the knot slightly off-center on your hip is often more flattering than placing it directly in the front or perfectly on the side. Finally, don't be afraid to use your sarong in other ways. Once you have a secure knot you can trust, you can more confidently style it as a halter dress, a one-shoulder top, or a strapless midi-dress, using the same flat-knot principle to secure it.