








Why a Reversible Stitch Matters
When you're working with vintage clothing, the primary goal is preservation. Unlike a sewing machine, which can create tight, permanent seams, a hand-stitched repair is gentler and, crucially, reversible. Using a stitch like the catch stitch allows for
flexibility and movement, which is essential for delicate or worn fabrics. It distributes tension across the hem, preventing further stress on fragile fibers. Most importantly, because the repair isn't permanent, it maintains the garment's historical integrity, allowing a future owner or curator to easily undo the work without damaging the original material. This approach respects the piece's past while securing its future.
Gathering Your Supplies
The beauty of hand sewing is its simplicity. You don’t need a lot of equipment to achieve a professional result. Before you begin, gather a few key items: A fine needle: A small, sharp needle (like a size 10 or 11 sharp or milliner's needle) is best. A smaller eye creates smaller holes, making your stitches nearly invisible on the right side of the fabric. Matching thread: Choose a high-quality thread that matches the color of your garment. For most delicate fabrics, a single strand is sufficient and less visible. Small scissors: A sharp pair of thread snips is essential for clean cuts. Thimble: Optional but highly recommended to protect your finger as you push the needle through the fabric. Pins: To hold the hem in place as you work. Beeswax (optional): Running your thread through beeswax can strengthen it and prevent tangles, which is especially helpful when working with longer strands.
Prepping the Garment and Hem
Proper preparation is the key to a clean, lasting repair. First, ensure the garment is clean. Dirt and oils can weaken fibers over time. If possible, gently hand wash the item and let it air dry completely. Next, carefully assess the hem. If there are loose threads from the original hem, trim them. Gently press the hem back into its original crease using a low-heat iron with a pressing cloth to protect the delicate fabric. If the raw edge is fraying, you may need to fold it under to create a clean finish. For most repairs, you'll work with a single or double-folded hem. Pin the hem securely in place, ensuring the fabric is smooth and not puckered.
Mastering the Catch Stitch
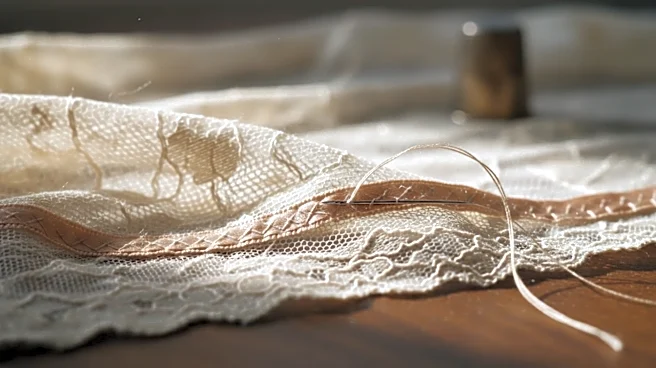
The catch stitch (also known as the herringbone stitch in some contexts) creates a series of crisscrossing threads on the inside of the hem. This structure is strong yet flexible, and it’s nearly invisible from the outside. Here’s how to do it (for right-handed sewers; left-handed sewers can reverse the direction): 1. Start the stitch: Thread your needle with a single strand and knot the end. Working from left to right, hide the knot by bringing your needle up from behind the folded edge of the hem. 2. First diagonal stitch: Move your needle diagonally up and to the right. Just above the hem's edge, pick up only one or two threads of the main garment fabric with the tip of your needle. Your needle should point to the left as you take this tiny stitch. Pull the thread through gently. 3. Second diagonal stitch: Now, bring the needle diagonally down and to the right, back to the folded hem. About a quarter-inch to a half-inch from your last stitch, pick up a few threads from the hem allowance only. Again, your needle should point left. Do not let the stitch go through to the front of the garment. Pull the thread through. 4. Continue the pattern: Repeat this process, alternating between a tiny stitch in the main garment and a slightly larger stitch in the hem allowance. You will create a zigzag or 'X' pattern that holds the hem in place. Keep your stitches evenly spaced and your tension consistent—not too tight, or the fabric will pucker.
Finishing and Aftercare
Once you’ve worked your way around the entire hem, it’s time to secure your work. To finish, create a small knot by making a tiny stitch and looping the needle through the thread before pulling it tight. For extra security, you can do this twice. To hide the tail, run the needle inside the hem fold for about an inch before snipping the thread flush with the fabric. Proper aftercare is just as important as the repair itself. Store your mended vintage piece in a cool, dry place away from direct sunlight. Avoid hanging heavy or delicate garments, which can cause stretching; folding them flat with acid-free tissue paper is often a better choice. By taking the time to perform this careful repair, you're not just fixing a hem—you're honoring the garment's history and extending its wearable life.