





The Philosophy of Flawless Falsies
The secret to expertly applied false eyelashes isn't about creating obvious drama; it's about seamless enhancement. A perfect application means the lash band is invisible, the length and volume complement your specific eye shape, and the falsies blend
so well with your natural lashes that people wonder if you're just blessed with a great mascara. The goal is for the lashes to look like an extension of your own, not a separate accessory. This requires patience and, more importantly, the right technique. Forget heavy, clunky strips that weigh down your lids. The modern, sophisticated approach is all about choosing the right style and mastering a few key steps that make all the difference.
Choose Your Lashes Wisely
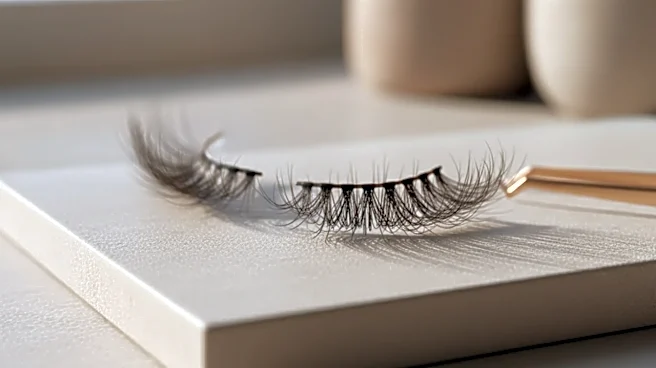
Before you even think about glue, the most critical step is selecting the right lash. Strip lashes are the most common and user-friendly, while individual or cluster lashes offer a more customizable, natural look but require more precision. Your eye shape is your best guide. For round eyes, a winged or cat-eye style that's longer on the outer corners can create an elongating effect. Hooded or monolid eyes benefit from styles that are longest in the center to open up the eye. Those with almond-shaped eyes have the most versatility and can pull off most styles. Remember, the lash should enhance, not overpower, your natural features.
Prep Work Is Non-Negotiable
Jumping straight from the box to your eye is a recipe for disaster. First, always measure the lash strip against your natural lash line. Most strips are intentionally made long, so you’ll likely need to trim them. Always trim from the outer corner, not the inner one, to preserve the natural taper of the lash. A single snip can prevent the dreaded inner-corner-poke and ensure a comfortable fit. Before application, many makeup artists recommend curling your natural lashes and applying a light coat of mascara. This creates a supportive shelf for the false lash to sit on and helps them blend together later.
Mastering the Art of Application
The key to a secure, invisible application is all in the glue. Apply a thin, even layer of adhesive along the lash band. One of the biggest mistakes is applying the lash immediately. You must wait 30 to 60 seconds for the glue to become tacky; if it's too wet, the lash will slide around on your lid. When you're ready to apply, look downward into a mirror. This extends your eyelid, giving you a clearer view of your lash line. Using tweezers for precision, place the lash strip as close to your natural lash roots as possible—on the skin, not on your actual lashes. Secure the center first, then gently press down the inner and outer corners.
The Final Blend for a Seamless Finish
Your lashes are on, but you're not done yet. The final step is what separates the pros from the amateurs: blending. Once the glue is completely dry, you can gently pinch your natural and false lashes together with your fingers or a lash applicator. This simple motion helps meld them into one seamless line. Applying a thin line of black liquid or gel eyeliner over the lash band is an excellent trick to conceal it completely. Some makeup artists will add one final, light coat of mascara to fuse everything together, though be aware that this can shorten the reusable life of your falsies.
Common Mistakes and Quick Fixes
Even with practice, things can go wrong. If your lash is lifting at the corners, you likely didn't use enough glue on the ends or the band wasn't trimmed to fit your eye's curve. If the band is visible, it was placed too high above your natural lash line; a touch of eyeliner can usually disguise this. And if the lashes feel heavy or look droopy, you probably chose a style that's too dramatic for your eye shape. Don't be afraid to gently peel them off and start again—patience is the ultimate tool for achieving a look that truly looks right.