




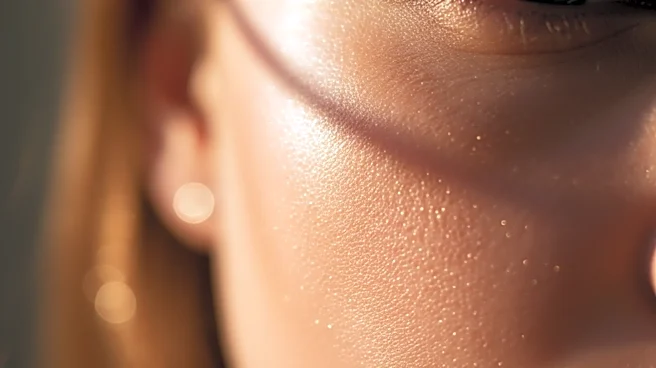


Why Good Foundation Goes Bad
Long-wear foundations are designed for endurance, but they aren't invincible. The most common reason they start to look patchy or cakey is a loss of moisture from the skin underneath. As your skin dehydrates throughout the day, the foundation can cling
to dry patches. At the same time, your skin may produce more oil to compensate for the dryness, causing the makeup to separate and settle into fine lines. This combination of dryness and oil is what creates that uneven, worn-out appearance, turning a smooth canvas into a separated mess. Understanding this is the first step to fixing it.
Assemble Your Rehydration Toolkit
You don’t need an arsenal of products to revive your look, just a few smart essentials. The cornerstone of your kit should be a hydrating facial mist. Look for formulas with ingredients like hyaluronic acid or glycerin that add moisture, rather than just plain water which can evaporate and leave skin drier. Next, a damp makeup sponge is non-negotiable; this tool will be used to seamlessly press moisture back into the skin. Finally, have blotting papers on hand to gently lift away excess oil without disturbing your makeup. Some people also like to keep a tiny amount of lightweight, non-greasy moisturizer for targeted rescue missions on very dry areas.
Step 1: Blot and Assess
Before adding moisture, you must first remove any excess oil that’s causing your makeup to separate. This is where blotting papers come in. Gently press a sheet onto the shiny areas of your face, like the T-zone (forehead, nose, and chin). The key is to press, not rub or wipe. Wiping will just smear the foundation and make the problem worse. By gently lifting away the oil, you create a less slick surface that’s ready for the next step of re-blending. This simple action alone can significantly improve the appearance of your makeup.
Step 2: The Art of the Mist
Now it’s time to reintroduce hydration. Hold your chosen facial mist about eight to ten inches from your face and spritz lightly. You're aiming for a fine veil of moisture, not a drenching. The goal is to give your skin a drink and make the foundation on top more pliable. A good hydrating mist will help “melt” the makeup back into the skin, softening any hard edges or cakey buildup. Let the mist settle for a moment before moving on to the most crucial step.
Step 3: Press, Don't Rub
This is the magic trick. Take your clean, damp makeup sponge and gently press it over the areas where your foundation has become patchy or settled into lines. Use a stippling or bouncing motion. Do not drag or swipe the sponge. This gentle pressure, combined with the moisture from the mist and the sponge, helps to re-blend the foundation, smoothing out cracks and erasing patchiness. The warmth from the pressing motion also helps fuse the makeup back into your skin for a seamless finish that looks freshly applied.
For Targeted Emergencies
If a particular area—like around the nose or mouth—has completely worn away, a small touch-up may be needed. After misting and blending, you can apply a tiny dot of concealer or foundation. For an even smoother application, some makeup artists recommend mixing the product with a drop of moisturizer on the back of your hand. Then, use the tip of your damp sponge to gently tap and blend it into the surrounding area until it's seamless. Finish with another light mist of setting spray to lock everything in place.