







The Rise of Hyper-Realistic Brows
First, let's get clear on what we're talking about. Nano brows are a semi-permanent cosmetic tattoo technique that has surged in popularity for its incredibly natural-looking results. Unlike microblading, which uses a manual blade to create cuts in the
skin, the nano technique uses a digital machine with a single, ultra-fine needle to deposit pigment. This process creates tiny, pixelated dots that form crisp, delicate hair strokes, resulting in less trauma to the skin and a softer, more blended finish. It’s an ideal solution for filling in sparse areas, creating a defined shape, or completely reconstructing a brow, with results that can last anywhere from one to three years.
The Steps Everyone Focuses On
When preparing for a nano brow appointment, most people focus on two things: finding a talented artist with a stunning Instagram portfolio and bracing for the procedure itself. The session typically takes two to three hours, starting with the application of a topical numbing cream to minimize discomfort. From there, the artist gets to work with their machine, meticulously placing each hair stroke. While choosing a skilled technician and following proper aftercare are undeniably critical, they aren’t the whole story. There's another phase of the appointment that clients often treat as a formality, but it’s the true foundation for a flawless outcome.
The Hidden Step: Architectural Brow Mapping
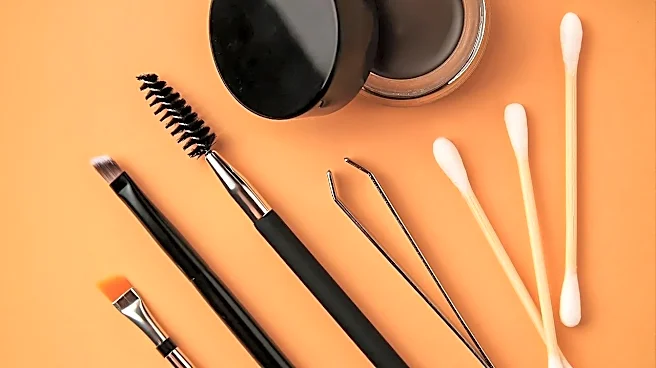
The single most important step for achieving professional-looking nano brows happens before the needle even buzzes to life: the brow mapping. This isn't just a quick sketch with a makeup pencil. It is a detailed, architectural process where the artist uses tools like calipers and string to measure your unique facial features and design a perfectly symmetrical and flattering brow shape. An artist will identify the ideal start, arch, and tail of your brows based on your bone structure. This blueprinting phase is where artistry meets anatomy, and it's what separates good brows from spectacular ones. A great artist can't save a bad map, which is why this stage is non-negotiable for a high-end result.
Your Role as the Co-Designer
Many clients are passive during the mapping process, assuming the artist knows best. But the secret is that this is a collaborative effort. Your artist creates the technical blueprint, but you provide the final approval. This is your moment to speak up. Are the brows too thick? Is the arch too high for your taste? Do you want a straighter or more curved look? A professional artist will draw the full shape and have you sit up to check it in the mirror from multiple angles. Use this opportunity to give honest feedback. You are the one who will wear these brows every day, and your input is essential to ensuring the final design aligns with your personal style. Don't be shy; a good artist wants you to be thrilled with the plan before they commit it to pigment.
Protecting the Masterpiece
Once you and your artist have perfected the brow map and the pigment is implanted, the focus shifts to preserving that careful design. Aftercare is critical. For the first week or two, this typically means keeping the brows clean and dry, avoiding intense exercise, sun exposure, and certain skincare products like retinols or acids near the area. You'll likely experience some scabbing and flaking, and it’s crucial to let the scabs fall off naturally without picking at them, which can pull out the pigment. Following your artist's aftercare instructions to the letter ensures that the crisp, beautiful strokes you designed together heal perfectly and last as long as possible.