

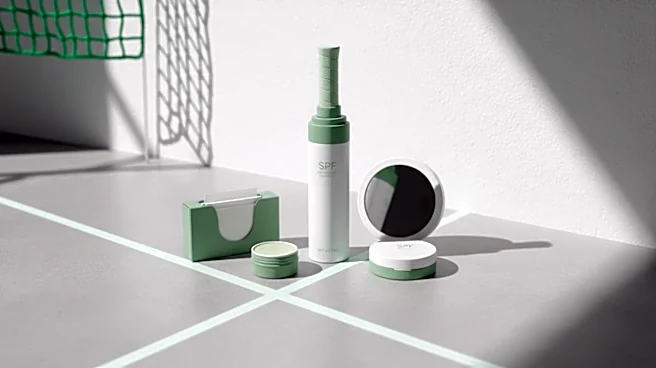


The Aesthetic: Centre Court in the Sixties
The effortless chic of 1960s tennis—crisp whites, sun-kissed skin, and a subtle lip—is timeless. But achieving that lasting, pill-free finish without it pilling under gloss or foundation can be tricky. Here’s how to master the technique.
Why Pilling Happens (And How to Stop It)
Those frustrating
little balls of product that appear on your lips are often caused by a few common mistakes. Pilling occurs when you layer incompatible products—like an oil-based formula over a water-based one—without letting them absorb. It can also happen when you apply too much product too quickly or when your lips are dry and flaky to begin with. A dry surface will cause the tint to cling to certain spots, creating a patchy, uneven finish that's more likely to flake off. The secret to avoiding this is a three-part strategy: proper preparation, patient application in thin layers, and understanding how your products work together. By giving each layer time to set, you create a stable base that won’t budge or ball up when you add another product on top.
Step 1: Create the Perfect Canvas
A flawless finish begins with smooth, hydrated lips. Makeup artists agree that this prep step is non-negotiable. Start by gently exfoliating to remove any dry, flaky skin. You can use a dedicated lip scrub or simply a soft, damp washcloth in small circular motions. This ensures the tint can adhere evenly instead of catching on dry patches. Next, apply a hydrating but lightweight lip balm. The key is to let it fully absorb for a few minutes. If you apply tint over a slick, balmy surface, it won't be able to stain the lips properly. Blot away any excess balm with a tissue before you move on to color. This leaves your lips moisturized but ready for the tint to do its job.
Step 2: Apply the Tint in Thin Washes
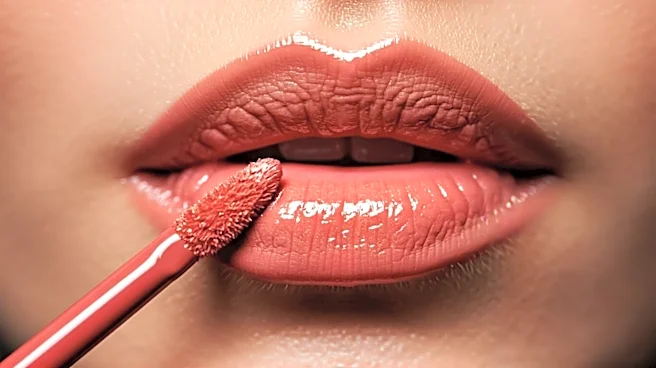
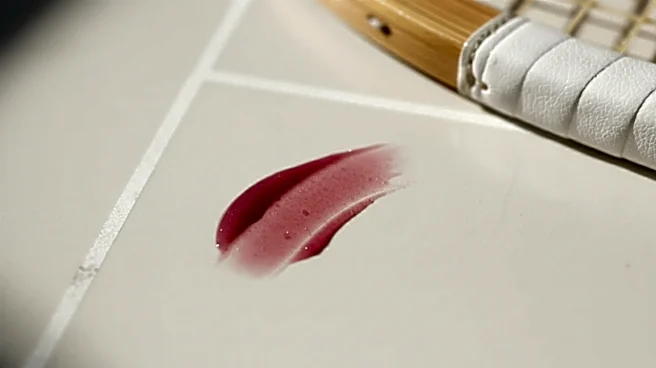
When it comes to lip tint, less is always more. Because these formulas are designed to stain the skin, you need to work quickly and deliberately. Instead of swiping it on like a lipstick, dab a small amount onto the center of your lips. Use your fingertip to gently tap and blend the color outward toward the edges. This patting motion helps the product melt into the lips for a more natural, diffused look and prevents the streaking that can happen when you drag an applicator across the skin. Let the first thin layer dry completely. This is the most crucial part of preventing pilling. If you want more intensity, apply another sheer layer and let that set, too. Building color in gradual washes ensures a long-lasting stain that feels like nothing on the lips.
Step 3: Layering Other Products with Care
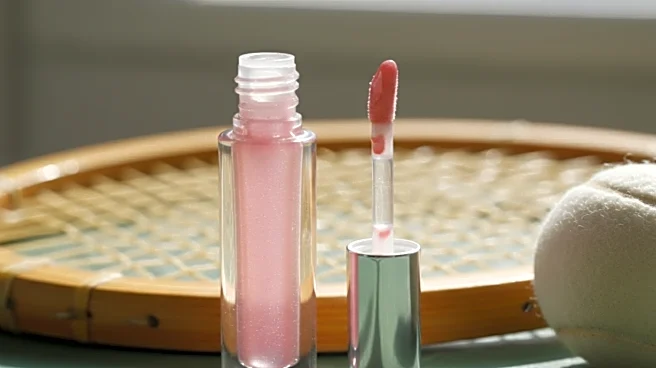
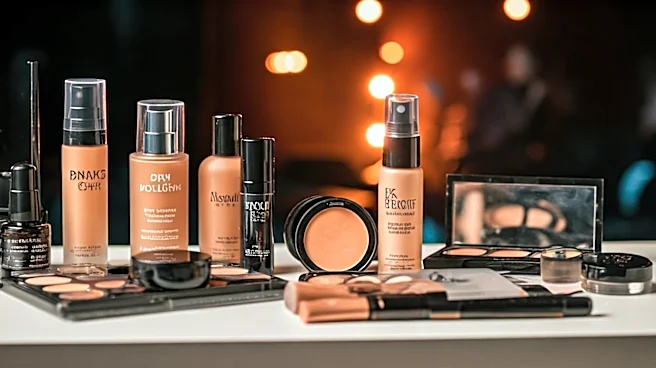
Once your tint is fully dry and set, you can layer other products without disturbing the color. If you're applying foundation or concealer around the mouth for a clean edge, use a precise brush and be careful not to drag it over the lip line. For a touch of shine, apply a clear or complementary gloss. Instead of swiping the applicator all over, just dab a small amount in the center of your bottom and top lips and gently press them together. This provides a hint of dimension and moisture without causing the tint underneath to break down. If you plan to wear another lipstick on top, the tint now acts as a long-wearing base, ensuring your lips retain some color even after the top layer fades.