

The Pre-Match Warm-Up: Lip Prep
You wouldn't run a marathon without stretching, and you shouldn't apply lip color to unprepared lips. Pilling often happens when product clings to dry, flaky skin. The key to a smooth finish is starting with a pristine canvas. Gently exfoliate your lips with a dedicated
lip scrub or even a soft, damp toothbrush. This crucial first step buffs away any dead skin that could cause your tint to apply unevenly. Follow up immediately with a hydrating lip balm to create a soft, moisturized base. Allow the balm to absorb for at least ten minutes while you do the rest of your makeup. Just before applying color, gently blot off any excess balm with a tissue. This ensures your lips are hydrated but not slippery, which would prevent the tint from adhering properly.
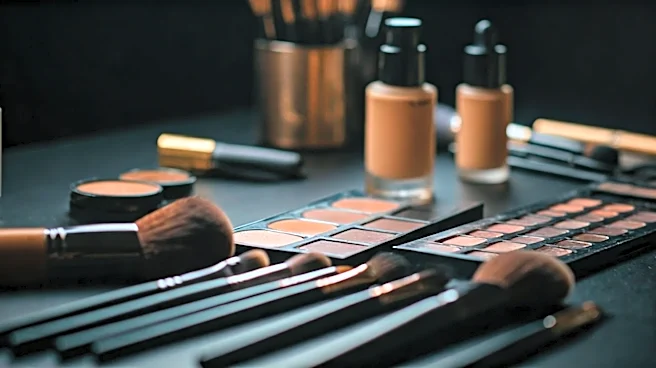
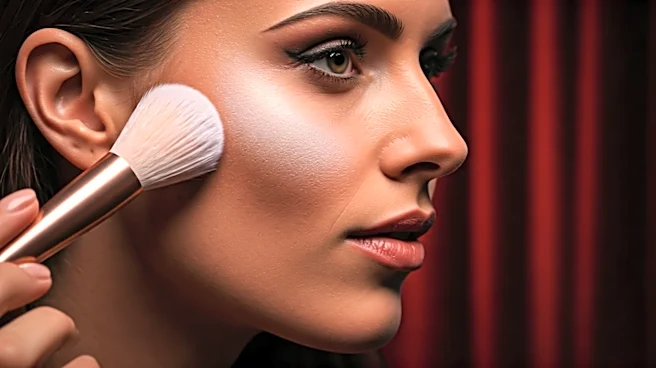
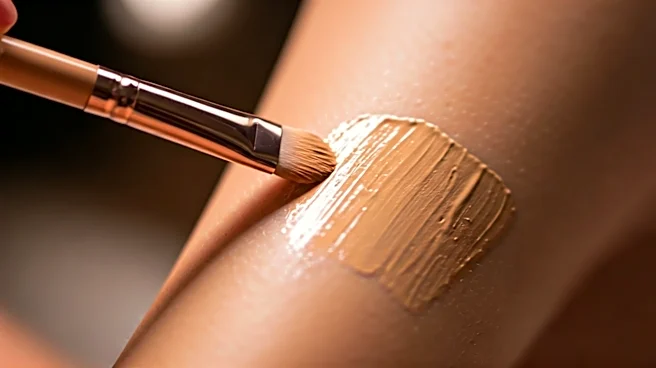
Building the Baseline: Foundation & Concealer
Pilling doesn't just happen on the lips themselves; it's often caused by the interaction between your lip product and the makeup around your mouth. The area around our lips moves constantly when we talk and smile, causing products to shift and break down. To prevent this, be strategic with your base makeup. After applying foundation or concealer, take a moment to assess the area around your lip line. Use a makeup sponge to lightly press and blend, ensuring there isn't a heavy, thick layer of product sitting right at the border of your lips. Some makeup artists even suggest using a tiny amount of what's left on your foundation brush to blank out the pigment on your lips, creating a primer-like effect that helps the lip color appear more true to tone.
First Serve: The Application Technique
When it comes to sheer tints, less is more, especially on the first pass. Rushing the application or applying too much product at once is a common cause of pilling and patchiness. Start with a single, thin layer of your lip tint. For a natural, diffused look, apply the color to the center of your lips and use your fingertip to gently pat and blend it outwards. This warms the product slightly, helping it meld with your lips for a lived-in stain effect. The goal of this first layer isn't full opacity; it's to establish an even base of color that stains the lips. Let this initial layer dry completely before even thinking about adding more. This pause is non-negotiable for longevity.
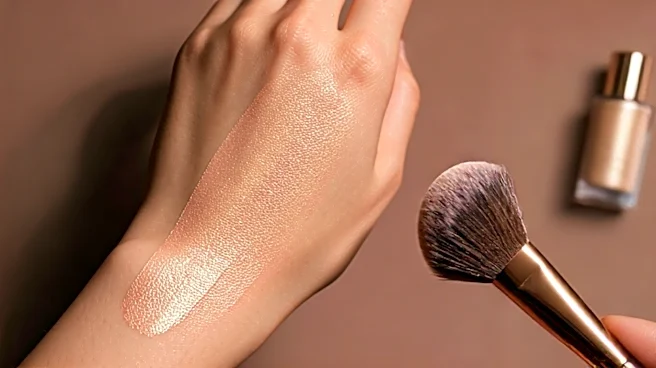
The Rally: Building Color Without Bulk
Once your first layer is fully set, you can build up the intensity. The key to layering is to do it in thin, deliberate applications. Instead of swiping on another thick coat, lightly dab the tint onto the areas where you want more impact, typically the center of your lips. Then, press your lips together to distribute the color. For even more control, apply the tint to the back of your hand and use a lip brush to pick up a small amount of product and press it onto your lips. This method gives you maximum precision and prevents overloading the lips with product. If you're using a tint that comes in a balm or oil formula, this layering technique works beautifully to create custom depth without feeling heavy or sticky.
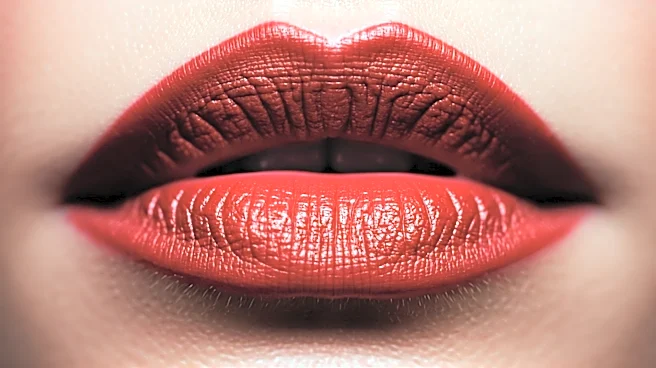
Match Point: Setting Your Look for Longevity
Now that you've achieved the perfect sheer wash of color, you need to lock it in place. One of the oldest makeup artist tricks in the book is the blot-and-powder technique. After your final layer of tint is applied, gently blot your lips with a single-ply tissue to remove any excess product. For a truly budge-proof finish, you can then hold that tissue over your lips and lightly dust a translucent setting powder on top. This sets the color and gives it a matte, long-wearing finish. If you prefer a glossier look that still has staying power, you can apply a clear balm or gloss over your set tint. The tint provides the long-lasting color, while the top coat adds moisture and shine without compromising the base you’ve worked to create.