


What Is the Pre-Premiere Steam Test?
You’ve heard it a thousand times: “Just steam it!” But stylists and wardrobe professionals know that advice comes with a major caveat. The pre-premiere steam test isn’t about just running a steamer over your clothes; it’s a crucial diagnostic step you perform
before the main event. In short, you find an inconspicuous part of the garment—like the inside of a hem, a facing, or a seam allowance—and you test a small burst of steam on it first. This five-second procedure is your final quality control check, a dress rehearsal that ensures your steamer and your fabric are compatible. It’s the difference between walking onto the “red carpet” (or into your wedding, or up to the podium) with confidence and discovering a new, permanent water spot just as you’re heading out the door.
Why This Test Is Non-Negotiable
The urgency in the headline isn’t just for drama. Different fabrics react to heat and moisture in wildly unpredictable ways. What smooths a cotton shirt can leave permanent water stains on silk satin. What revives a wool blazer can cause a synthetic lining to pucker and warp. The risk isn’t just about water marks. Some dyes, especially on vibrant or dark-colored fabrics, are not completely colorfast and can bleed or spot when hit with concentrated steam. Delicate materials like velvet or some corduroys can have their pile crushed or flattened, creating a shiny, bruised look that’s impossible to reverse. Embellishments are another minefield; the heat can loosen glue on sequins or beads, or worse, melt delicate plastic details. You’re not just testing for water spots; you’re checking for color bleeding, fabric texture changes, and potential damage to the garment’s structure. Skipping this test is a gamble with your most cherished—and often most expensive—pieces.
How to Perform the Test Correctly
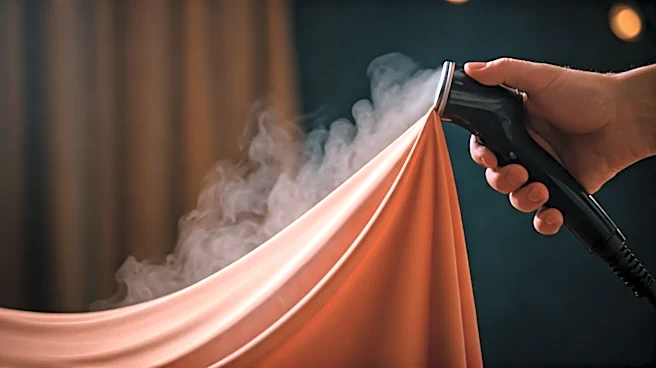
Executing the test is simple, but precision is key. Follow these steps for foolproof results: 1. **Find Your Spot:** The best location is an area that will never be seen when the garment is worn. The most common choice is the interior of the bottom hem. Other options include the fabric on the reverse side of a pocket flap or an inside seam allowance. 2. **Prep the Steamer:** Make sure your steamer is fully heated and producing a consistent flow of steam, not sputtering hot water. Use distilled water if you have it, as it prevents mineral buildup that can transfer to clothing. 3. **Keep Your Distance:** Do not press the steamer head directly against the fabric unless the manufacturer’s instructions explicitly allow it (and even then, be cautious). Hold the nozzle at least three to six inches away from the test spot. 4. **Apply and Observe:** Direct a short, one-to-two-second burst of steam at the test area. Immediately pull back and watch the fabric. Does it absorb the moisture evenly and dry quickly? Or does a dark spot linger? Touch the area. Does the texture feel different? Did any color transfer to your fingers or a white cloth? Let it dry completely for a minute to see its final state before you proceed.
Fabrics That Demand Extra Caution
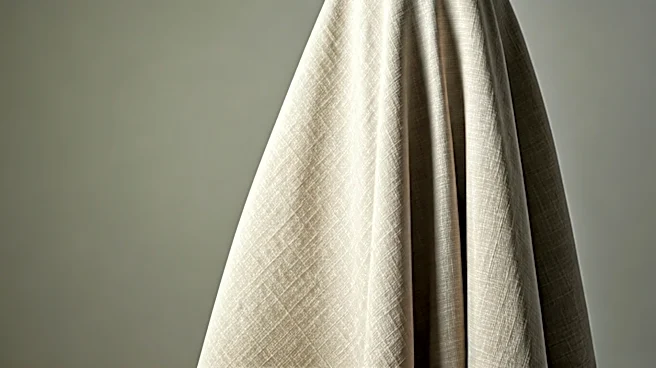
While you should test everything, some materials are notoriously tricky. Pay special attention when working with these: * **Silk and Satin:** These are the primary culprits for water spotting. The minerals in tap water can leave a distinct mark once the fabric dries. Always test an inside seam. * **Velvet:** Never steam velvet from the outside. The steam can crush the pile. Instead, turn the garment inside out and steam lightly from the reverse side, or simply hang it in a steamy bathroom. * **Beading and Embellishments:** Heat can melt adhesives. Avoid steaming directly over glued-on beads, sequins, or plastic decorations. Work around them carefully from a distance. * **Polyester and Synthetics:** While many synthetics are steamer-friendly, extremely high heat can cause some delicate polyesters or acetates to warp, pucker, or even melt. A quick test ensures the temperature isn't too high for the fiber.
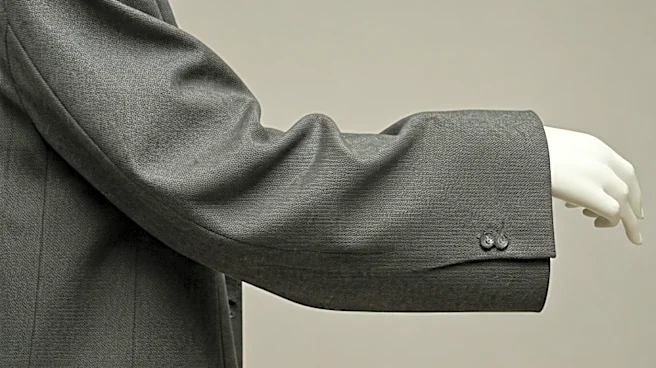
When to Skip Steam and See a Pro
Sometimes, the smartest move is knowing when not to DIY. If your test reveals a problem—a persistent water spot, a change in texture, or any hint of color running—stop immediately. This is a sign that the garment requires professional care. Heavily structured items like tailored jackets with complex inner linings, or extremely delicate vintage pieces, are also often best left to a trusted dry cleaner. They use industrial pressing equipment and have specialized knowledge for handling problematic fabrics. The cost of a professional press is minimal compared to the cost of replacing a ruined gown or suit. Don't let ego get in the way; the goal is a perfect finish, no matter how you get there.