








Why the Temples Are the Ultimate Tell
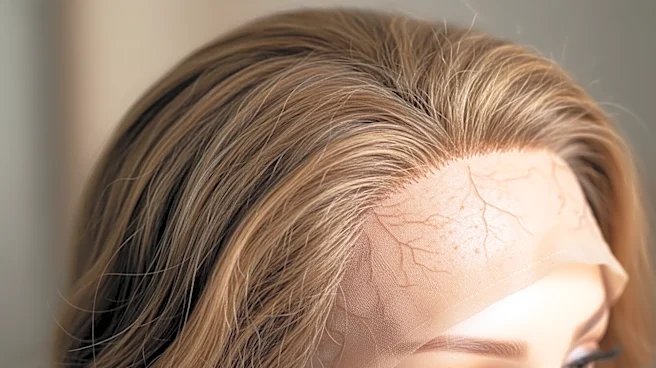
On a natural head of hair, the temple area is rarely dense. It's characterized by finer, sparser hairs that create a soft, gradual transition from skin to the fuller hair along the sides. This delicate gradient is what makes a hairline look real. Many
factory-made wigs, especially those that aren't custom, come with a uniform density all the way to the edge. This creates an abrupt, helmet-like line at the temples that the human eye instinctively recognizes as artificial. Achieving a believable look isn't just about the lace or the hair quality; it's about mimicking the subtle imperfections and variations of natural hair growth, and the temple is where that artistry is most crucial.
The Core Technique: Plucking the Hairline
The single most important technique for creating realistic temples is careful, strategic plucking. Using a good pair of tweezers, a wig artist or experienced wearer will meticulously remove individual hairs from the lace front. The goal isn't just to thin the area, but to create an irregular, staggered line that mimics natural growth. Instead of a perfectly straight edge, the plucking process introduces subtle gaps and a softer density, breaking up the hard line of the wig. This must be done with extreme care; over-plucking can create bald spots or damage the delicate lace. Pros often place the wig on a mannequin head to get a clear view, working slowly to customize the hairline bit by bit.
Creating 'Baby Hairs' to Blur the Line
After plucking, the next step is often to create 'baby hairs.' These aren't just for styling; they are a critical tool for blending. An artist will carefully select a few strands along the newly plucked temple hairline and trim them. Instead of a blunt cut with scissors, many professionals use a razor comb to gently 'scrape' the hairs, which gives them a tapered, wispier end that looks more natural. These shorter hairs help to soften and obscure the very edge of the lace, making the transition from forehead to hairline almost seamless. When styled with a bit of mousse or gel, these baby hairs can be gently swept back, further integrating the wig with the wearer's skin.
For the Pros: The Art of Ventilating
For the highest level of customization, professionals turn to ventilation. This is the process of manually adding individual strands of hair to the lace. While most wigs come pre-ventilated, a custom artist can add finer, lighter-colored, or differently textured hairs specifically in the temple area to perfect the look. By ventilating single, tiny knots, they can build a sparse, ultra-realistic hairline from scratch, ensuring the density and direction of hair growth are completely natural. This is a time-consuming, highly skilled craft reserved for high-end custom wigs, but it represents the peak of creating a believable temple area.
What You Can Do at Home
While ventilating is best left to experts, many wig wearers can learn to pluck their hairlines and create baby hairs. The key is to start slow. It's always better to under-pluck than to over-pluck, as you can always remove more hair later. Work in good lighting and take breaks to assess your progress. If you're new to this, watch tutorials from experienced wig stylists to understand the process. For a simpler trick, if you have biological hair, you can try pulling a few of your own fine hairs out at the temple to blend over the wig's edge. Combining a lightly plucked hairline with a few well-placed baby hairs can dramatically improve the realism of almost any lace-front wig.