


The Technical Challenge: No More Pilling
Before we get to the glamour, let's solve the problem at the heart of the headline: pilling. Those frustrating little balls of product that appear when you layer skincare or makeup are usually a physical issue, not a chemical one. It happens when products
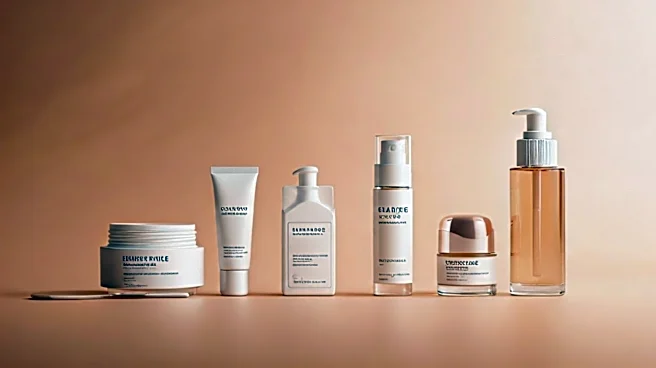
don't fully absorb, creating an unstable surface that bunches up with friction. The main culprits are almost always the same: applying too much product, layering incompatible formulas (like oil over water), or not waiting long enough between steps. Rushing your routine is the most common mistake; applying serums, creams, and makeup without allowing each layer to dry down is a recipe for disaster. A good rule of thumb is to wait at least 60 seconds between each skincare application. Another key is your application technique. Instead of rubbing products into your skin, which creates friction, try gently patting or pressing them in. This is especially crucial when applying foundation over your prepared skin. Using a damp sponge in a stippling motion can prevent the layers underneath from being disturbed.
The Cuticle Oil Question
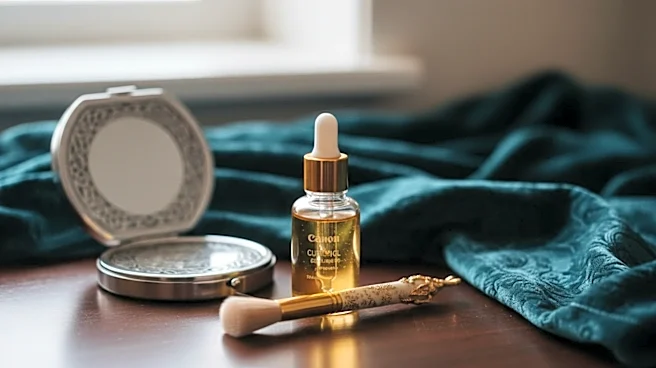
So where does cuticle oil fit into this pilling-free picture? Cuticle oil is fantastic for keeping the skin around your nails hydrated and making your manicure look professionally finished. But because it's an oil, it can contribute to the layering problem if not handled correctly. You should generally apply cuticle oil after your nail polish is dry to the touch. Massage a small amount into the cuticles and the surrounding skin. For maximum benefit with zero interference, the best time to apply cuticle oil is at night before bed. This gives it hours to absorb fully without you touching surfaces or your face. If you're doing a full manicure and then applying makeup, apply the oil as the very last step of your nail care, then wait. Give it at least 10-15 minutes to sink in before you even think about picking up a makeup brush. This ensures your hands are nourished but not greasy, preventing any unwanted transfer or pilling issues when you apply your foundation.
The Creative Brief: A 1930s Centre Court
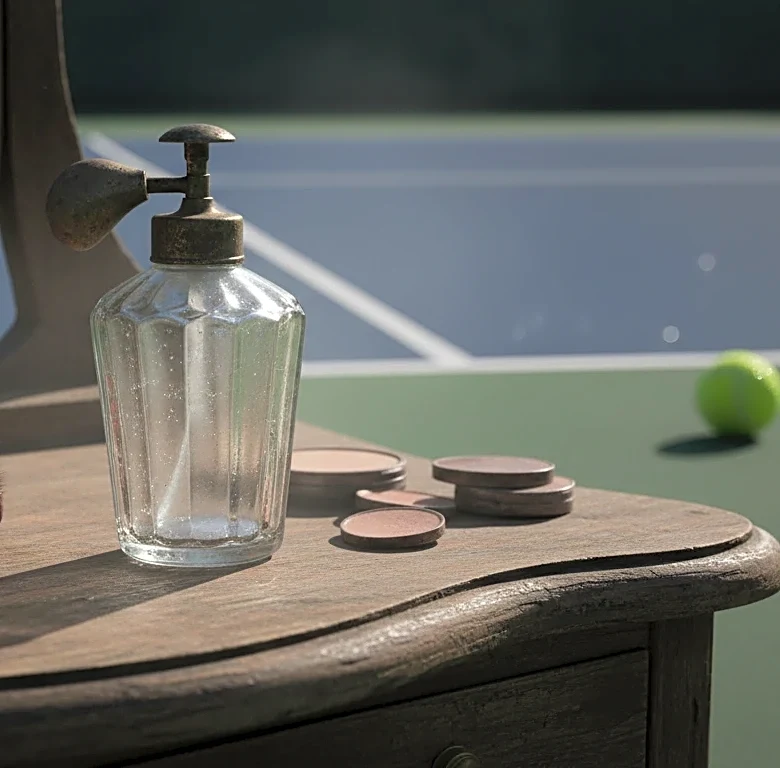
Now for the fun part: the aesthetic. "Centre Court Through a 1930s Archive" evokes a very specific mood. This isn't about modern, high-tech sportswear; it's about the era when tennis style was becoming more practical but remained incredibly elegant. The 1930s saw women's tennis fashion move away from the restrictive dresses of the early 1900s. Hemlines rose, and players embraced knee-length pleated skirts, tailored shorts, and sleeveless polo shirts. Think of American champion Helen Wills Moody, famous for her signature white visor and crisp, clean lines. The look was functional, athletic, and chic. The color palette is dominated by Wimbledon's iconic white, but the overall feeling is one of effortless grace and sun-drenched afternoons, not stark performance gear. The style is defined by clean silhouettes, natural fabrics, and an air of sophisticated sportiness.
The Manicure to Match the Mood
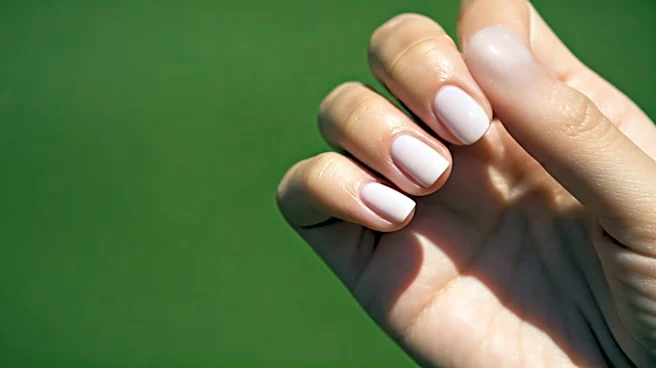
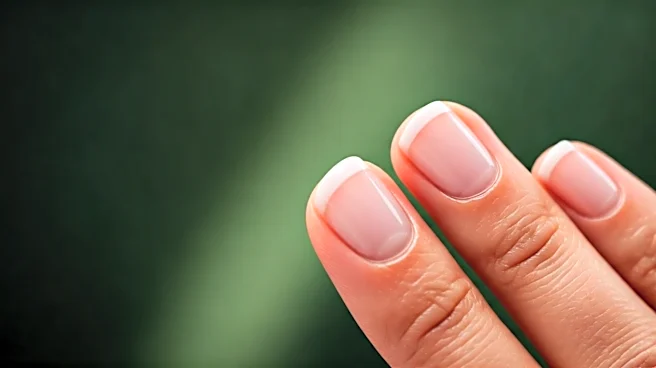
Translating this 1930s tennis aesthetic to a manicure is about capturing that understated elegance. This is not the place for long, dramatic nails or flashy art. The ideal nail shape would be short, neat, and practical—a soft square or 'squoval' that looks clean and sporty. The color palette follows the "almost entirely in white" rule of Wimbledon. Think of a classic, immaculately applied sheer milky white or a soft, transparent pink that just makes your nails look healthy and polished. Another option would be a bold, classic red—not a fiery modern red, but a deeper, more traditional hue reminiscent of a vintage club blazer. The goal is a manicure that looks pristine and well-cared-for without demanding attention. It’s the kind of detail that completes the look, suggesting a person who values both form and function, perfectly in keeping with the 1930s Centre Court spirit.