

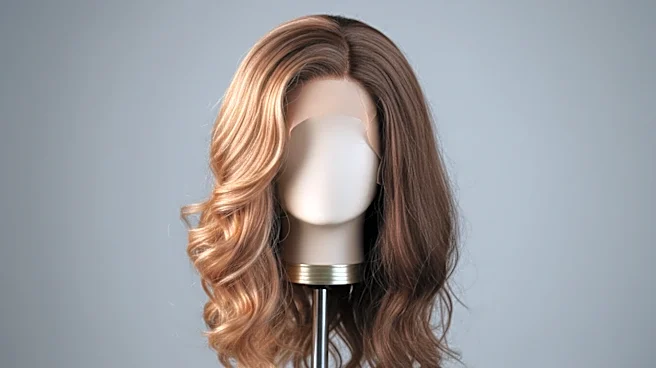

Step 1: Prep and Build Your Foundation
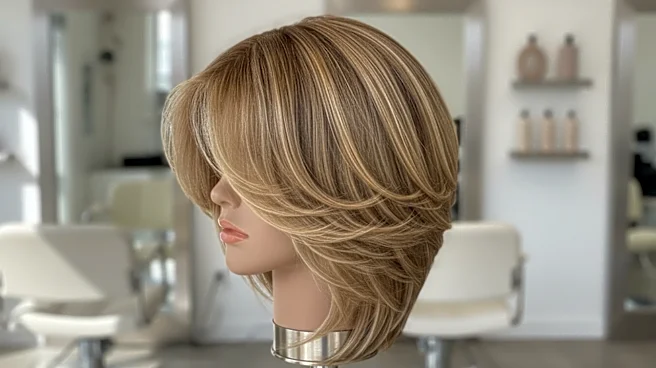
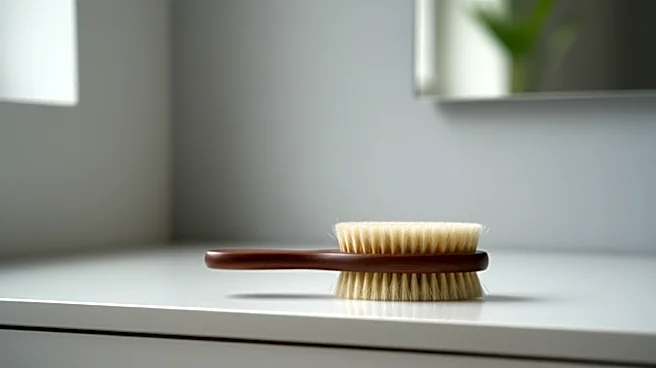
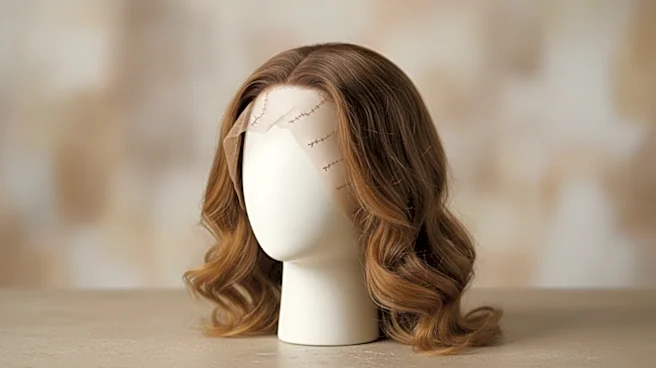
Every great sculpture starts with a solid base. Before you can begin styling, you need to prepare the wig. Start by securing it to a mannequin head or wig stand. Gently detangle the fibers using a wide-toothed comb, working from the ends up to the roots
to prevent breakage. It’s crucial to use tools and products specifically designed for synthetic hair, as regular shampoos and brushes can damage the delicate fibers. If the wig has stubborn kinks or frizz, this is the time to address them. Don't grab a flat iron; instead, use a fabric steamer. The steam relaxes the synthetic fibers, allowing you to comb them straight or reshape them without the intense, direct heat that can melt the plastic. This foundational step ensures you have a clean and smooth canvas to work with.
Step 2: Reshape with Steam, Not Sizzle
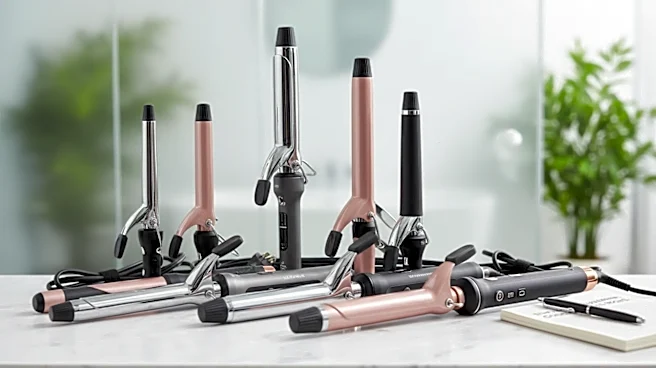
Synthetic wigs and high-heat styling tools are mortal enemies. A curling iron will likely melt the fibers into a plastic mess. The professional's tool of choice is steam. By using a handheld clothes steamer, you can completely change the wig’s texture and shape. To create curls or waves, wrap sections of the wig hair around foam rollers or even household items like soda cans for larger, more dramatic shapes. Once secured, hold the steamer about six to eight inches away and apply steam until the hair feels warm. Let the fibers cool completely on the rollers—this is the most important part. As the synthetic material cools, it will lock in the new shape. This technique gives you total control to go from straight to curly, or to create bends and waves exactly where your sculptural design needs them.
Step 3: Create Gravity-Defying Volume with Backcombing
Editorial hair is often about dramatic volume and gravity-defying shapes. The key to achieving this is a technique called backcombing, or teasing. Using a fine-tooth comb, take a small section of hair and hold it straight up. Then, starting a few inches from the base, push the comb down toward the wig cap in short, controlled strokes. This creates a dense cushion of tangled fibers at the root. The trick is to only backcomb the underside of each section, leaving the top layer of hair smooth to conceal the teased texture. By building up these teased cushions section by section, you create a strong internal structure that provides height and body, allowing you to mold the wig into avant-garde silhouettes that would be impossible with un-prepped hair.
Step 4: Lock in Your Sculptural Vision
Once you have teased the hair to create volume and structure, it's time to sculpt and set your final design. This is where hairspray becomes your best friend, but make sure it’s a formula suitable for synthetic wigs, as some can leave a dulling residue. As you arrange the teased sections and smooth the outer layers into your desired shape—be it a towering updo, sharp angles, or intricate braids—apply hairspray generously. Use the cool shot button on a hairdryer to rapidly cool and set the spray, freezing the fibers in place. For more extreme shapes, use pins to hold the hair while it sets. You can also use products like wig wax or pomade to define smaller pieces and add texture, creating a more piece-y, deliberate look that reads as high-fashion rather than just 'big hair.'
Step 5: Add the Finishing Touches and Details
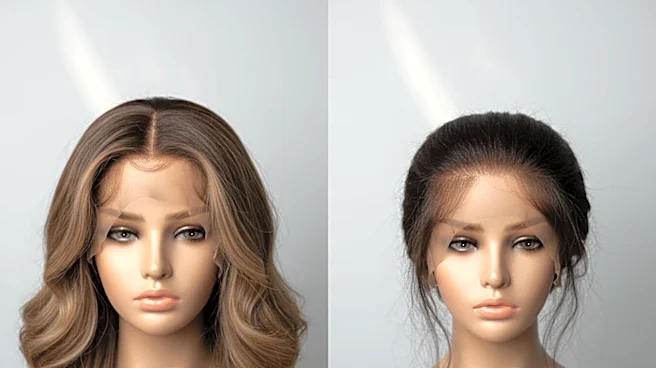
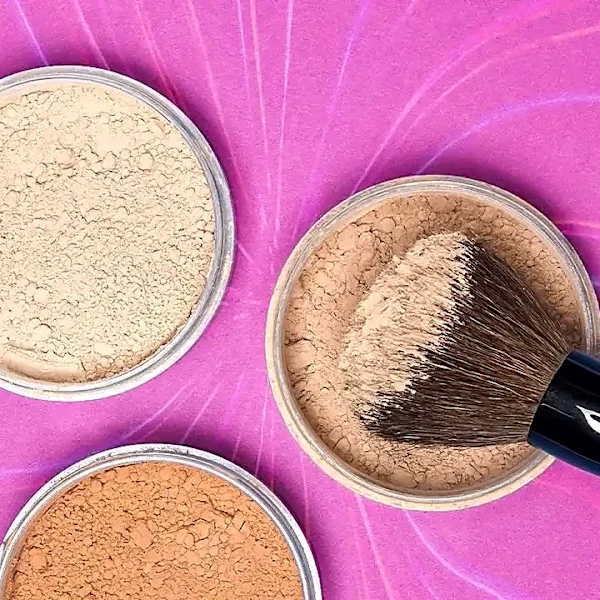
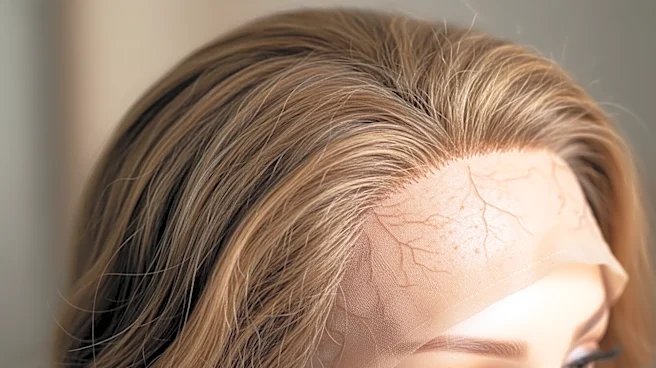
The final step is all about refinement. Carefully trim any stray fibers with sharp scissors. If the wig has a lace front, you may need to pluck the hairline to make it appear more natural or tint the lace with a powder foundation that matches your skin tone. This is also your chance to add artistic elements. You can spray-paint sections of the wig with temporary hair color, weave in ribbons or wire, or attach jewels and other accessories to complete your sculptural vision. A final, light mist of a wig-safe finishing spray or lusterizer can restore a healthy-looking sheen without making the wig look greasy or overly shiny. These small details are what elevate the final piece from a well-styled wig to a true editorial creation.