
The Philosophy: Armor Tells a Story
The single biggest mistake that screams “toy” is a single, flat coat of paint. A factory-fresh, monotone paint job has no story. Professional prop makers and effects artists operate on a simple principle:
realism comes from history. Every object, especially armor that has seen action, has a story etched onto its surface. Is it brand new or has it been dragged through a dozen battles? Is it ceremonial or functional? That story is told through layers—layers of paint, grime, damage, and repair. The “method” isn't one secret ingredient; it's a change in mindset from “painting an object” to “creating an object's history.”
Foundation First: Sealing and Priming
You can’t build a great finish on a bad foundation. Whether you’re using EVA foam, Worbla, or a 3D print, the raw surface needs preparation. For porous materials like EVA foam, this is non-negotiable. Using a heat gun to gently pass over the surface will heat-seal the foam's open cells, creating a smoother base. After that, several coats of a flexible sealant are essential. Professionals and hobbyists often use PVA glues like Mod Podge, specialized foam sealants, or even rubberized coatings like Plasti Dip. This step does two things: it prevents the paint from soaking into the material and it creates a uniform surface for the true paint job to adhere to.
The Magic of the 'Black Wash'
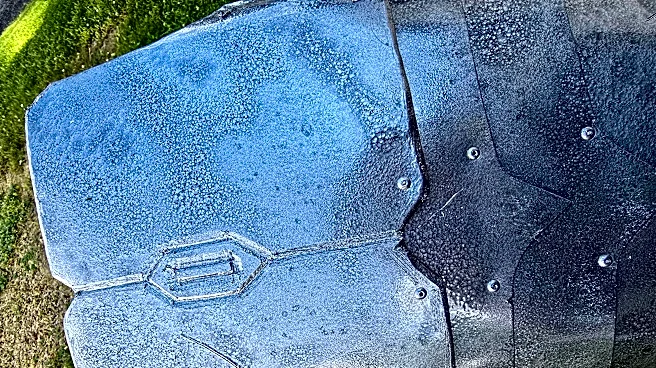
If there is a single technique that provides the most bang for your buck in the realism department, it's the black or dark wash. After applying your base metallic or color coat, a wash adds instant depth and age. A wash is simply heavily watered-down acrylic or oil paint, usually black or dark brown. You brush this mixture liberally over a section of the armor, letting it sink into all the crevices, seams, and details. Then, using a paper towel or a clean rag, you wipe away the excess from the raised surfaces. The dark paint remains in the recessed areas, mimicking the natural accumulation of dirt and grease, instantly making the details pop and giving the piece a sense of weight and history.
Layering Wear and Tear
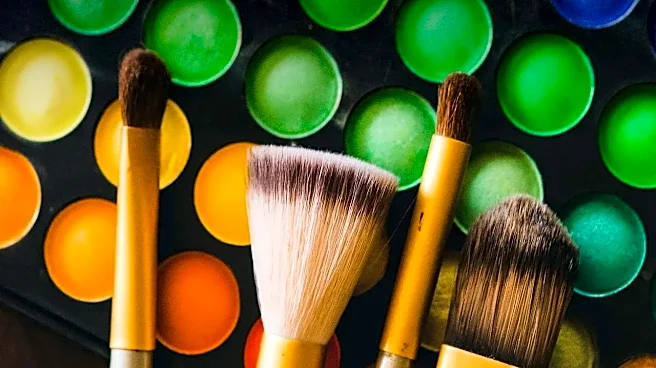
With the shadows and grime established by your wash, the next step is to add highlights and damage. This is where you tell the story of the armor’s life. Dry brushing is a key technique here. Take a flat brush, dip it in a bright metallic paint (like silver or steel), and then wipe almost all of the paint off on a paper towel. Lightly brush this over the raised edges and high-traffic areas of the armor. The tiny amount of remaining pigment will catch on the highest points, simulating where the base metal is showing through from friction and use. You can also add specific scratches or battle damage with a fine-tipped brush, thinking about where a blade might have scraped or where a blaster bolt might have hit.
Choosing the Right Final Sheen
The final step is to lock in your work with a clear coat. But the type of clear coat you choose is critical. Does your perfectly weathered, battle-scarred pauldron need a high-gloss finish? Probably not. A gloss finish often reads as “wet” or “plastic.” Most of the time, a matte or satin finish is your best friend. A matte finish will kill any unwanted plastic-like shine and give the piece a more realistic, weathered look. A satin finish offers a slight sheen that can work well for certain types of metal or materials that aren't meant to be completely dull. Reserve high-gloss coats for specific elements, like visors, polished gems, or areas you intentionally want to look wet or freshly lacquered. This final choice is what sells the entire illusion.