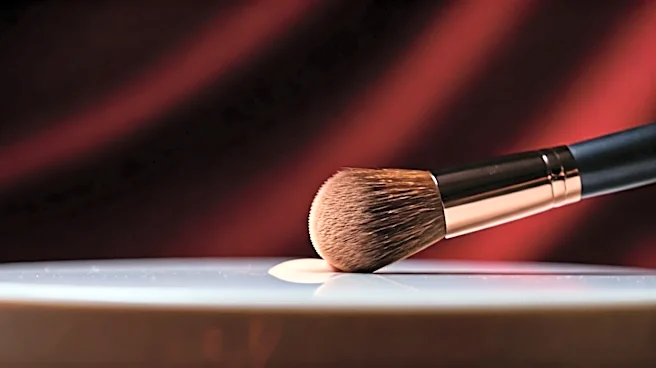


The Cardinal Rule: Precision Over Product
We’ve all seen it: the heavy, bright white swoosh of concealer baked under the eyes. In the age of beauty tutorials, the impulse is often to apply more product to solve a problem—more for dark circles, more for blemishes. But professional makeup artists,
especially those working on clients destined for HD cameras, operate on a different principle: precision over quantity. Piling on concealer is the fastest route to creasing, caking, and emphasizing the very texture you’re trying to hide. A thick layer of product rarely sits well on skin, settling into fine lines within minutes and creating a heavy, mask-like effect. Worse, if the formula isn't built for photography, it can cause “flashback,” that ghostly white cast that appears in photos. The modern approach is surgical. It’s about using the least amount of product in exactly the right spots to brighten, lift, and conceal without announcing its presence.
The Under-Eye Lift: Beyond the Crescent
The single most transformative trick in a makeup artist’s arsenal is reimagining under-eye concealer placement. For years, the standard advice was to draw a half-moon shape directly over the dark circle. The result? A weirdly bright patch that often looked unnatural and could make eyes appear smaller. The professional technique is to create an inverted triangle of light. Start by placing a dot of concealer at the inner corner of the eye, another at the outer corner, and a third at the top of the cheekbone, just below the end of the dark circle. Now, connect the dots. By blending this triangle shape downwards and outwards, you’re not just concealing darkness; you’re creating an illusion of lift. This technique brightens the entire center of the face, reflects light upward, and makes your cheekbones pop. It draws attention to the eyes in a flattering way, making them look awake and energized rather than just covered up.
Spot Concealing: The Dot-and-Wait Method
When it comes to covering a blemish, resist the urge to slather it in concealer. That only creates a cakey mound that draws more attention to the spot. The secret to seamless spot concealing is a three-step process. First, choose the right tool and formula. Use a fine-tipped, pointed brush and a concealer that matches your skin tone perfectly—not lighter, as you would for your under-eyes. Second, apply the product with precision. Dip your brush in the concealer and dot it *only* on the blemish itself, not the surrounding skin. Third, and this is the crucial part: wait. Let the concealer sit and dry for 30 to 60 seconds. This allows the pigment to adhere and become more opaque. Finally, use your ring finger or a clean brush to gently tap and blend *only the edges* of the dot, feathering it into the surrounding skin. This technique covers the redness completely without disturbing the product, creating a truly invisible finish.
Concealer as a Sculpting Tool
Think of your concealer not just as a corrector, but as a subtle highlighting and sculpting product. On the red carpet, harsh contouring can look severe under bright lights. Instead, artists use different shades of concealer to add dimension softly. A shade one or two levels lighter than your skin tone can be used to create natural-looking highlights. A tiny dot placed at the inner corner of the eye and another at the outer corner, blended out, provides an instant lift. A thin line drawn down the bridge of the nose and blended makes it appear straighter and more defined. Small dabs at the corners of the mouth can counteract shadows and create the illusion of a subtle smile. A touch in the center of the chin and between the brows brings light to the center of the face. It’s all about creating subtle shifts in dimension that read as naturally perfect skin, not as makeup.
The Final Touches: Prep and Set
Even the most perfect placement will fail if the canvas isn’t prepared and the work isn't set. For under-eye concealer, proper hydration is non-negotiable. Applying a lightweight, fast-absorbing eye cream a few minutes before makeup application plumps the skin and prevents the concealer from clinging to dry patches or settling into lines. After you’ve blended your concealer, setting it is the key to all-night wear. But don't just sweep a brush loaded with powder across the area; that will move the concealer you just so carefully placed. The pro method is to use a very small amount of finely milled, translucent setting powder. Load it onto a powder puff or a triangular sponge, tap off the excess, and gently press—don’t swipe—the powder onto the concealed areas. This locks the concealer in place without adding texture or causing it to crease, ensuring your look stays flawless from the first flashbulb to the last.