




The Common Reality: Frizz and Uneven Waves
You’ve seen the tutorials: influencers unwrapping a satin rod to reveal cascading, uniform curls. You tried it yourself, only to be met with a tangled, frizzy situation. One side is limp, the other has a strange crimp, and the ends are stubbornly straight.
This is the all-too-common outcome when a few key steps are missed. Many first-timers find their hair looks awkward, with some sections tightly coiled and others barely waved. The disappointment is real, but it’s usually not the fault of the tool itself. More often than not, the culprit is a simple mistake in the prep or wrapping process. The dream of effortless curls isn't a myth, but it does require a little more know-how than just wrapping and hoping for the best.
Why It Goes Wrong: The Top 3 Mistakes
Success with heatless curlers lies in avoiding a few common pitfalls. The number one mistake is wrapping hair that's too wet. If the hair doesn't dry completely overnight, the curl structure won't set, leading to curls that fall out almost immediately. The second major error is using sections that are too large. Big sections lead to loose, undefined waves that lack staying power. For a more defined and lasting curl, smaller, more uniform sections are crucial. Finally, a loose or inconsistent wrap will create an uneven pattern. The goal is to keep consistent tension—not uncomfortably tight, but snug enough to hold the hair securely against the curling rod while you sleep.
Your New Game Plan: Perfect Prep Work
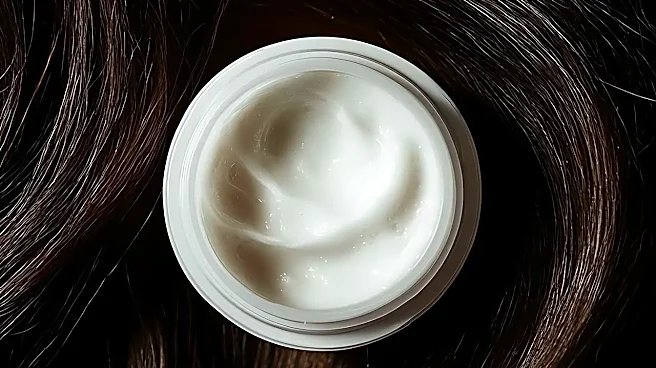
Achieving the perfect heatless curl starts long before you wrap your hair. The ideal starting point is hair that is about 80-90% dry—damp to the touch, but not wet. You can either let your hair air-dry after a shower or lightly mist dry hair with a spray bottle. Before you start, apply a product to give the hair some grip and hold, like a curl-enhancing mousse or a lightweight styling cream. This step helps define the curl structure and fight frizz. Brush your hair thoroughly to remove any tangles, ensuring the strands can be wrapped smoothly. Laying the hair flat against the curler is key for clean, pretty curls rather than clumped, messy ones.
Technique Is Everything: The Perfect Wrap
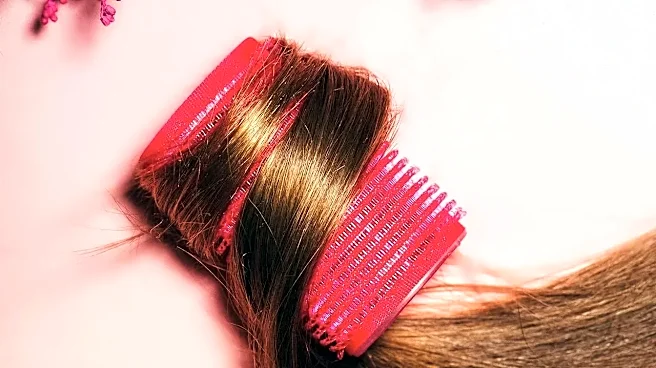
For the popular curling rod headband, start by placing the rod on top of your head like a headband, securing it with a claw clip for stability. Part your hair as you intend to wear it. Beginning at the front, take a small, clean section of hair and wrap it around the rod, away from your face. After the first wrap, pick up another small section of hair, join it with the first, and wrap them together. Continue this process, adding a little more hair to your main section with each loop, similar to a French braid. Keep the wraps snug and flat. When you reach the end, secure it firmly with a scrunchie, ensuring the tips of your hair are lying flat to avoid creased ends.
The Big Reveal: What 'Done Right' Looks Like
When you unwrap your hair in the morning after letting it set for at least six to eight hours, the result should be smooth, bouncy, and consistent curls. Unlike the sometimes-perfect spirals from a curling iron, well-executed heatless curls often have a softer, more natural appearance. They should look voluminous and last throughout the day, gradually relaxing into gentle waves. The key is that the curls look intentional and polished, not accidental. You’ll see a uniform pattern from roots to ends, without the frizz and random straight pieces that plague failed attempts. To finish, gently separate the curls with your fingers or a wide-tooth comb—never a brush, which can pull out the pattern and create frizz. A light mist of a flexible-hold hairspray or a texturizing spray can help lock in the style.