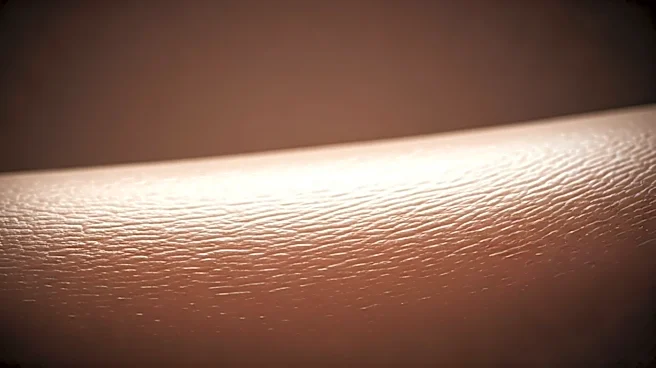


Start with Skin Prep, Not Makeup
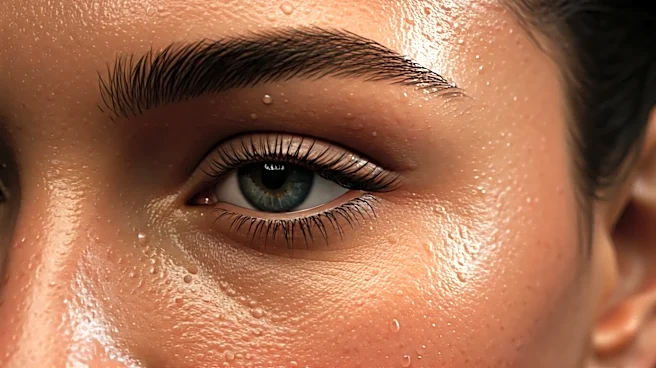
The secret to makeup that looks like skin is starting with great skin. The night before your event, focus on hydration. Use a gentle exfoliant to slough off any dry patches, followed by a deeply hydrating sheet mask or overnight cream. On the day of,
your routine should be all about creating a smooth, plump canvas. Cleanse, apply a vitamin C serum for brightness, and finish with a moisturizer that works for your skin type. If you’re oily, use a lightweight gel; if you’re dry, opt for a richer cream. Allow your skincare to fully absorb for at least 10-15 minutes before even thinking about primer. This step ensures your makeup won’t pill and will melt seamlessly into your skin, rather than sitting on top of it.
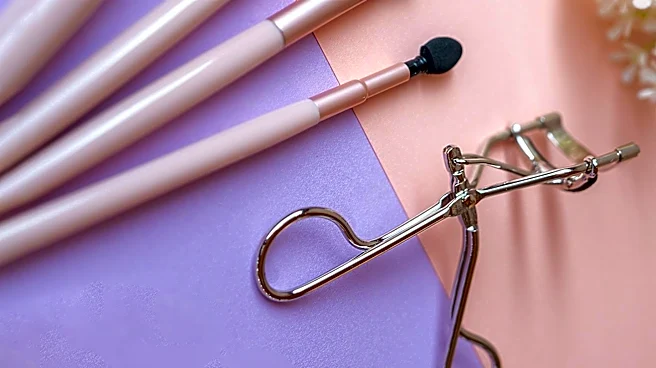
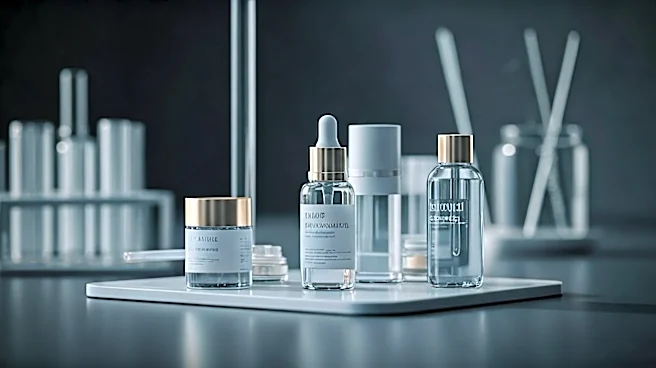
Choose Your Primer Strategically
Primer isn’t just an extra step; it’s your insurance policy. For a long night under potentially hot lights, a good primer is non-negotiable. But don't just slather one type all over your face. Think strategically. Apply a pore-blurring or mattifying primer only where you need it—typically the T-zone (forehead, nose, and chin). For the rest of your face, like your cheeks, you might want a hydrating or illuminating primer to create a healthy, lit-from-within glow. This 'multi-priming' technique addresses your skin’s different needs and prevents your complexion from looking flat or overly matte. The goal is to control shine where it appears, not to eliminate all traces of life from your skin.
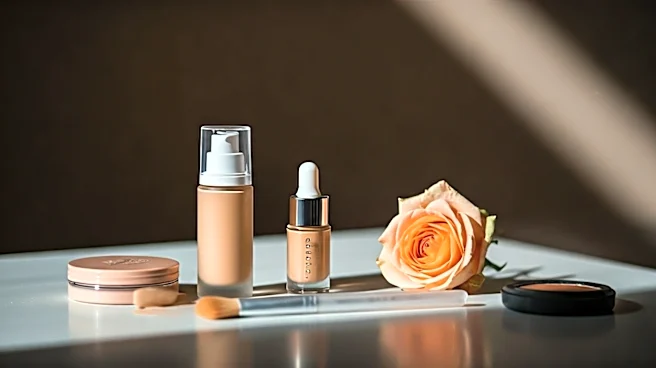
Build Your Base in Thin Layers
This is where most people go wrong. To achieve a skin-like finish, avoid applying a thick, uniform mask of foundation. Instead, use a light-to-medium coverage foundation and apply it in sheer layers, building up only where you need more coverage. A damp beauty sponge is your best tool here; it will soak up excess product and press the foundation into your skin for an airbrushed effect. Start at the center of your face and blend outward. Then, switch to a high-quality, creamy concealer. Instead of swiping it under your eyes, dot it precisely on areas of concern: the inner corners of your eyes, around your nose, and on any blemishes. Let it sit for a minute to get tacky, then gently tap to blend. This spot-concealing method provides coverage exactly where needed while leaving the rest of your skin looking fresh and real.
Use Creams for Color and Dimension
Powders can sit on top of the skin and look cakey, especially under HD cameras or harsh lighting. For the most natural-looking blush, bronzer, and highlight, stick with cream formulas. Apply a cream bronzer just below your cheekbones, along your hairline, and on your jawline to add warmth and soft definition. Use your fingers or a dense brush to blend it until there are no harsh lines. For blush, dab a cream formula onto the apples of your cheeks and blend upward toward your temples. This lifts the face and provides a healthy, believable flush. Finish with a liquid or cream highlighter (avoiding anything with chunky glitter) on the high points of your face: top of the cheekbones, bridge of the nose, and cupid's bow. Creams meld with your foundation and move with your skin, creating a glow that seems to come from within.
Lock It In Without Looking Dry
After all that work, you need to ensure your makeup lasts. But dousing your face in powder will instantly undo your dewy, skin-like finish. Instead, be selective. Use a finely milled, translucent setting powder on a small, fluffy brush. Lightly tap it *only* on the areas where you applied primer to control shine—your T-zone and under your eyes to prevent creasing. Leave the high points of your face, like your cheeks, powder-free to maintain that natural glow. The final, most crucial step is a quality setting spray. Hold the bottle about a foot from your face and mist generously. A good setting spray will not only lock your makeup in place for hours but will also melt all the layers together, taking away any powdery finish and making everything look like one cohesive, beautiful complexion.