




It All Starts With the Canvas
A professional's glow begins long before the highlighter is even opened. The number one difference is skin preparation. Pros know that highlighter looks best on a smooth, hydrated canvas. They never apply it to dry, flaky, or unprepared skin, as shimmer
will only accentuate texture. For beginners, this is often a missed step. A pro routine involves diligent moisturizing and sometimes a luminous primer to create a tacky, receptive base. This allows the liquid highlighter to melt into the skin rather than sit on top of it. A beginner might apply it over a dry matte foundation, leading to a patchy, uneven result that never quite looks seamless.
Product is a Tool, Not the Whole Show
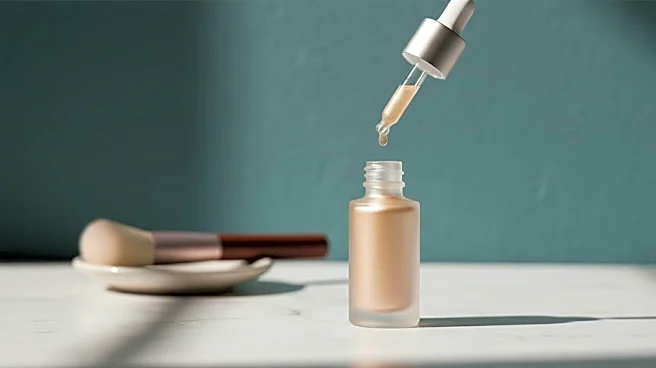
Watch a makeup artist, and you’ll notice they are incredibly restrained with how much product they use. They know that with liquid highlighter, a single drop is often more than enough for the entire face. They'll typically dispense a tiny amount on the back of their hand, warming it up before applying. This gives them total control. Beginners, on the other hand, often make the mistake of applying the product directly from the applicator to their face. This deposits too much pigment at once, making blending a frantic, often unsuccessful, effort. The result is often a concentrated, overly shiny spot that looks more like a metallic sticker than a natural glow. The pro motto is to start small and build in thin layers only where needed.
Placement is Precise, Not Random
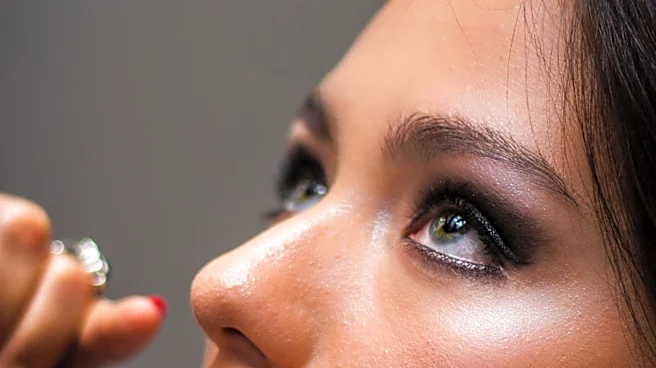
A pro applies highlighter with the precision of a surgeon, targeting only the highest points of the face where light would naturally hit. This includes the very top of the cheekbones, the brow bone, the bridge of the nose, and the cupid's bow. The goal is to enhance bone structure. Beginners often apply it too low on the cheeks, which can drag the face down, or in a wide stripe instead of a diffused C-shape toward the temples. This is the difference between creating dimension and simply painting on a shiny line. Pros also know what to avoid; they rarely place shimmer on areas prone to oiliness, like the center of the forehead, or areas with texture.
The Right Tools and Techniques
The tools used for application are a major differentiator. While fingers can be great for melting product into the skin, pros often use specific tools for a flawless finish. A damp beauty sponge is a favorite for pressing and bouncing the highlighter into the skin, which diffuses the edges seamlessly without disturbing foundation. A dense synthetic brush or a duo-fiber stippling brush can also be used for a soft, airbrushed effect. A beginner might use a dry sponge, a powder brush ill-suited for liquids, or simply their fingers to swipe the product on. The key technique pros use is tapping or stippling—never rubbing or swiping. Swiping just moves the product around and can create streaks or lift the makeup underneath, a tell-tale sign of a novice application.
It's All in the Blend
Ultimately, the biggest giveaway between a professional and a beginner application is the blend. For a pro, there are no visible start or end points; the glow seems to emanate from within the skin itself. This is achieved through patient blending. They spend time meticulously tapping the edges of the highlighter until it melts into the foundation and any blush or bronzer. The goal is a seamless gradient of light. A beginner is often in a rush and may not blend the edges enough, leaving a distinct, unblended line of shimmer. A pro trick is to go back over the edges with the same sponge used for foundation (with no added product) to ensure a perfect marriage between the skin and the glow.