


1. Prep Is Your Secret Weapon
A perfect red lip isn't painted onto your mouth; it’s built upon a flawless canvas. Longevity begins hours, or even a day, before the event. Start by gently exfoliating your lips to remove any dry, flaky skin. You can use a dedicated lip scrub or a soft,
damp washcloth in gentle circular motions. The goal is a smooth surface, not raw skin. Afterward, apply a deeply hydrating, non-greasy lip balm. Let it sink in while you do the rest of your makeup. Right before applying your lipstick, blot away any excess balm with a tissue. This ensures your lips are hydrated and supple, but not so slippery that the color slides right off. A dry, cracked canvas will cause even the most expensive lipstick to feather and flake.
2. Choose Your Formula Wisely
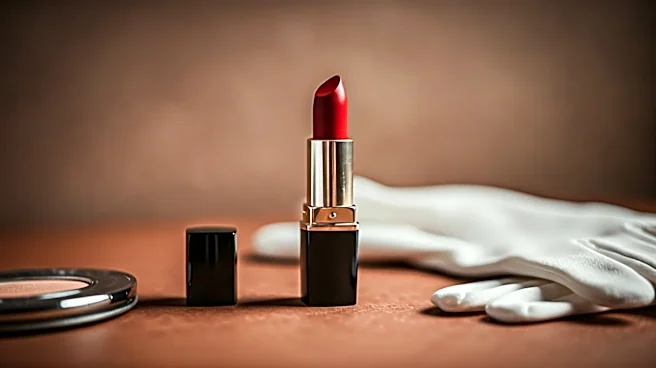
Not all red lipsticks are created equal, especially for an all-day affair. While glossy formulas are beautiful, they are the enemy of longevity and are prone to smudging and transferring onto everything from your teeth to your champagne flute. For an event like Royal Ascot, your best bet is a modern long-wear matte or satin-matte formula. These are designed to set and stay put for hours. Look for liquid lipsticks that dry down completely or traditional bullet lipsticks marketed as “long-lasting.” Pro tip: choose a blue-based red. These shades not only make your teeth appear whiter but also tend to have a classic, sophisticated feel that’s perfect for a formal dress code.
3. A Lip Liner Is Non-Negotiable
If you take away only one tip, let it be this: use a lip liner. Skipping this step is the fastest route to a blurry, bleeding mess. A good lip liner serves two critical purposes. First, it creates a sharp, defined border for your lipstick, which is essential for a “refined” look. Second, it acts as a barrier, preventing the color from feathering into the fine lines around your mouth. Choose a liner that perfectly matches your lipstick shade. Carefully trace the natural outline of your lips. For even more staying power, fill in your entire lip with the liner before applying any lipstick. This creates a pigmented base that will ensure your lips retain some color even if the top layer wears off.
4. Master the Art of Application
Resist the urge to swipe the lipstick directly from the tube. For a truly professional and long-lasting finish, use a lip brush. A brush gives you far more control over the amount of product and the precision of the application. Load a small amount of color onto the brush and paint it onto your lips, starting from the center and working your way out to the corners. Follow the line you created with your pencil. Once you have an even coat, it’s time for the classic Hollywood trick: blot, then reapply. Gently press a single-ply tissue between your lips to remove excess oil and product. Then, apply a second, thin layer of lipstick with your brush. This layering technique is the key to building color that lasts.
5. Set It and (Almost) Forget It
To truly lock in your look, you need to set it. After your final layer of lipstick, take the same single-ply tissue and lay it flat over your lips. Then, using a fluffy brush, lightly dust a translucent setting powder over the tissue. The tissue allows just enough powder to pass through to mattify and set the lipstick without dulling the color or creating a cakey texture. This simple step creates a near-bulletproof finish that will drastically reduce transfer and increase wear time. It’s the final seal of approval that separates an amateur application from a professional one.
6. Plan for a Discreet Touch-Up
Even with the best preparation, a full day of eating, drinking, and talking will eventually take its toll. The key is to be prepared for a graceful and discreet touch-up. You don’t need to bring your entire makeup bag. Simply pack your chosen lipstick and a small, retractable lip brush or even a few pointed Q-tips in your clutch. After a meal, find a powder room. If there’s some wear in the center of your lips, use a Q-tip to gently smooth the edges. Then, use your lipstick to dab a small amount of color only where it’s needed—usually the inner part of your lips. Press your lips together to blend. This targeted approach avoids building up too much product and keeps your look fresh, not heavy.