

Start with a Flawless Canvas
Before you even reach for your mascara, proper prep work is essential for a polished result. Professional makeup artists agree that you should always start with completely clean, dry eyelashes. Any residual makeup, oil, or even leftover makeup remover
can interfere with the mascara's ability to adhere properly, leading to smudges and flakes. Once your lashes are clean, it's time to curl. For a natural-looking bend instead of a harsh crimp, experts recommend pulsing the curler gently, starting near the base, moving to the middle, and finishing with a light squeeze at the tips. This technique creates a graceful, wide-eyed lift that opens up the eyes and prepares them for what's next.
The Hidden Step: Apply a Regular Mascara First
Here is the game-changing trick that many pros swear by: before applying your waterproof formula, apply a single coat of your favorite regular mascara. This might seem counterintuitive, but it serves two critical purposes. First, waterproof mascaras can be very drying and stiff on the lashes. A base coat of a more conditioning, washable mascara creates a nourishing buffer, allowing you to build volume and length without making your lashes brittle. Second, this technique makes removal significantly easier. The regular mascara acts as a primer, so when it’s time to take your makeup off, the stubborn waterproof layer has a buffer and slides off with less harsh rubbing, which helps prevent lash breakage.
Mastering the Waterproof Layer
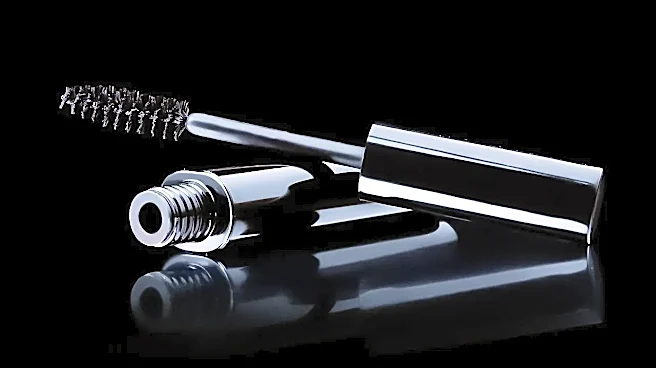
After applying your regular mascara base, it's time for the main event. But don’t go straight from the tube to your lashes. A common mistake is applying too much product at once, which is the primary cause of clumps. To avoid this, wipe any excess mascara off the wand on the lip of the tube before you begin. When you apply, use the classic “wiggle” technique. Place the wand at the very base of your upper lashes and wiggle it back and forth horizontally as you sweep upwards to the tips. This method ensures every single lash is coated evenly from root to tip, creating impressive volume and definition. Because waterproof formulas tend to dry quickly, it’s best to work relatively fast and apply your second coat while the first is still slightly wet to ensure a smooth, buildable finish.
Refine and Perfect the Finish
Once your mascara is on, a few final touches can elevate your look from good to great. If you notice any small clumps, don't panic. Take a clean spoolie brush or a metal lash comb and gently brush through your lashes while they are still slightly damp. This will separate the lashes and remove any excess product for a feathery, defined look. For the bottom lashes, which are often finer and shorter, holding the wand vertically and using the very tip to lightly paint each lash can prevent smudging under the eye. This gives you more control and ensures you don't overload them with product. Should any smudges appear on your eyelid or under-eye area, wait for them to dry completely before gently flaking them off with a clean cotton swab; trying to wipe them away while wet will only create a bigger mess.
Gentle Yet Effective Removal
The very thing that makes waterproof mascara so effective—its staying power—also makes it notoriously difficult to remove. Aggressive rubbing can damage your delicate lashes, causing them to become brittle or fall out. The key is to use a remover that can dissolve the formula without a fight. Oil-based cleansers or dual-phase eye makeup removers are the most effective. To use them properly, saturate a cotton pad and hold it against your closed eye for about 30 seconds. This gives the remover time to break down the mascara. After letting it sit, gently wipe downwards in the direction of your lash growth. There should be no need for harsh scrubbing. Thanks to your regular mascara base coat, you'll find the process is quicker and gentler than ever before.