


Start With a Thesis, Not a Calendar
The biggest mistake editors make is treating a timeline video like a chronological checklist. An endless string of "this happened, then this happened" is the fastest way to bore your audience. Instead, start with a point of view. What is the story you are
actually telling? Is it the tragic fall of a hero? The slow corruption of a republic? The technological arms race between two factions? Your video needs a narrative engine. By framing your timeline around a central theme, you give yourself a filter to decide which events matter and which are just noise. This isn't about ignoring canon; it's about interpreting it to tell a compelling story.
Embrace the Art of Omission
Once you have your thesis, the next step is to be ruthless with your cuts. A great timeline video is defined more by what it leaves out than what it includes. You cannot and should not include every single event, character, or plot point. Doing so “flattens” the lore, making everything seem equally important. Ask yourself: does this event serve the central story I am telling? If not, it has to go. Viewers don't need to know about every minor skirmish or side character's backstory. They need the critical path that leads to the emotional and narrative payoffs. Your job as an editor is to be a curator, not an archivist.
Define Your Canon and Stick to It
Franchises often have multiple tiers of lore: films, TV shows, novels, comics, and video games. Before you even lay down your first clip, decide what's in and what's out. Are you covering only the mainline films? Are the animated series considered canon for your video? Be explicit with your audience at the beginning about the scope of your project. A simple title card or a line in the voiceover like, "Focusing only on the cinematic universe…" sets expectations and prevents endless "what about…" comments. This clarity gives you the freedom to build a coherent narrative within a defined space.
Weave, Don't Just Stack, Your Clips
Avoid simply placing clips in chronological order. A strong timeline video connects events thematically and emotionally. Use editing techniques to create flow. For example, you can use a recurring visual motif or a line of dialogue that echoes across different eras. J-cuts and L-cuts, where the audio from the next clip begins before the video, can create a seamless transition between scenes that might be decades apart in the timeline. The goal is to make the history feel like a living, breathing narrative, where past events directly and visibly influence the future, rather than a disconnected series of moments.
Let Sound and Music Do the Heavy Lifting
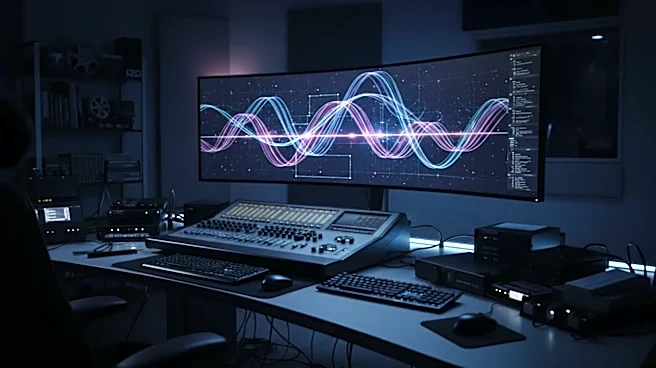
Never underestimate the power of audio. Music is your most powerful tool for conveying tone and emotion. A recurring character theme, when it reappears in a minor key, can instantly signal tragedy. Sound design can also help bridge gaps. The sound of a ticking clock can create tension, while the echo of a past battle can haunt a present-day scene. Your voiceover should be a guide, not a narrator reading a textbook. Keep the tone conversational and focused on the 'why,' not just the 'what.' Good audio ensures the video feels like an epic saga, not a dry documentary.
Use Graphics to Anchor, Not Distract
Simple, clean on-screen text can be invaluable for anchoring the viewer in time. A date and location in the corner of the screen is often all you need. If you're using maps or family trees, keep them simple and legible. The temptation is to create flashy, complex motion graphics, but these can often distract from the story you're trying to tell. The best graphics are ones the viewer barely notices but would be lost without. Their function is to provide clarity with minimal visual noise, allowing the emotional impact of the film clips to remain front and center.