





The Real Goal: Lift, Don't Shrink
The purpose of contouring a round face isn't to make it look smaller, but to add dimension and structure. After applying foundation, a round face can lose some of its natural angles, appearing flat. The right technique creates the illusion of more defined
bone structure by playing with light and shadow. The key is to think about lifting the features upwards, creating a more sculpted and elongated appearance, not just sucking in your cheeks.
Choose Your Tools Wisely
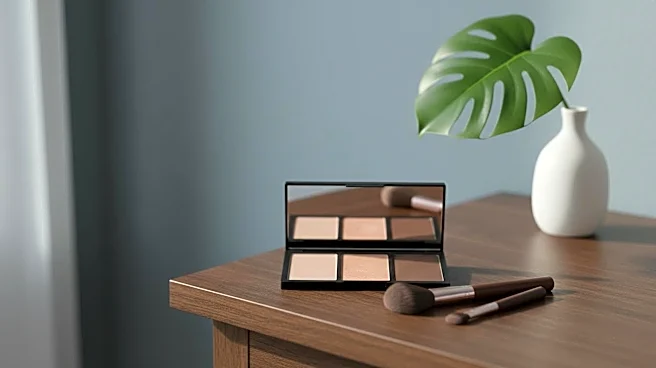
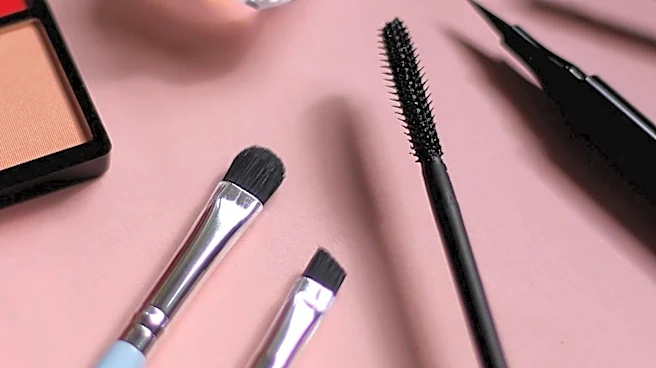
Success starts with the right product. For contouring, you need a shade that mimics a natural shadow. This means choosing a product—whether it's a cream, powder, or stick—that is one to two shades darker than your skin tone with a cool or neutral undertone. Avoid anything too warm or orange, which is better suited for bronzing. A matte finish is essential for contour, as shimmer will reflect light and defeat the purpose of creating a shadow. An angled brush can help with precise application, while a damp sponge is great for blending cream products.
The Biggest Mistake: Placing Contour Too Low
The most common error for round faces is applying contour too low, in the deep hollows of the cheeks. This can drag the face down, making it look heavier. Instead of making a "fish face" and filling in the hollows, locate your cheekbone. The correct placement for a lifted look is just beneath the cheekbone, blending upwards toward your ear. Some artists even suggest placing it slightly higher, almost on the bone itself, to create maximum lift. This technique is counterintuitive but highly effective for adding definition without widening the face.
Map Your Face for Definition
A simple way to remember placement is the "3" or "C" technique. Visualize a number three on each side of your face. Your contour will follow this shape, starting at your temples or the sides of your forehead, sweeping down under your cheekbone, and then curving back to trace along your jawline. This sculpts the perimeter of the face. Apply product along the sides of the forehead near the hairline, from the top of the ear toward the cheeks, and along the jaw to create a more defined line. Blending into the hairline is key for a seamless look.
Use Highlight to Elongate
Highlighting is just as important as contouring for balancing a round face. The goal is to draw attention to the center of the face, creating a vertical line of light that elongates your features. Apply a concealer one or two shades lighter than your skin or a subtle highlighter (no glitter) down the bridge of your nose, in the center of your forehead, and on your chin. You can also add a pop of brightness under the eyes in an inverted triangle shape to lift the area. Avoid highlighting the apples of your cheeks, as this can emphasize roundness.
Blend Up, Not Down
Harsh lines are the fastest way to ruin a good contour. Blending is non-negotiable, and the direction matters. Always blend your contour in upward and outward motions. This lifts the features and prevents the product from settling too low and dragging your face down. Whether you use a brush or a sponge, use light, stippling or tapping motions to melt the product into your skin without creating a muddy mess. If you feel you've applied too much, use a clean sponge with a bit of foundation on it to soften the edges.