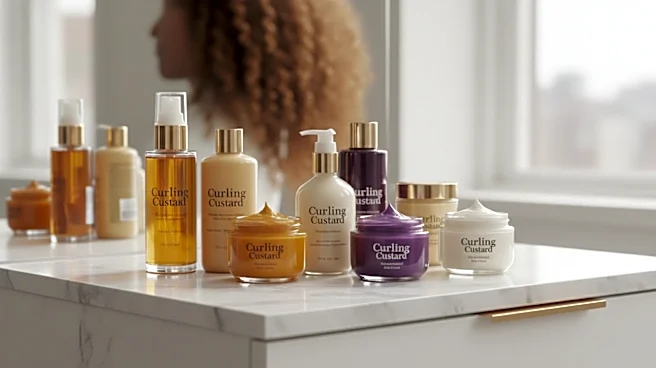





First, What Exactly is a Curling Custard?
Before perfecting the routine, it helps to know your product. Think of a curling custard as a hybrid styler. It sits right between a moisturizing curl cream and a high-hold gel. While creams primarily offer softness and gels focus on structure, a custard aims
to do both. It provides hydration to keep curls feeling soft and healthy, while also delivering enough hold to define your curl pattern and fight frizz. This makes it a great single-styler option for many, simplifying your routine by replacing the need to layer a leave-in conditioner, cream, and gel. They often contain ingredients like agave nectar, pectin, aloe vera, and marshmallow root that provide moisture and hold. This balance is ideal for those who find creams too weak and gels too crunchy.
The Golden Rule: Start with Soaking Wet Hair
The most critical, and often overlooked, step happens before you even open the custard. For the product to work its magic, it must be applied to soaking wet hair. Applying custard to damp or semi-dry hair is a recipe for frizz and uneven application. Curls form their best clumps when they are fully saturated with water. The water helps the custard spread evenly from root to tip, coating every strand and encouraging them to group together into defined curls. If your hair starts to dry as you're styling, keep a spray bottle handy to re-wet each section before applying the product. This ensures the hair cuticle is smooth and ready to absorb the product, sealing in moisture and locking out the humidity that causes frizz.
The Art of Application: Less is Not More
With their thick, pudding-like consistency, it can be tempting to use custards sparingly, but this is a common mistake. Curly and coily hair, which is often naturally dry, needs to be fully saturated with product for even definition. Start by sectioning your clean, wet hair into four or more manageable parts. Take a generous amount of custard—more than you think you need—and rake it through each section thoroughly. Ensure every strand is coated. Techniques like the "praying hands" method (smoothing the hair between your palms) can also help to apply the product evenly and clump curls together. For tighter curl patterns, finger coiling after applying the product can further enhance definition.
Set and Forget: The Hands-Off Drying Phase
Once the custard is applied, your hair will have a slippery, coated feel. Now, it’s time to dry—and the most important part of this step is to keep your hands off. Touching, scrunching, or fussing with your hair while it's drying will disturb the curl clumps and create frizz. The custard will form a temporary “cast” around your curls as they dry, which feels slightly stiff. This is what locks in your curl pattern. You have two main options for drying: air-drying or using a diffuser on low speed and low heat. If you diffuse, gently cradle your curls in the diffuser bowl, bringing it up toward your scalp, and hold it still. Avoid shaking the dryer around, which can create frizz. Wait until your hair is 100% dry before moving to the final step.
Scrunch Out the Crunch for Soft, Bouncy Curls
If your hair feels stiff or crunchy once completely dry, don't worry—that's the cast, and it's meant to be broken. This is the final step to revealing soft, touchable curls. Gently “scrunch out the crunch” by cupping sections of your hair and squeezing upwards toward the scalp. You can do this with bare hands or add a drop of a lightweight hair oil to your palms to add shine and reduce any potential frizz during the process. You'll feel the cast break, leaving behind bouncy, defined curls without the stiffness. This final step is the payoff, transforming the protective cast into a flexible, long-lasting style that feels as good as it looks.