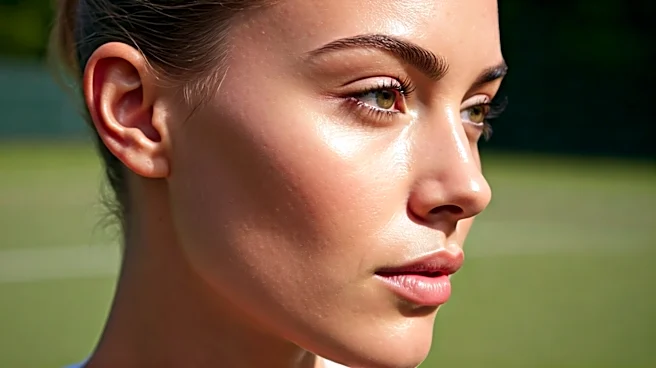


The Philosophy: Strategic Layers, Not Heavy Coverage
The fundamental rule makeup artists follow for rosacea-prone skin is to neutralize and build, not just cover. The common instinct is to reach for the heaviest foundation to mask redness, but this often backfires. Thick layers can trap heat, irritate sensitive
skin, and look cakey, making redness more pronounced as the day wears on. The professional approach is to use a series of thin, targeted layers, each with a specific job. This method calms the skin, neutralizes redness at the source, and uses a minimal amount of foundation for a finish that looks like real, healthy skin—just more even and composed.
Game On: The Pre-Makeup Prep
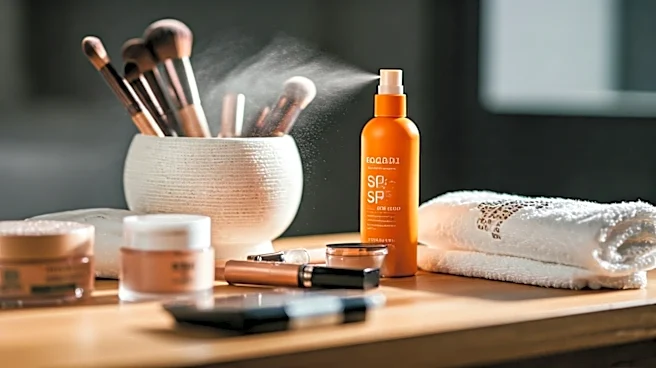
A flawless base begins with what you do before your makeup even comes out. For skin prone to redness, this step is non-negotiable. Start by washing your face with a mild, creamy cleanser and lukewarm water, patting it dry gently. Harsh rubbing can trigger a flare-up before you've even begun. Next, apply a calming, barrier-repairing moisturizer. Look for formulas with soothing ingredients like niacinamide, ceramides, or aloe vera to hydrate and reduce inflammation. Finally, and most critically, apply a mineral-based sunscreen with SPF 30 or higher. Zinc oxide and titanium dioxide are typically less irritating than their chemical counterparts and are essential for protecting sensitive skin from UV rays, a common rosacea trigger.
The First Serve: Neutralize with a Green-Tinted Primer
This is the game-changing step that separates amateur application from a pro finish. Before foundation, apply a thin layer of green-tinted primer. On the color wheel, green is directly opposite red, meaning it visually cancels it out. By applying a sheer green primer to the cheeks, nose, or any other areas of redness, you neutralize the flush before adding any skin-toned pigment. This single step dramatically reduces the amount of foundation you'll need to use, which is key for a natural, breathable look. It also creates a protective barrier between your skin and the makeup, helping it last longer without irritation.
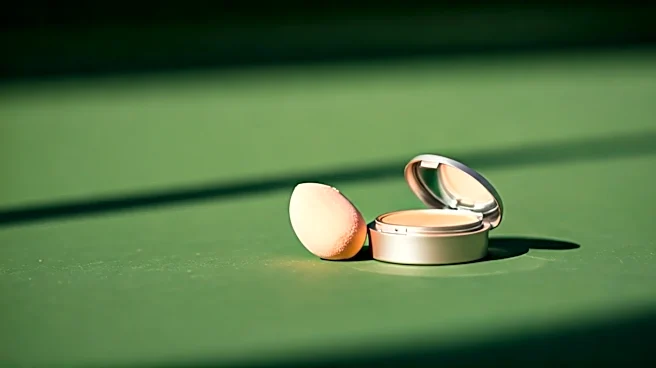
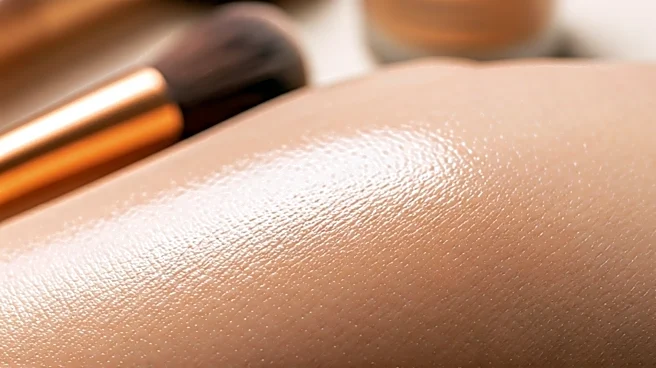
Building Your Base: The Stipple-and-Pat Method
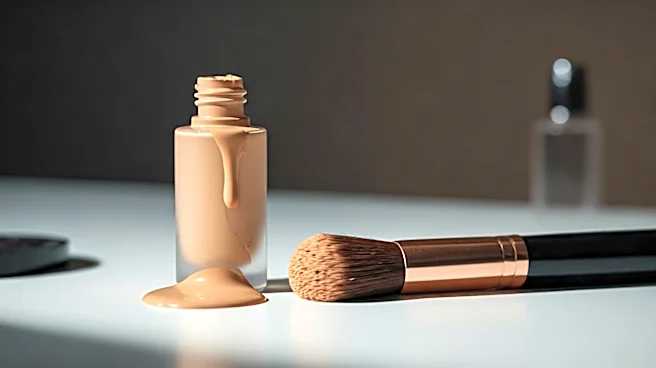
Now that your skin is prepped and the redness is neutralized, it’s time for foundation. Choose a lightweight, breathable, and hydrating formula labeled hypoallergenic and fragrance-free. Mineral foundations are often an excellent choice as they tend to be free of common irritants. The technique is more important than the brand: Dispense a small amount of product and use a damp beauty sponge or a soft foundation brush to gently tap or stipple it onto the skin. Do not wipe, drag, or buff. This pressing motion provides coverage without the friction that can cause skin to flush. Focus on building light layers only where you need them, leaving areas with less redness nearly bare for a more natural effect.
Match Point: Strategic Concealing and Setting
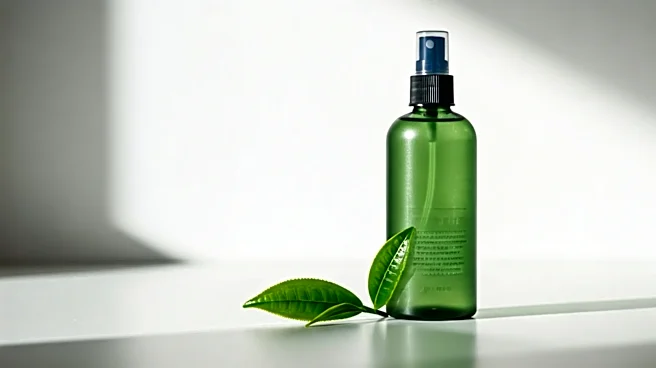
If any stubborn redness or blemishes are still visible after foundation, use a concealer that matches your foundation shade for spot treatment. A common mistake is to pile on foundation to cover everything, which leads to a masked look. Instead, use a tiny brush or your fingertip to lightly dab concealer only on the specific spots that need extra coverage, then gently blend the edges. To ensure your Centre Court-ready look lasts, set your makeup. If you have oily skin, a light dusting of a fine, translucent powder on the T-zone will do. For drier skin, a calming setting spray can lock makeup in place without compromising a dewy, hydrated finish.