
Prep Work is Non-Negotiable
The biggest mistake most people make is taking a hot iron to unprepared hair. For a flawless, damage-free finish, your work starts long before the tool heats up. First, hair must be one hundred percent
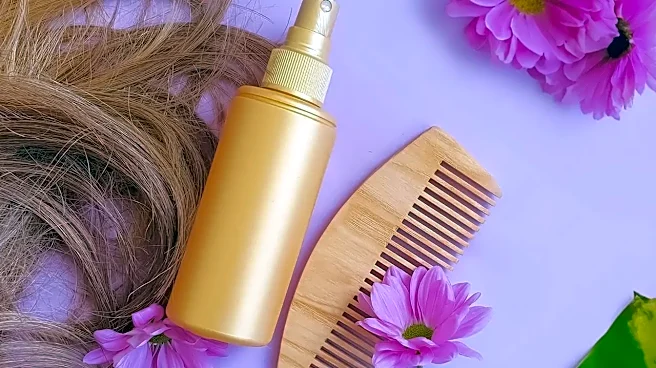
dry. Applying high heat to even slightly damp hair can essentially boil the water within the hair shaft, leading to breakage and that dreaded sizzle. Second, you must use a heat protectant. Think of it as armor for your hair, creating a barrier that minimizes moisture loss and shields the hair's outer layer, the cuticle, from being scorched. Apply it evenly through your sectioned, dry hair before the iron comes anywhere near it.
Dial In the Right Temperature
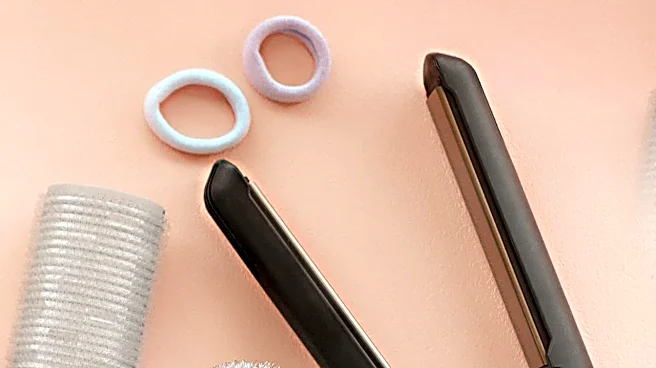
That 450-degree button isn't for everyone. Using a temperature that's too high is a fast track to irreversible damage. The ideal heat setting depends entirely on your hair type. For fine, thin, or chemically treated hair, stay in the lower range of 250-320°F to avoid frying the delicate strands. Those with normal or medium-textured hair can typically work within the 320-375°F range. If you have thick, coarse, or very curly hair, you will likely need more heat to get results, somewhere between 375-410°F. The golden rule is to use the lowest possible temperature that effectively styles your hair in a single pass. If you're not getting results, the problem is likely your technique, not the temperature.
The Sectioning Secret
Grabbing a huge chunk of hair and running the iron over it five times is inefficient and damaging. The key to a smooth, uniform result is working in small, manageable sections. Aim for sections that are about one-inch thick. This allows the heat from the iron plates to penetrate the hair evenly and thoroughly. While it may seem like this takes more time, it's actually faster. A single, slow, deliberate pass over a small section is far more effective than multiple quick passes over a large one. This ensures every strand gets the same amount of heat, preventing you from having to go over the same spots repeatedly, which is a major cause of damage.
Master the Technique
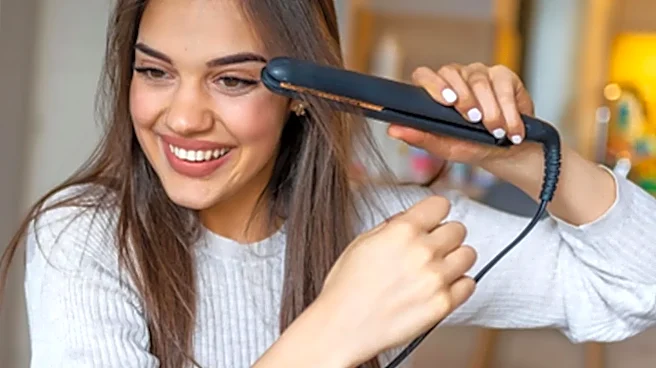
Proper technique is what separates amateur results from a professional look. Once you have your small section, clamp the iron near the roots—but not so close you burn your scalp. With firm but gentle tension, pull the iron down the hair shaft in one smooth, continuous motion. The speed of your pass matters; it should not be a rapid zip, nor should you let it sit in one spot. A slow, steady glide is perfect. This “one and done” approach on each section is the goal. Chasing flyaways by repeatedly clamping down on the ends will only lead to split, frayed hair. For a more modern look with a bit of volume, try directing the iron up and away from the root before gliding down.
The Cool Down and Finish
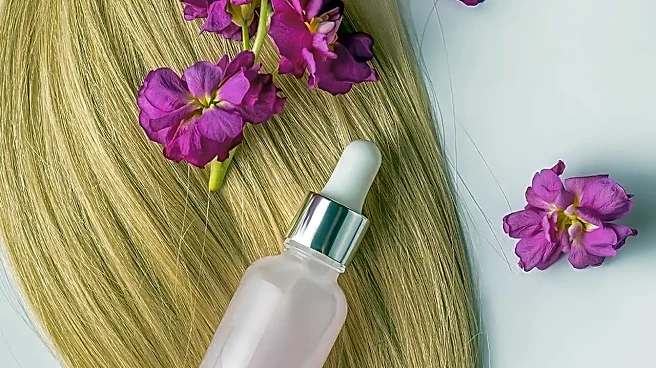
Your hair isn't finished the second the iron is turned off. The style is only truly set once the hair has cooled down completely. Avoid touching or running your fingers through it while it's still warm, as this can disrupt the newly formed shape and introduce frizz. Once your hair has returned to room temperature, you can apply a finishing product. A few drops of a lightweight anti-frizz serum or a shine oil will seal the cuticle, add gloss, and tame any remaining flyaways. Apply it to the mid-lengths and ends, avoiding the roots so you don't weigh your hair down. This final step locks in your hard work and provides that polished, salon-fresh look.