


Step 1: Start with a Clean Canvas
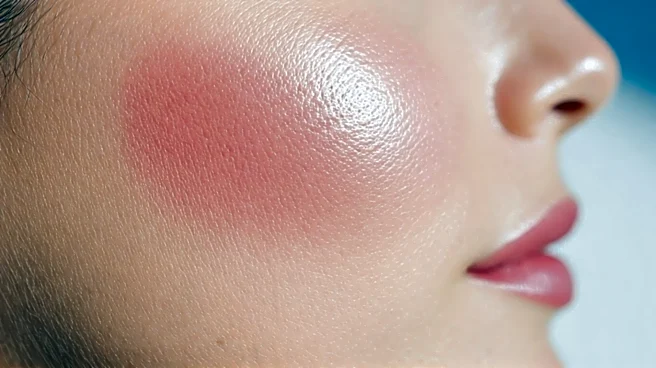
You wouldn’t paint on a dirty canvas, and the same principle applies to your face. Starting with a clean base is non-negotiable. Any dirt, oil, or leftover makeup from the night before will create a barrier, preventing products from adhering properly
and potentially leading to a cakey finish or breakouts. Use a gentle cleanser suited to your skin type. If you have dry skin, a creamy or hydrating wash will prevent stripping essential moisture. For oily or acne-prone skin, a gel or foaming cleanser can help manage excess sebum without being overly harsh. Pat your skin dry with a clean towel; aggressive rubbing can cause irritation and redness before you’ve even begun.
Step 2: Gently Exfoliate (But Not Every Day)
The secret to a truly smooth surface is exfoliation. Dead skin cells create texture, causing foundation and concealer to cling to dry patches and look uneven. However, the key word here is *gently*. Over-exfoliating with harsh physical scrubs can create micro-tears and inflammation. Instead, consider a chemical exfoliant with ingredients like glycolic, lactic, or salicylic acid a few times a week (never on the same day as a retinol). On makeup days, you can use a very gentle method, like a soft washcloth with your cleanser or a mild peeling gel. This step sloughs away dullness, revealing a brighter, smoother base that allows makeup to glide on seamlessly.
Step 3: Add a Layer of Hydration
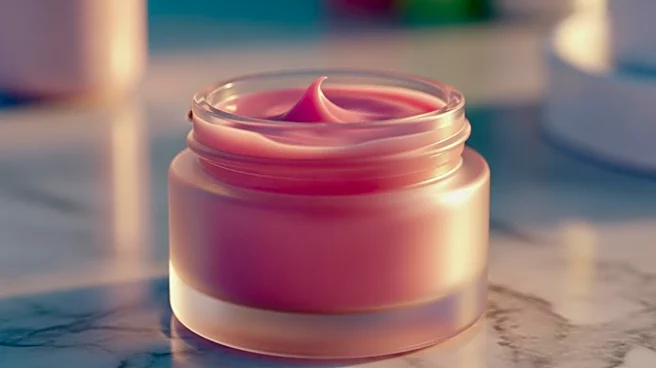
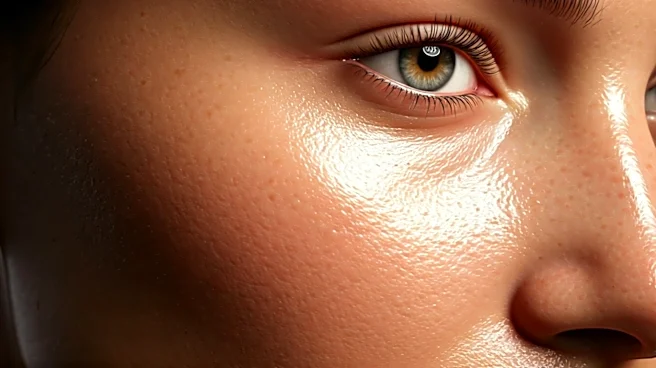
This is the step many people skip, but it’s what gives you that coveted 'lit-from-within' glow. After cleansing, your skin is ready to absorb moisture. Applying a hydrating toner or essence immediately rebalances your skin’s pH and provides a quenching drink of water. Look for ingredients like hyaluronic acid, glycerin, or rosewater. These products are watery in texture and designed to penetrate deeply. Pat a few drops into your skin with your hands. This plumps up the skin cells, making fine lines less apparent and creating a dewy, supple base that prevents foundation from looking flat or dry.
Step 4: Moisturize for Your Skin Type
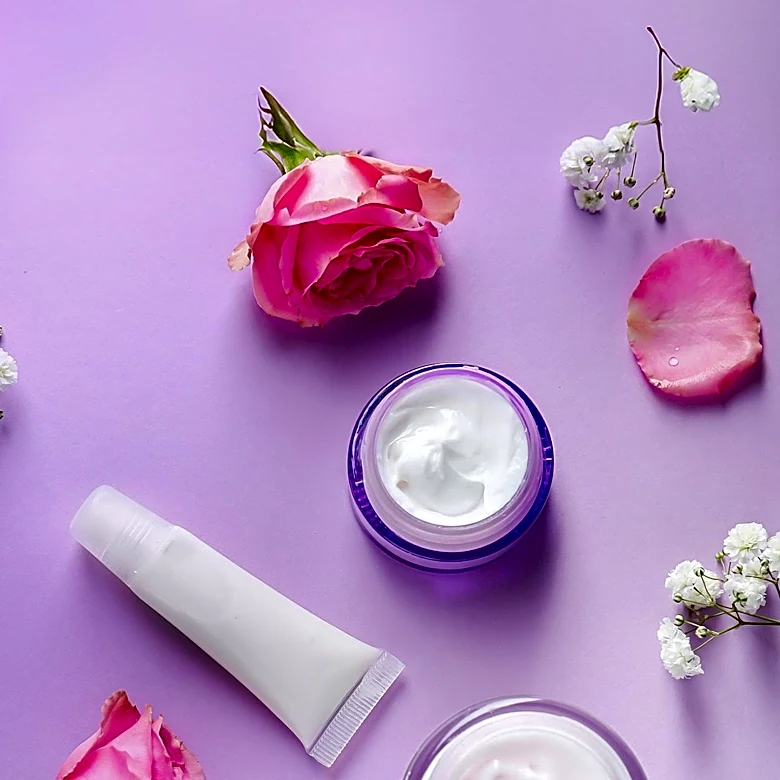
Moisturizer is the cornerstone of skin prep. It not only hydrates but also creates a protective barrier between your skin and your makeup. This barrier prevents your skin from absorbing the makeup, which can lead to clogged pores, and it also stops thirsty skin from drinking the moisture out of your foundation, which causes it to break apart. The right moisturizer depends on your skin type. Oily skin types should opt for a lightweight, oil-free gel or lotion. Dry skin types will benefit from a richer, creamier formula. Allow your moisturizer to fully absorb for at least a few minutes before moving on. A tacky, not-quite-dry surface can cause your makeup to pill.
Step 5: Always Protect with SPF
Sunscreen is the most important anti-aging product you can use, and it should be a non-negotiable final step in your skincare routine every single day, regardless of the weather. Many modern SPF formulas are designed to wear beautifully under makeup. Look for a lightweight, broad-spectrum sunscreen with at least SPF 30. Chemical sunscreens often have a more elegant, invisible finish, while mineral sunscreens (with zinc oxide or titanium dioxide) can be great for sensitive skin and may even offer a subtle blurring effect. Applying sunscreen creates another smooth layer and protects your skin from UV damage, which is a win-win. As with moisturizer, give it a minute or two to set before applying makeup.
Step 6: The Final Seal: Primer
Think of primer as the bridge between your skincare and your makeup. While not always necessary if your skin is well-prepped, a good primer can take your application to the next level by addressing specific concerns. A blurring primer can minimize the appearance of pores and fine lines. A hydrating primer can give an extra boost of moisture for a dewy look. A mattifying primer can control oil in your T-zone. And a color-correcting primer (like a green one for redness) can even out your skin tone before you even apply foundation. Apply a thin layer only where you need it. This final step locks in your skincare, smooths the canvas, and gives your makeup something to grip onto, dramatically increasing its longevity.