




The Real Secret: It's Not Just Concealer
If you're trying to cover dark under-eye circles with concealer alone, you're fighting an uphill battle. A skin-toned product can only do so much to hide discoloration that is blue, purple, or brown. When you layer a light-colored concealer over a dark circle,
the tones mix, often resulting in that frustrating grayish shadow. The hidden step that makeup professionals swear by is color correction. This isn't about covering up; it's about neutralizing. By using a color that is opposite to the color of your dark circles on the color wheel, you effectively cancel out the discoloration before you even reach for your concealer. Think of it as creating a neutral canvas. Instead of piling on heavy concealer to mask the darkness, a thin layer of the right color corrector makes the job infinitely easier, leading to a brighter, more natural finish with less product.
Choosing Your Correcting Shade
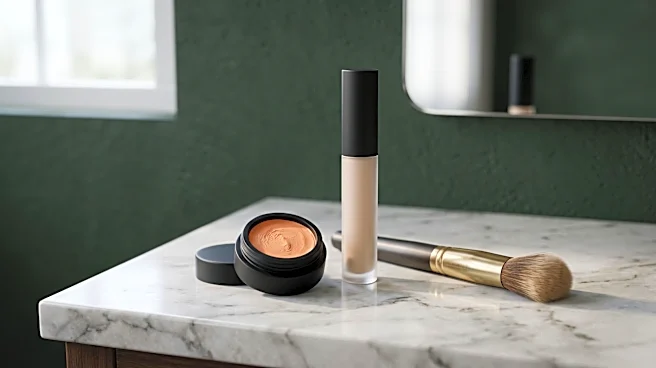
Navigating the world of color correctors can feel like a pop quiz in art class, but it’s simpler than it looks. The key is to identify the primary color of your under-eye darkness. For many, circles have a blue or purplish tint. According to color theory, colors opposite each other on the color wheel cancel each other out. For blue and purple tones, you’ll want to reach for shades in the orange and yellow family. Here's a quick guide: If you have fair to light skin with bluish circles, a peach or pink-toned corrector will brighten the area without being too intense. For medium skin tones dealing with more pronounced blue or purple shadows, a salmon or light orange corrector is ideal. If you have a deeper skin tone and your circles appear as dark blue, gray, or brown, a more vibrant orange or even a reddish corrector will provide the necessary neutralization. Yellow correctors are also useful for counteracting purple-hued discoloration.
The Art of Application: Less Is More
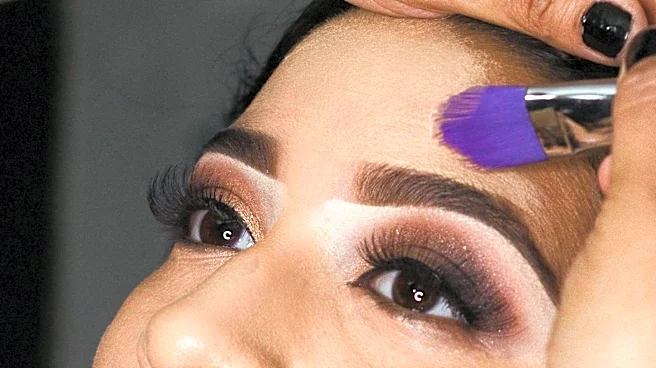
Once you have your color, the technique is everything. The biggest mistake people make is applying too much product. A thick layer of corrector will lead to creasing and caking when you add concealer on top. The goal is to apply a very thin, targeted layer only on the areas of discoloration. Using your ring finger for its gentle warmth or a small, precise brush, tap a tiny amount of the corrector onto the darkest parts of your under-eye area. This is often in the inner corner and along the hollow that runs beneath your eye. Gently pat and blend the product, focusing on diffusing the edges while keeping the coverage concentrated on the darkness. You shouldn’t see a noticeable patch of orange or peach; rather, the dark area should just look less pronounced and more neutral. Let it set for a moment before moving on to the next step.
The Final Touch: Layering for a Flawless Finish
Now that you’ve neutralized the darkness, it's time for concealer. You’ll find you need much less of it than you did before. Choose a concealer that matches your skin tone or is at most one shade lighter for a brightening effect. Applying a concealer that is too light over uncorrected circles is a primary cause of the dreaded gray cast. Gently tap your concealer over the color-corrected area, blending it seamlessly into the rest of your skin. Be careful not to swipe or rub, as this will displace the corrector underneath. The same tapping motion you used before works best. To lock everything in place and prevent creasing, finish with a light dusting of a fine-milled setting powder. This final step ensures your hard work stays put, leaving you with bright, awake-looking eyes that look professionally done.