


A Flawless Base Is Non-Negotiable
The secret to a lasting chrome manicure begins before any color is applied. Professional nail artists emphasize that chrome amplifies every imperfection, so a perfectly smooth canvas is critical. This means meticulous nail prep: gentle filing, cuticle
care, and buffing the nail plate to remove any shine. For gel applications, which provide the best foundation for chrome, this includes dehydrating the nail plate and using a quality acid-free primer to remove natural oils that cause lifting. A smooth, well-structured base, often using a rubber base coat or builder gel, ensures the subsequent layers go on evenly, preventing lumps and bumps that the chrome finish would otherwise highlight.
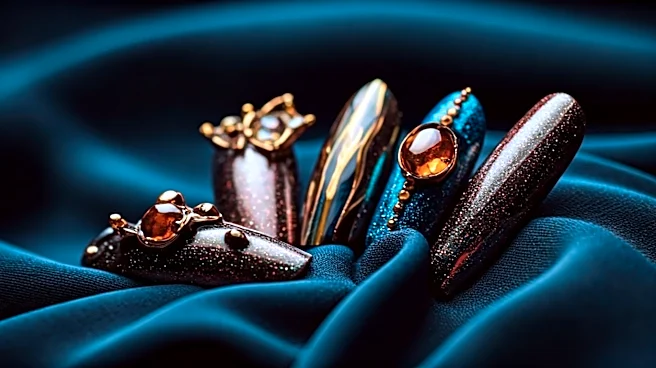
The Magic Is the No-Wipe Top Coat
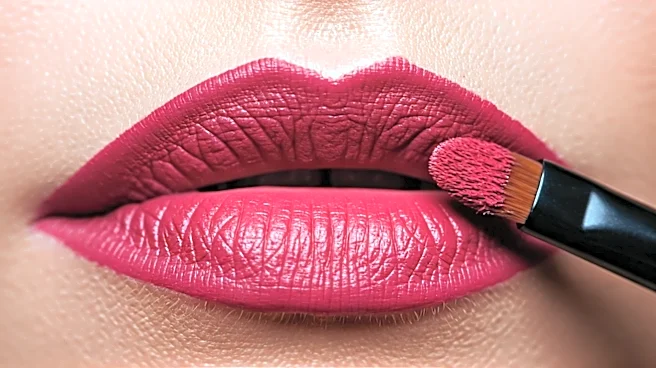
This is the step that makes or breaks a chrome manicure. Chrome powder needs a specific surface to adhere to for that true mirror effect: a no-wipe gel top coat. Unlike traditional top coats that leave a sticky, or 'tacky,' inhibition layer after curing, a no-wipe formula creates a smooth, slick surface. However, the real technique is in the cure time. Most artists agree you should not fully cure this layer before applying the powder. A partial cure, typically between 15 and 30 seconds under an LED lamp, leaves the surface just warm and receptive enough for the powder to 'burnish' into it, creating a seamless metallic sheen. If you over-cure it, the powder won't stick properly; under-cure it, and you'll get a streaky, glittery mess instead of a mirror.
Perfect the Burnishing Technique
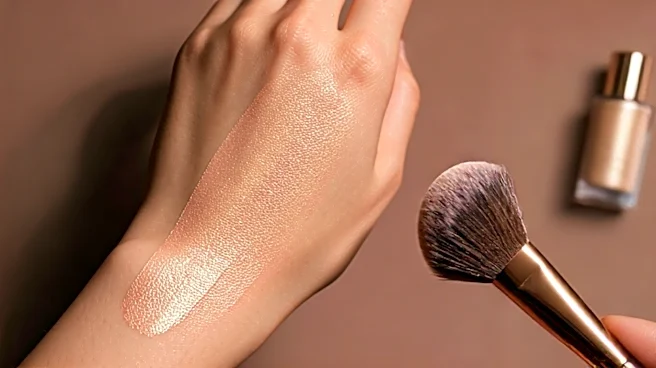
Once your no-wipe top coat is perfectly semi-cured, it's time to apply the powder. Professionals use a small, disposable tool like a silicone applicator or a sponge-tip eyeshadow applicator, not their fingers. Using your finger can transfer natural oils onto the nail, which can cause the chrome to peel or chip later. Gently but firmly, rub the powder onto the nail surface. The goal is to 'burnish' it, using pressure to flatten the microscopic particles into a single, reflective sheet. Start with a small amount of powder; a little goes a long way. After achieving full coverage, use a clean, fluffy brush to dust away all excess particles from the nail and surrounding skin to avoid contaminating your final top coat.
Seal It Twice and Cap the Edge
With the chrome effect achieved, the final step is to seal it for longevity. This is another area where pros don't cut corners. Many artists recommend a two-layer sealing process for maximum durability. First, apply a layer of base coat over the chrome. This acts as an adhesion-promoting layer that 'hugs' the chrome particles without the risk of streaking them, which a top coat might do. After curing the base coat, apply a durable, high-shine no-wipe top coat. During both sealing steps, it's crucial to 'cap the free edge' by running the brush along the very tip of the nail. This creates a protective seal that prevents chipping and lifting from the edges, which is the most common point of failure.
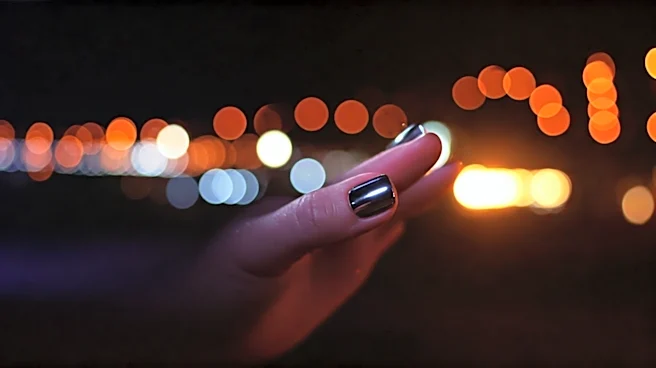
Festival-Proofing Your Manicure
A festival environment is tough on nails. To make your chrome last, a few extra precautions are key. Apply your manicure a day or two before the event to let it fully settle. At the festival, be mindful of sunscreen and hand sanitizer, as some formulas contain ingredients that can dull or damage a gel top coat. Opt for a spray-on sunscreen where possible. Keeping your hands and cuticles moisturized with cuticle oil daily can prevent the gel from becoming brittle and lifting. Avoid using your nails as tools to open cans or scrape things. For a quick fix, you can pack a mini top coat for any emergency touch-ups if an edge starts to feel rough.