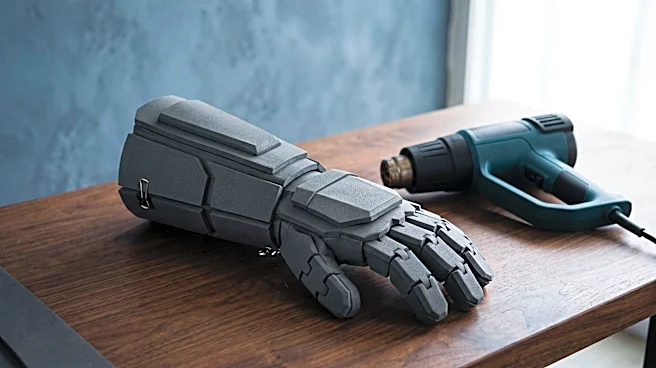










Why We Heat-Shape Foam in the First Place
EVA foam, the dense, flexible material beloved by cosplayers and prop makers, is a thermoplastic. This means that when you apply heat, its cellular structure softens, allowing you to bend and mold it into curves. As it cools, the structure re-hardens,
locking in the new shape. This process is what turns flat, boring sheets into dynamic breastplates, helmets, and bracers. A heat gun is the tool of choice, typically set to a medium temperature (around 300-400°F) and held a few inches from the surface. When done correctly, the foam holds its new form permanently. However, a few common errors can undermine the entire process, leading to weak or misshapen pieces.
The #1 Mistake: Too Much Heat, Too Fast
The single most common mistake is blasting the foam with high heat, thinking more is better. When you hold a heat gun too close or set it too high, you essentially scorch the surface before the heat can penetrate the core of the foam. This creates a brittle, overly-shrunken outer layer while the inside remains under-heated and weak. The surface may look glossy and feel formed, but it hasn't achieved a deep, structural change. This 'case-hardened' piece will have internal tension and will slowly try to revert to its original flat state, especially when worn or exposed to ambient heat, like a sunny day at a convention. You can tell you've overheated the foam if it starts to bubble, darken, or smoke; at that point, the piece is likely damaged and will be prone to cracking.
The Fix: Go Low, Slow, and Even
Patience is the true secret to a lasting shape. Set your heat gun to a lower temperature and keep it moving in constant, sweeping circles about 4 to 6 inches away from the foam. Your goal is to warm the entire thickness of the piece evenly, not just the surface. Heat both sides of the foam to ensure the core becomes pliable. You’ll know it’s ready when the entire piece feels soft and yields easily to a bend, not just the shiny surface. Once it's uniformly heated, press it over your mold—be it a mannequin, a bowl, or even your own knee—and hold it firmly in place.
The Overlooked Step: The Cooling Process
Heating is only half the battle; cooling is what locks the shape in. After forming the warm foam over your mold, you must hold it there without moving until it is completely cool to the touch. This can take anywhere from 30 seconds to a few minutes, depending on the foam's thickness. If you release it too early, the foam's 'memory' will cause it to partially flatten before it has fully set. Rushing the cooling process is just as bad as rushing the heating. For perfectly repeatable shapes, some creators even build simple cooling jigs to hold pieces in the exact same curve every time. For a faster cool-down, some guides suggest quenching the piece in cold water, but simply holding it steady until it returns to room temperature is the most reliable method.
Don't Forget to Seal the Surface
Another crucial step that reinforces the shape is heat-sealing. This is a lighter pass with the heat gun after the piece is already formed and cooled. The goal here isn't to make the foam pliable, but to close the open cells on the surface. Run the heat gun quickly over the foam until you see the texture change from matte to a subtle sheen. This creates a smoother, less porous 'skin' that is much better for priming and painting. While its main purpose is to prevent the foam from absorbing paint like a sponge, this sealed surface also adds a bit of structural integrity, helping to prevent the fuzziness that can occur after sanding and further solidifying the final form.