

Philosophy: Sculpture vs. Sparkle
The most significant difference lies in the fundamental approach. A professional makeup artist uses highlighter to sculpt the face, manipulating light to create dimension and enhance bone structure. The goal is a “lit-from-within” radiance that appears
natural and seamless. For a pro, highlighter is a tool of illusion. For a beginner, the goal is often more straightforward: add visible shine. This can lead to applying too much product or focusing on the sparkle itself, rather than how the light it reflects shapes the face.
Placement: Precision vs. A General Swipe
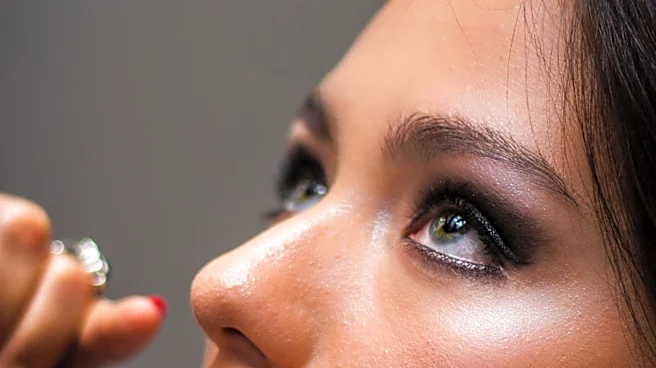
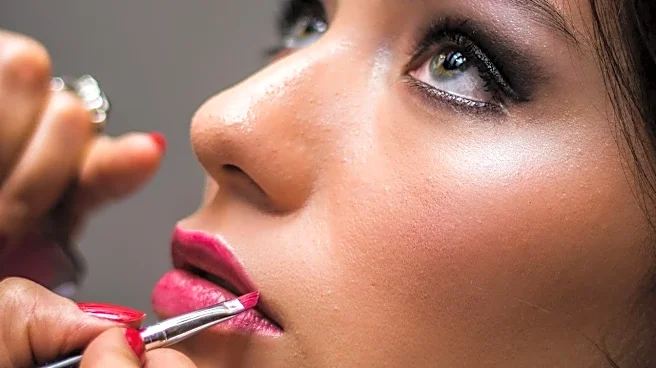
Professionals are incredibly precise. They apply highlighter only to the highest points of the face where light would naturally hit. This includes the very top of the cheekbones in a 'C' shape up toward the temple, the brow bone, the bridge of the nose, and the cupid's bow. A common beginner habit is to swipe a thick, long stripe of highlighter along the entire cheekbone, sometimes bringing it too far down or too close to the nose. This can drag the face down or look unnatural. Pros also know what areas to avoid, steering clear of textured skin, fine lines, or blemishes, as the shimmer can emphasize imperfections.
Blending: A Seamless Melt vs. A Hard Line
Blending is arguably the most critical step that separates the amateurs from the artists. A pro will blend the edges of the highlighter until it melts into the skin with no discernible start or stop. They might use a fan brush for a light dusting, a damp sponge to press the product in, or their fingertips to warm and diffuse cream formulas. Beginners, on the other hand, often leave harsh, unblended lines that look like obvious strips of makeup. The pro technique sometimes involves layering a cream or liquid first and then adding a powder just to the very center for a dimensional, more defined point of light.
Product and Tools: The Right Tool for the Job
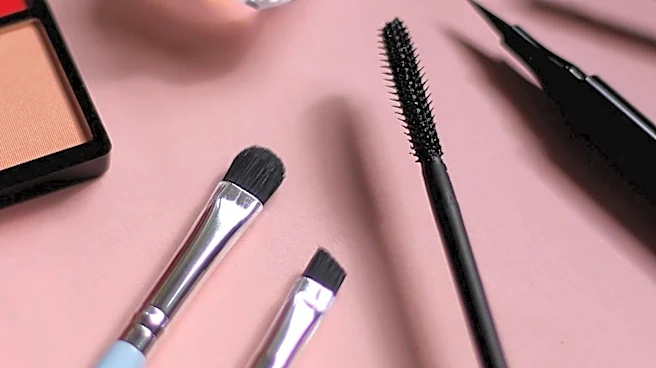
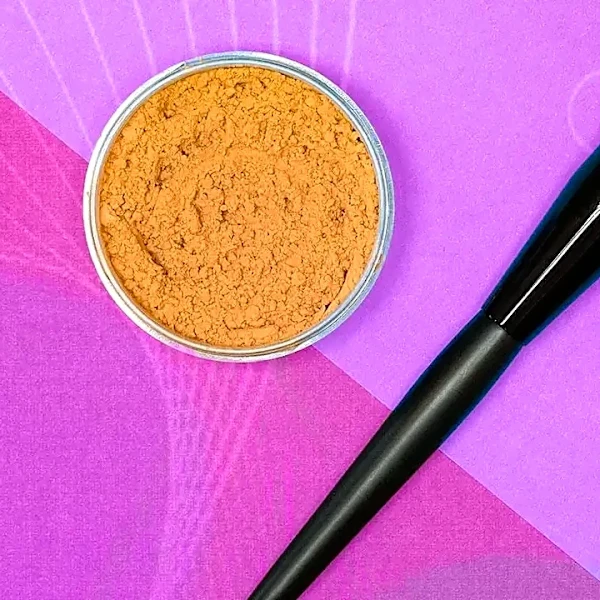
Professionals have a full arsenal and know which formula—powder, cream, liquid, or stick—works best for different skin types and desired finishes. For example, they might use a cream or liquid highlighter on dry or mature skin to provide a dewy finish without emphasizing texture, whereas a powder highlighter can be great for oilier skin types. Beginners often stick to a single, intensely sparkly powder for all occasions. Pros also match formulas, pairing liquid and cream highlighters with similar foundation formulas to ensure a seamless blend, a step beginners may overlook.
Customization: Tailoring to the Face
Perhaps the most advanced technique is customization. A professional artist doesn't apply highlighter the same way on every person. They analyze the client's face shape and features to create balance. For a round face, they might focus on the tops of the cheekbones to create length, while for a long face, they might blend the highlighter outwards to add width. This bespoke approach is a world away from the one-size-fits-all application that many beginners adopt from a single tutorial, which might not be flattering for their unique bone structure.