
The Canvas: Prep Work is Non-Negotiable
A beginner often grabs their liner and applies it directly to their lips, whatever state they're in. The result? The pencil can skip over dry patches, feather into fine lines, and look uneven. A pro, however,
knows that a flawless finish starts with a flawless canvas. This means beginning with gentle exfoliation to slough off any dead skin, creating a smooth surface. They follow this with a hydrating but not overly greasy lip balm, letting it absorb before blotting away any excess. This simple prep ensures the liner glides on smoothly and adheres properly, preventing a patchy or uneven application.
The Tools: It's Rarely Just One Pencil
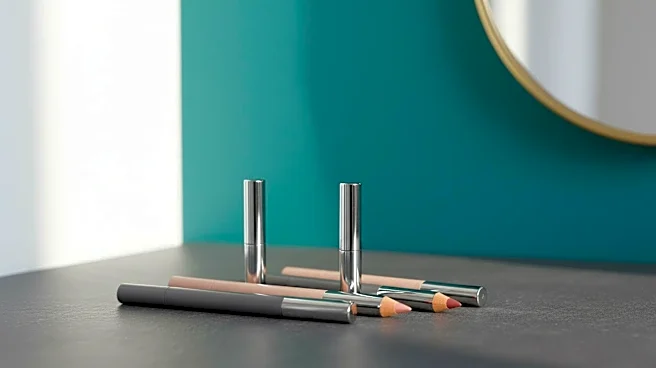
Most beginners rely on a single lip liner, often one that's a bit dull, and try to make it work for everything. Professionals treat their tools like an artist's palette. First, their pencil is always sharp, which is critical for creating precise, clean lines. A dull tip creates a smudgy, thick line that's impossible to control. Second, pros often use more than one shade. They might use a color that matches the natural lip tone to build the initial shape, and a slightly deeper one to create shadows and dimension. They also frequently use brushes—a small lip brush to blend the liner inward for a softer look or a flat concealer brush to clean up the edges for an ultra-crisp finish.
The Technique: Sketching vs. Drawing
This is the biggest differentiator. A beginner tends to apply liner with a single, firm, continuous line, which can look harsh and unnatural. Pros apply liner using light, feathery, sketch-like strokes. This gives them more control and allows them to build the shape gradually. Instead of drawing a hard outline, they are essentially shading and sculpting. They focus on defining key areas like the Cupid's bow, often starting with a small 'X' to ensure symmetry. They also blend the liner inward toward the center of the lip, creating a soft gradient instead of a stark border. This prevents the dreaded 'ring around the mouth' look as lipstick wears off.
The Overline: Strategic Illusion, Not Inflation
Overlining is where many beginners go wrong, creating a noticeable line far outside their natural lips. A pro's overlining is an optical illusion, not a new lip border. The secret is subtlety and strategic placement. They trace just barely outside the natural lip line, focusing only on the fullest parts: the center of the Cupid's bow and the middle of the bottom lip. Crucially, they bring the liner back to the natural lip line as it approaches the corners of the mouth. This creates the illusion of a fuller pout without looking artificial. The goal is to enhance, not redraw, the lip shape.
The Finish: It's All About the Blend
For a beginner, the job is often done once the lipstick is on. For a pro, the final steps are what pull everything together. After applying liner, they don't just fill it in. They often fill the entire lip with the liner as a base coat, which dramatically increases the longevity of the lip color. After lipstick application, they take a moment to blend everything seamlessly. They might press their lips together, use a fingertip to soften the edges, or use a brush to diffuse any hard lines. For an extra pop, a tiny dab of gloss or a lighter lipstick shade applied only to the very center of the lips enhances the illusion of volume.