



Why Go Custom? The Allure of DIY
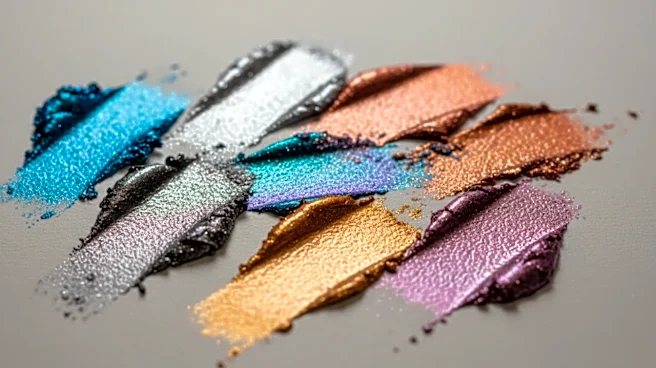
Store-bought makeup is fantastic, but crafting your own offers unparalleled creative freedom. By mixing your own chrome gel liner, you can control the color, intensity, and even the finish. Want a molten rose gold? A liquid-mercury silver? A duochrome
that shifts from emerald to violet? When you're the one mixing, the possibilities are endless. Beyond custom shades, you can create a formula that’s exactly the consistency you prefer, from a thicker, more controllable gel to a fluid, paint-like liquid. It's a simple, rewarding way to elevate your makeup game from consumer to creator, ensuring your look is truly one-of-a-kind.
Safety First: Your Non-Negotiable Rules
Before you start, let’s talk safety. The eye area is incredibly delicate, and making your own cosmetics requires strict hygiene. This is not the time to experiment with craft glitter or pigments not intended for cosmetic use. Rule number one is absolute: only use ingredients that are explicitly labeled “cosmetic-grade” and “eye-safe.” Anything else poses a risk of irritation, allergic reactions, or even serious eye injury. Sanitize everything—your mixing surface, tools, and storage container—with isopropyl alcohol. Wash your hands thoroughly before you begin. Finally, always do a patch test on your arm before applying any new creation near your eyes to check for sensitivity.
Gather Your Arsenal: What You’ll Need
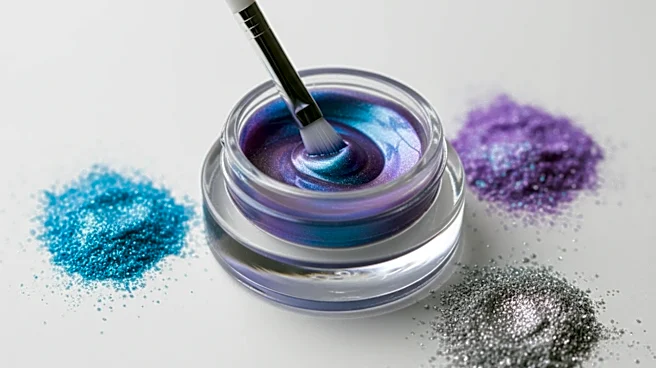
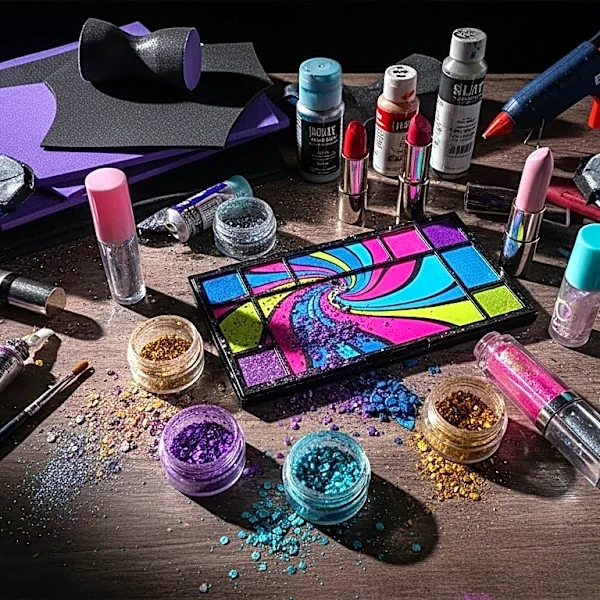
You only need a few key items to create your custom liner. Most of these can be found at online cosmetic supply retailers. Cosmetic-Grade Chrome Pigments: These are ultra-fine, metallic powders approved for use in eye makeup. They are different from craft or nail powders. Look for suppliers who provide safety information. Iron oxides and micas are common base materials. A Clear Mixing Medium: This is the magic liquid that transforms your powder into a long-wearing gel. Products like Inglot Duraline are specifically designed for this purpose, turning pigments into waterproof, smudge-proof liners. In a pinch, a glycerin and water solution can also work for short-term use, though it won't have the same durability. A Small Mixing Surface: A sanitized ceramic palette, a small glass dish, or even the back of your hand will work. A Mixing Tool: A small cosmetic spatula or the end of a clean makeup brush is perfect for blending. * An Airtight Container: A clean, empty gel liner pot or a small sample jar is ideal for storing your creation.
The Creation Process: A Step-by-Step Guide
With your sanitized tools and ingredients ready, it’s time for the fun part. 1. Start with the Pigment: Tap a small amount of chrome pigment onto your mixing surface. A little goes a long way, so begin with less than you think you need. You can always add more. 2. Add the Mixing Medium: Dispense one or two drops of your mixing medium next to the powder. Don't pour it directly on top, as this gives you less control over the consistency. 3. Mix Slowly: Use your spatula to gradually pull the pigment into the liquid. Swirl and press the mixture until all the powder is incorporated and you have a smooth, uniform paste. 4. Check the Consistency: You're looking for a consistency similar to a commercial gel liner—thick enough to hold its shape on a brush but fluid enough to glide smoothly. If it’s too thick, add another tiny drop of medium. If it’s too runny, carefully add a bit more pigment. 5. Test the Color: Swatch the liner on the back of your hand to see the true color and shine. The reflective chrome effect will become more apparent as it dries.
Application and Storage: Making It Last
Once you've mixed your perfect shade, it's ready to use. Dip a fine-tipped eyeliner brush into your custom gel and apply it as you would any other liner. For the most intense, mirror-like finish, apply a smooth, even layer and allow it to dry completely. The waterproof properties of a good mixing medium mean your custom creation should resist smudging and fading for hours. To store your liner, scrape it into your clean, airtight container, making sure the lid is sealed tightly to prevent it from drying out. Because this is a homemade product without commercial preservatives, it's best to make small batches that you can use within a few weeks to ensure freshness and prevent bacterial growth. If you ever notice a change in smell or texture, discard it immediately and mix a fresh batch.